Good afternoon gentlemen, my saw bench is slowly coming along.
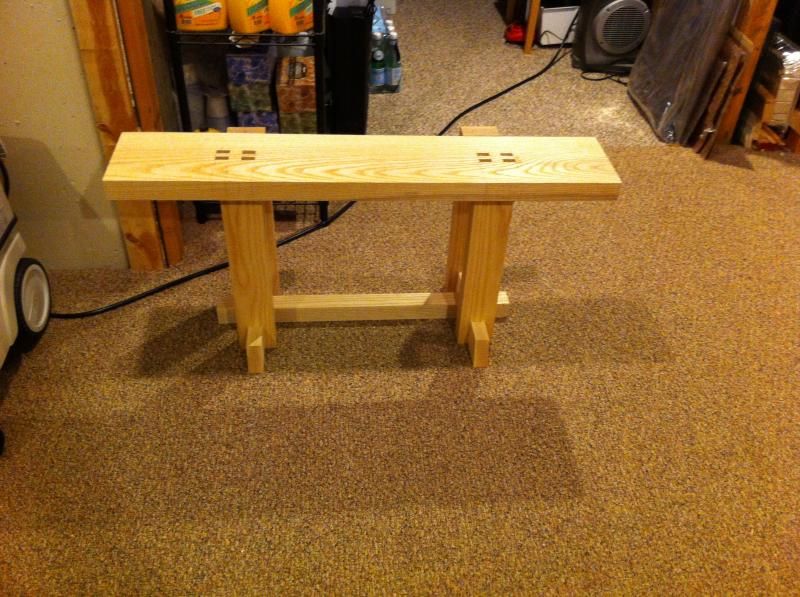
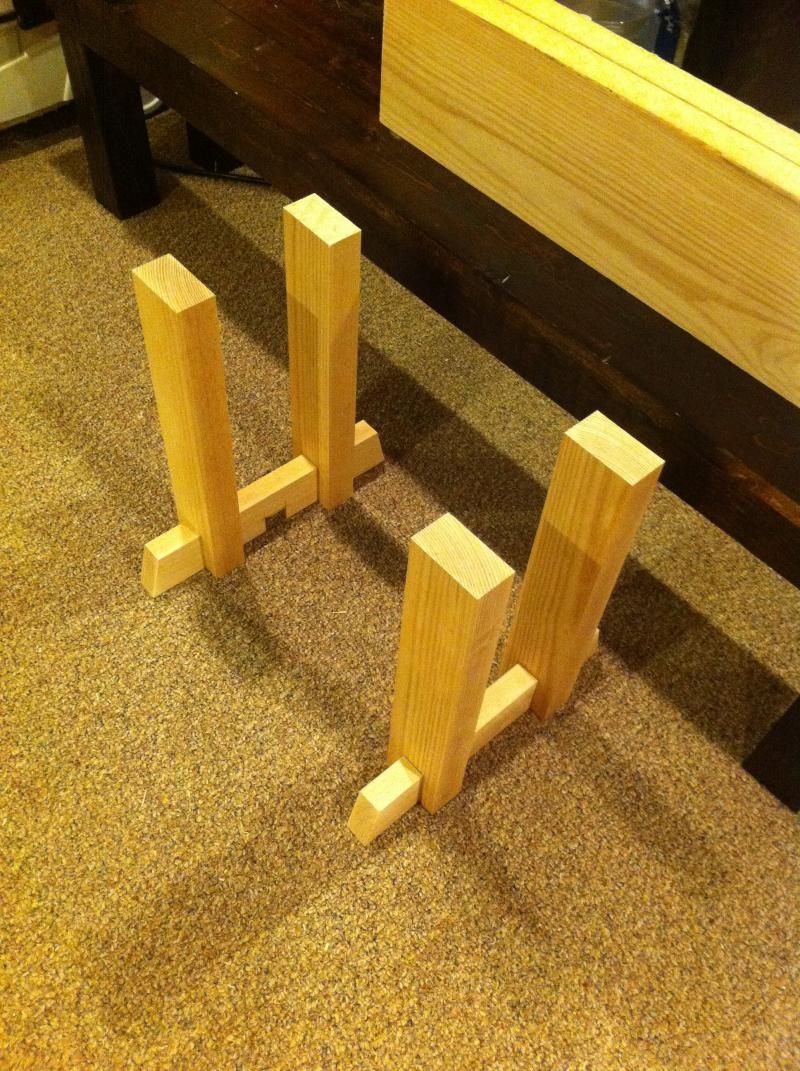
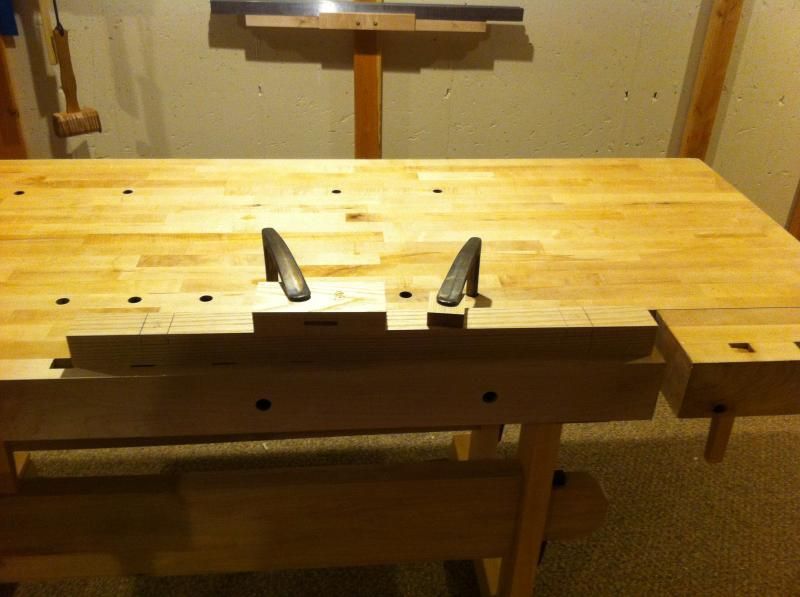
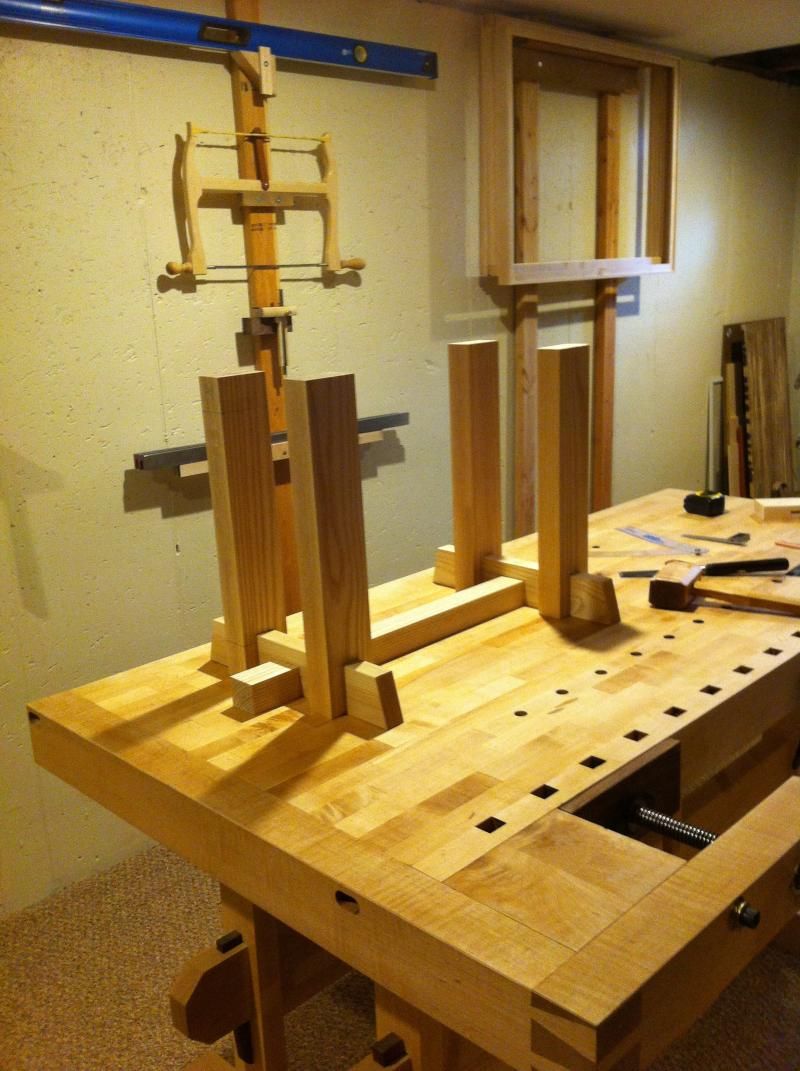
This is my iteration of a fellow woodworker's bench. It doubles as a place for my audience (wife).
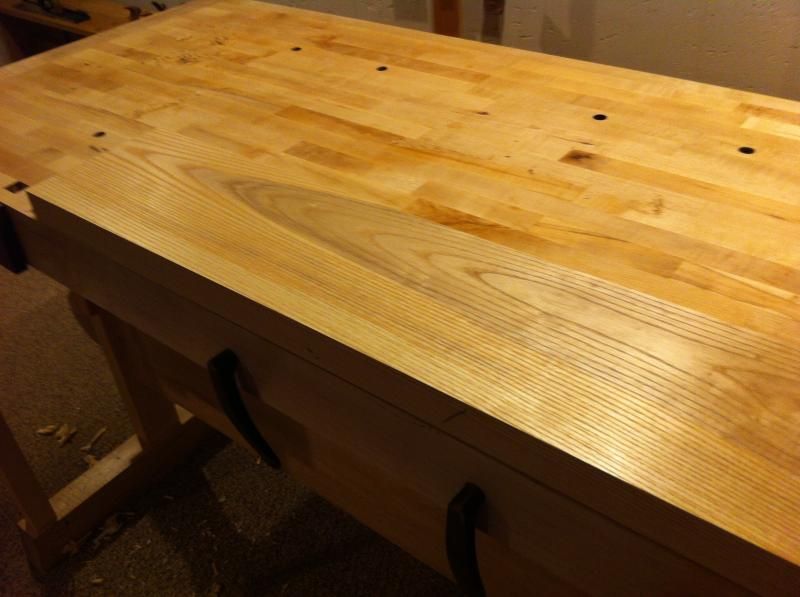
Happy beginnings, smoothly cut white ash. I just love this species, the quality available locally is fantastic and cheap. I dimension it by hand, without issue, do to how nice it is right from the mill.
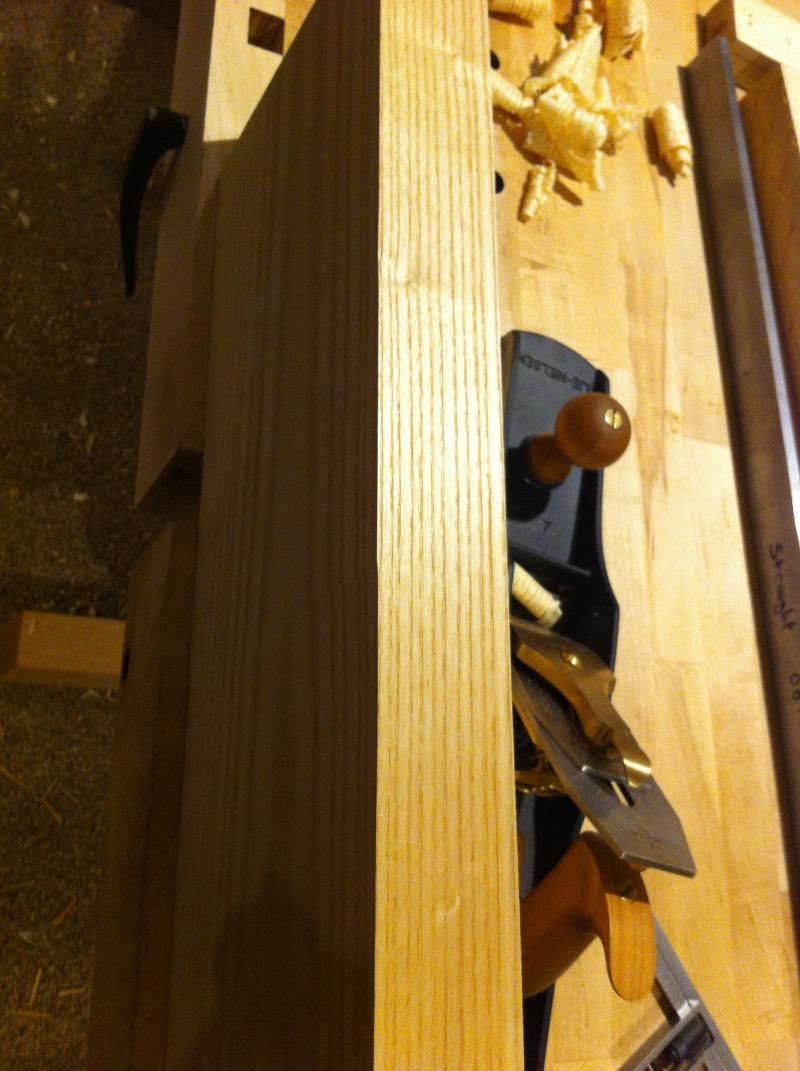
New toy
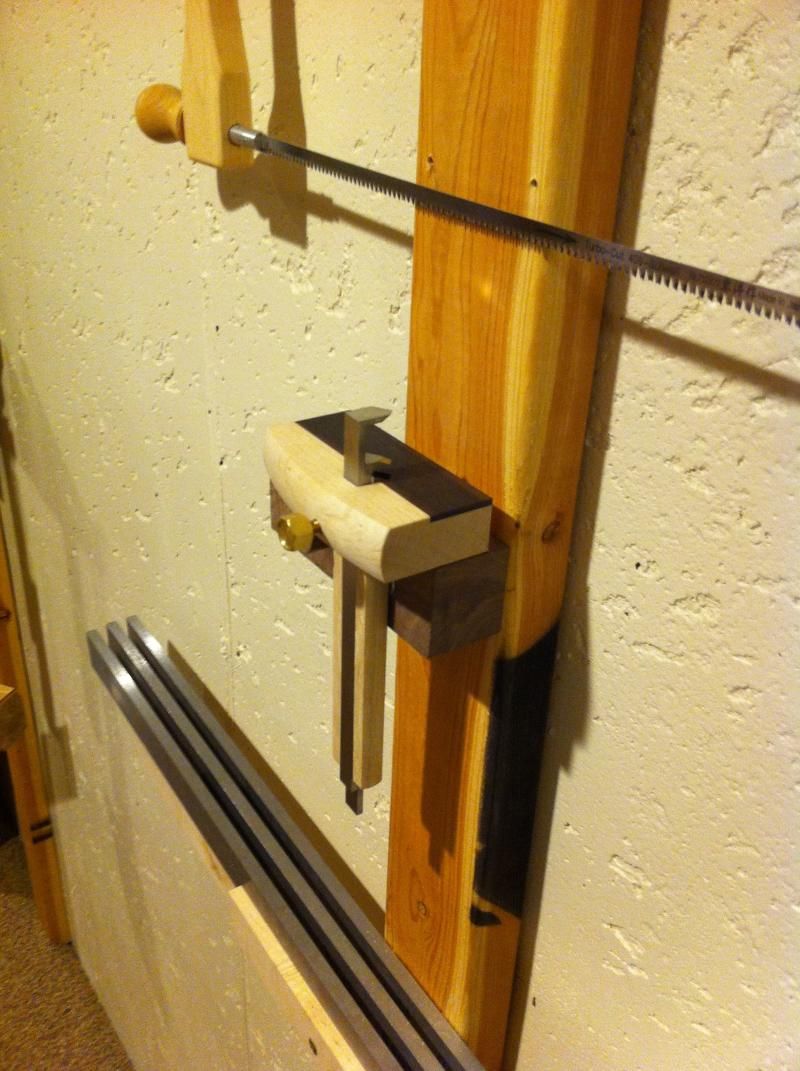
And what is this work without the occasional reminder to kill the sharp edges on the sides of your paring chisels ?
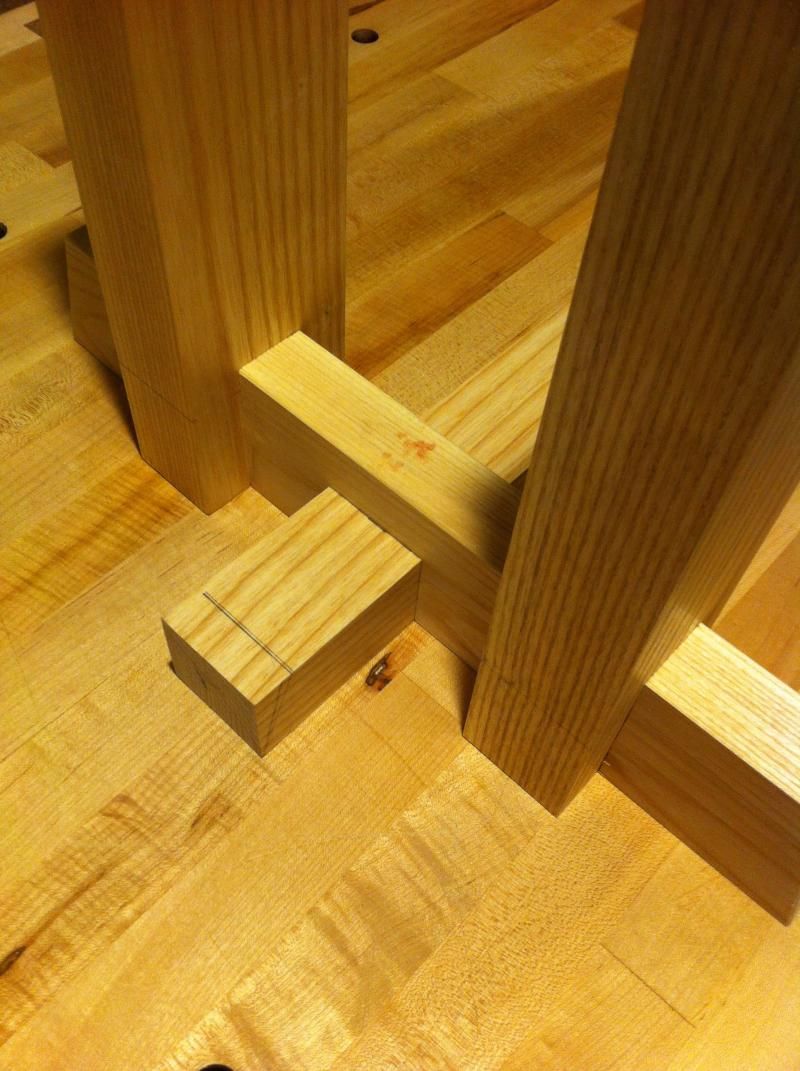
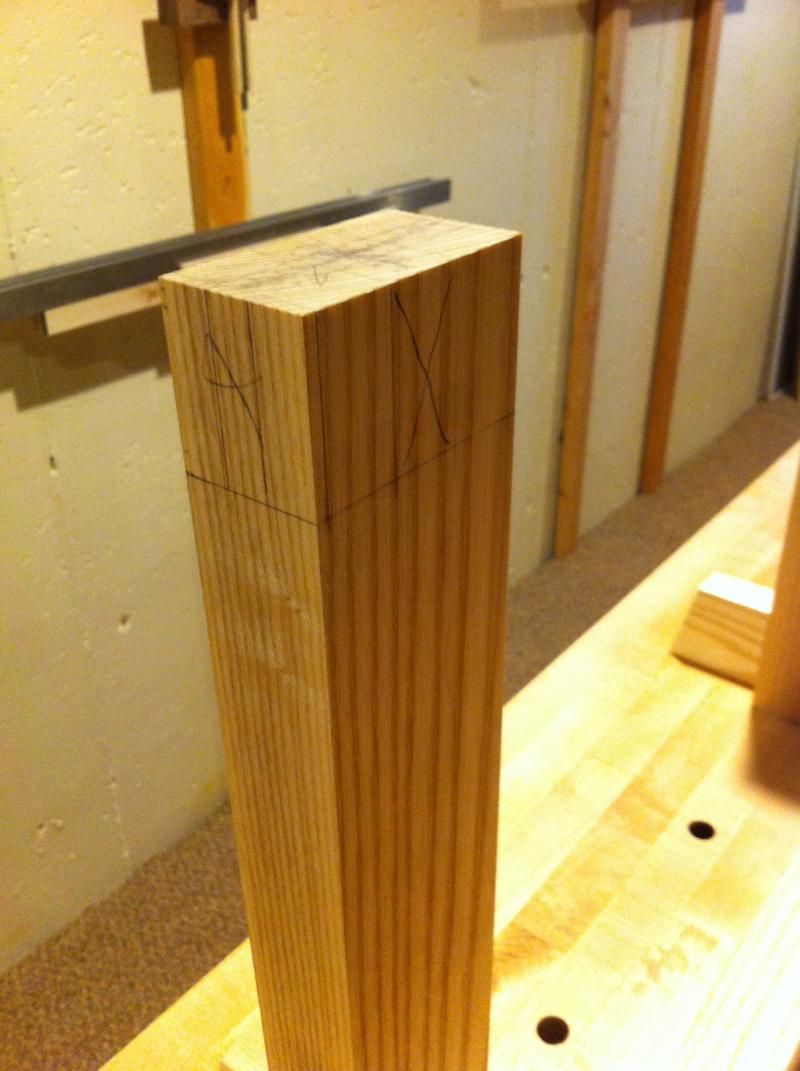
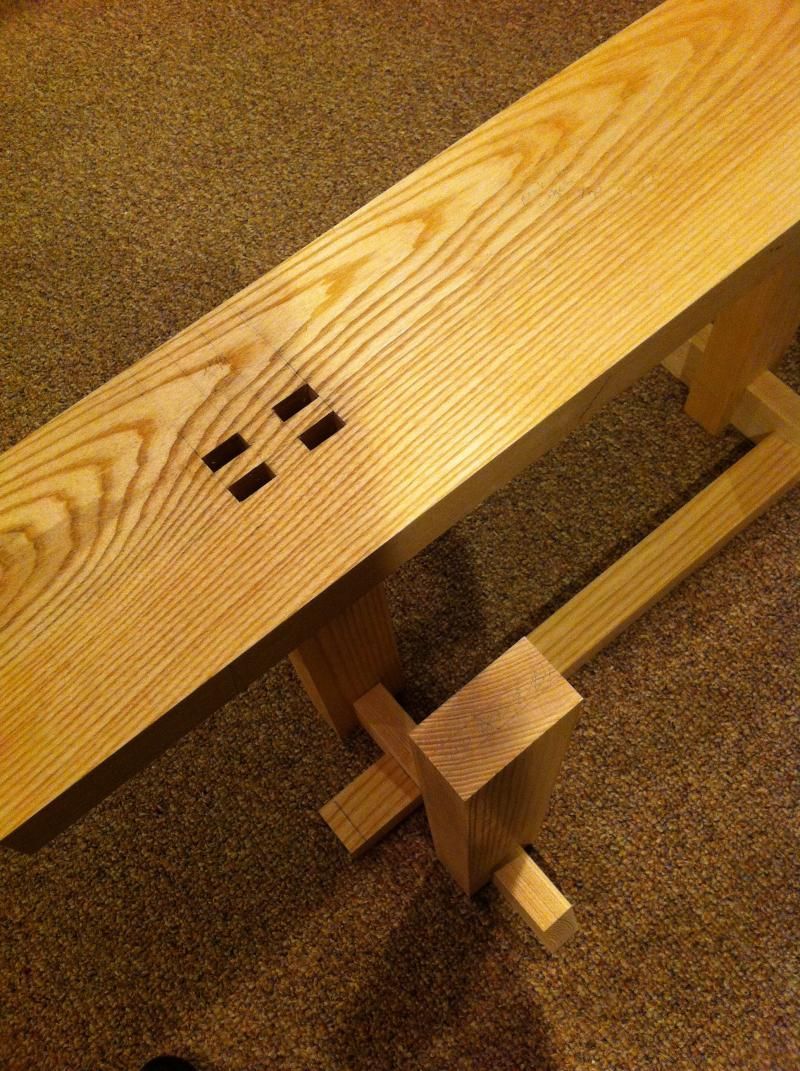
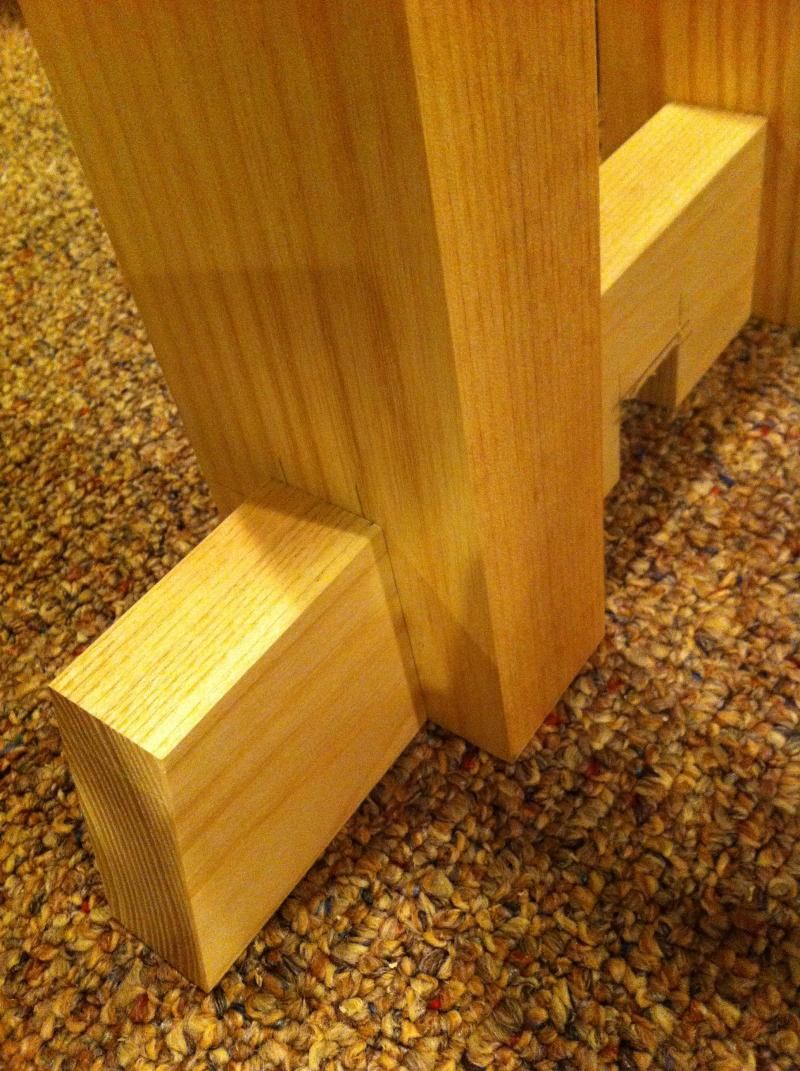
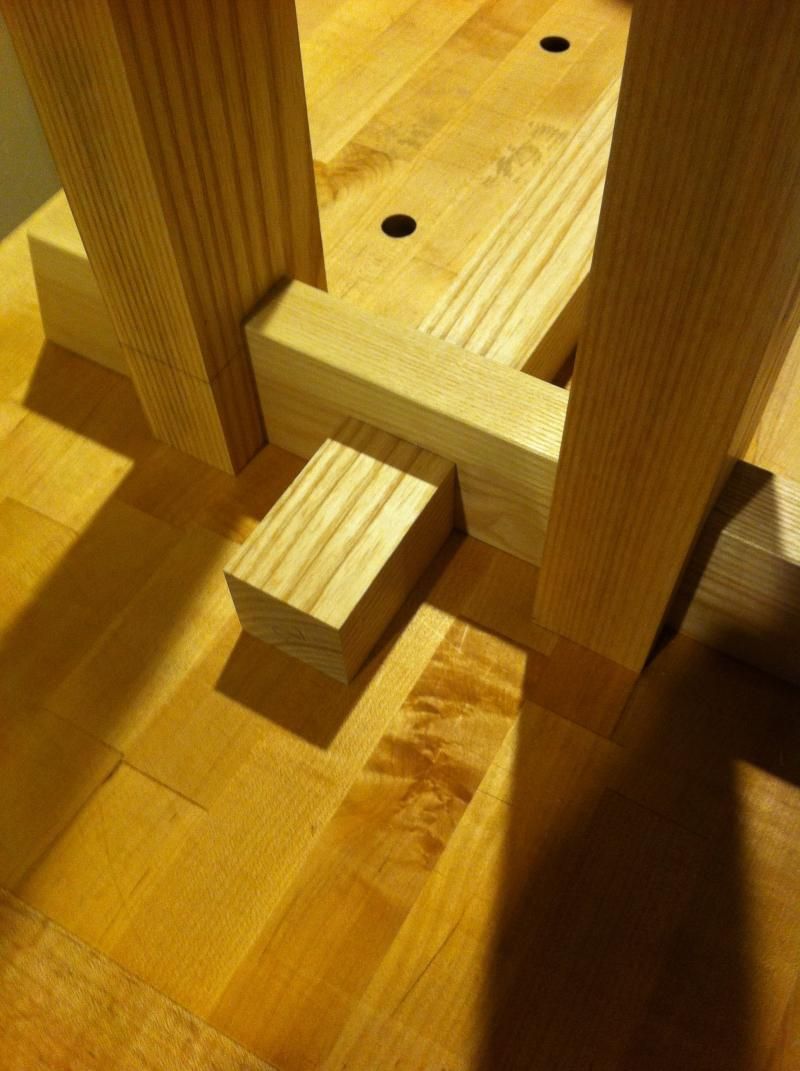
Next up, wedged quad tenons.
Saw Bench in progress
- Paul Atzenweiler
- Deshi
- Contact:
- Location: Kansas City, MO
Post
Re: Saw Bench in progress
Your very tidy and ample work space coupled with that awesome bench makes me want to kick a puppy. I am too embarrassed to show how small my work space is at my home but it is improving and I do get product out the door.
Great work on your project!
- Brian
- Deshi
Post
Re: Saw Bench in progress
Quite a bit of work to get to this update, but it doesn't look like much. I dimensioned the top slabs in preparation for the quad mortises.
This is all by hand, so there are slight differences in thickness and placement of the legs, all within 1/32 but not exactly like a machine. I will compensate for this in the thickness and offset of the shoulders on the tenons. That way my tenons will all line up very nicely on the top.
One of the tops had irregulaties so I needed to rough approx 1/4" off of both, I did this with a low angle jack cutting on a skew and taking a very heavy cut. This is a breeze if everything is right, worked out nicely, finished with the jointer and lightened up to an easy cut to put a relatively smooth finish good enough to move into mortising but not enough to call finished.
Using my new kibiki to transfer the layout and it works nicely!
All set on this board. I use a method of drilling the waste then cutting to the line on these since there is little room for error.
One more to go then starting on the tenons.
- Chris Hall
- Site Admin
- Contact:
- Location: Greenfield, Massachusetts
- Paul Atzenweiler
- Deshi
- Contact:
- Location: Kansas City, MO
Post
Re: Saw Bench in progress
Those joints look awesome and very well fitted - I'm adding that to the list of why I should dislike you.
- Brian
- Deshi
Post
Re: Saw Bench in progress
Finished up mortising and onto cutting the tenons.
Because these mortises were very deep and rather short I started by drilling a hole on one end and cutting away from the hole with the chisel. That leaves a hill climbing out of the mortise and I turned the chisel and chopped that out next, then flipped the board over and did the same thing on the reverse. I left a little room for paring but it turned out to be a largely unnecessary step.
I sawed the lines with my dovetail saw, which is much easier to keep on track than my massive tenon saw, then once the kerf was established and the DT saw bottomed out I finished the cut with a thin plate tenon saw. Makes for much, much less paring work than attempting to use the big tenon saw from the onset (at least for me )
I started out like a hero, but then decided on the wide sections to simply saw most of the waste with my bow saw. I finished with the chisel on both sides, then cut the shoulders.
Once all four are done I will tweak the landings then cut for wedges
- jury
- Raw Log Import
- Location: Lopik,the Netherlands
Who is online
Users browsing this forum: No registered users and 49 guests