Page 1 of 3
Saw Bench in progress
Posted: Sun Dec 21, 2014 3:50 pm
by Brian
Re: Saw Bench in progress
Posted: Sun Dec 21, 2014 4:52 pm
by Paul Atzenweiler
Your very tidy and ample work space coupled with that awesome bench makes me want to kick a puppy. I am too embarrassed to show how small my work space is at my home but it is improving and I do get product out the door.
Great work on your project!
Re: Saw Bench in progress
Posted: Sun Dec 21, 2014 5:18 pm
by Brian
LOL! Thanks Paul.
Re: Saw Bench in progress
Posted: Tue Dec 30, 2014 11:07 pm
by Brian
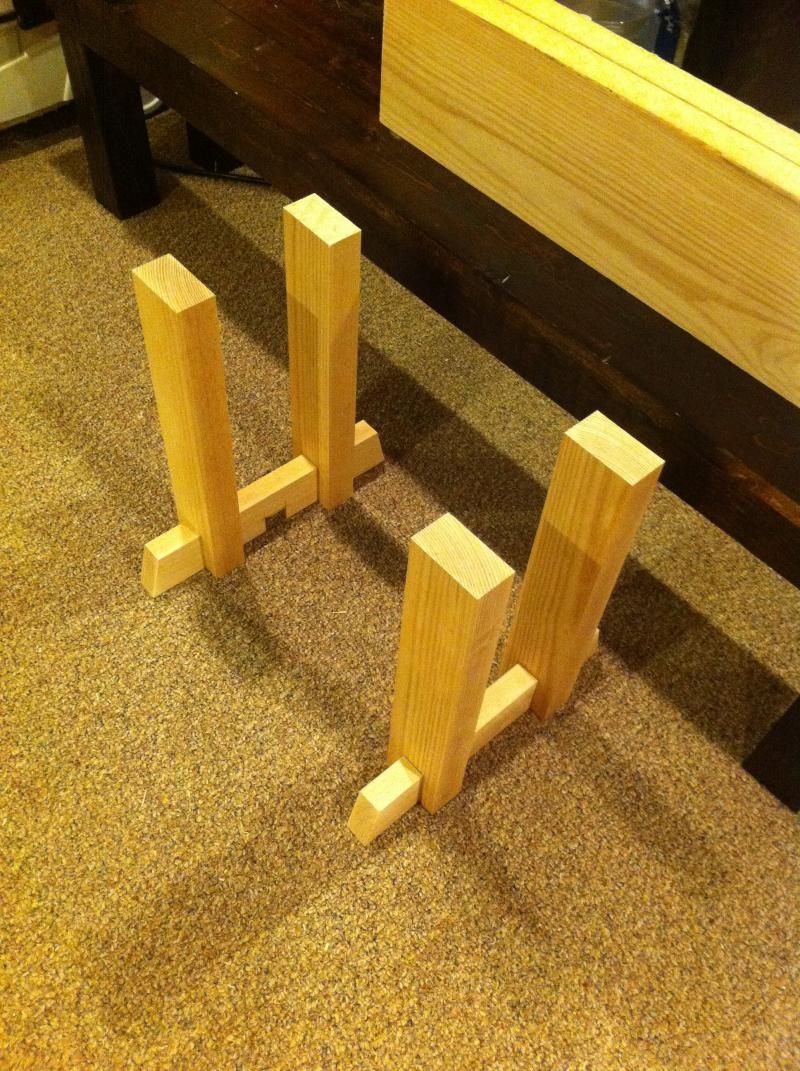
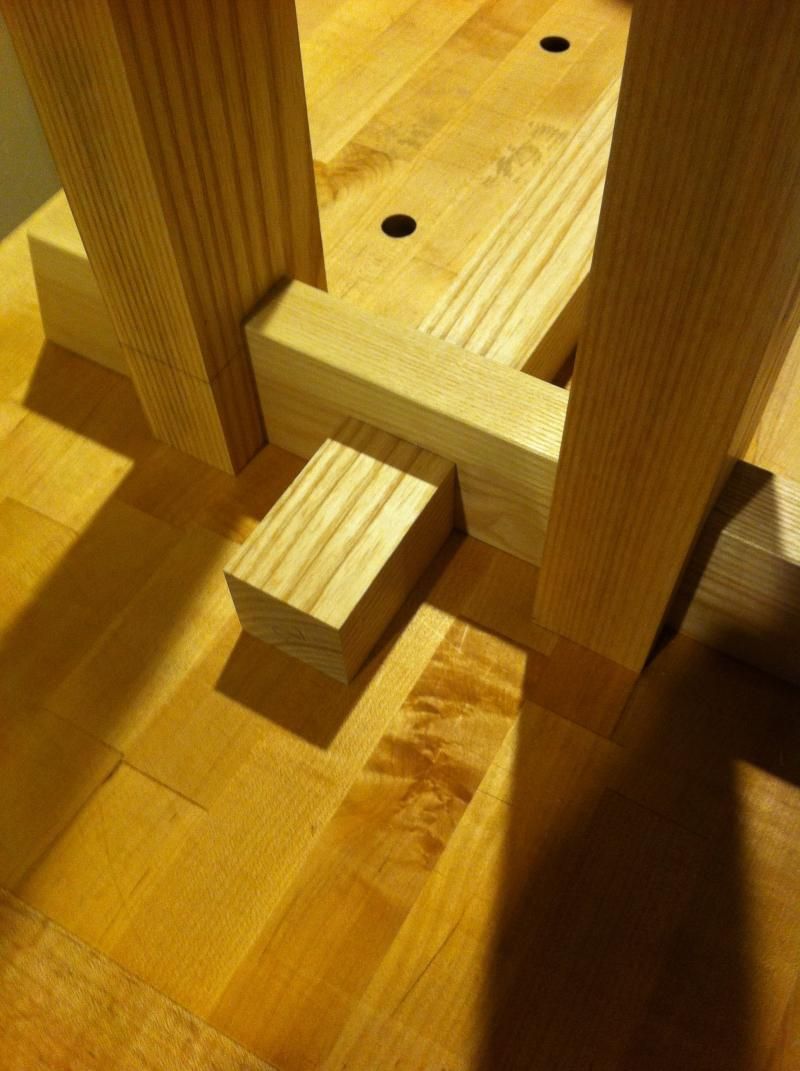
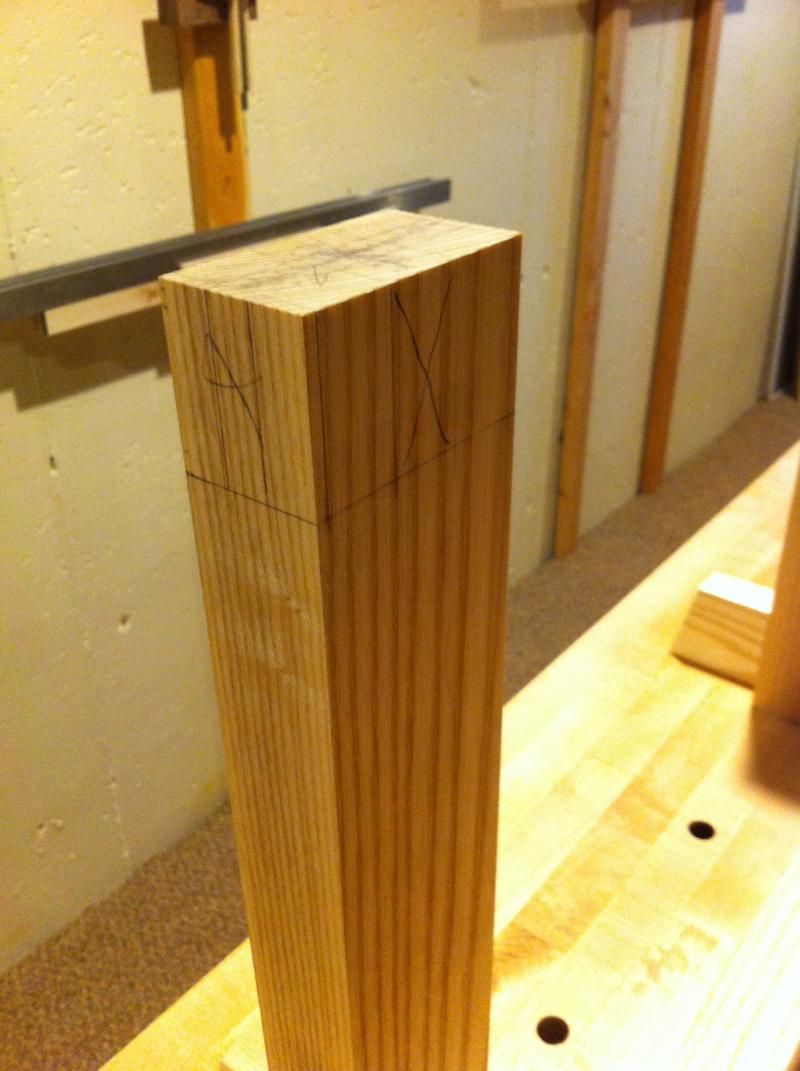
Quite a bit of work to get to this update, but it doesn't look like much. I dimensioned the top slabs in preparation for the quad mortises.
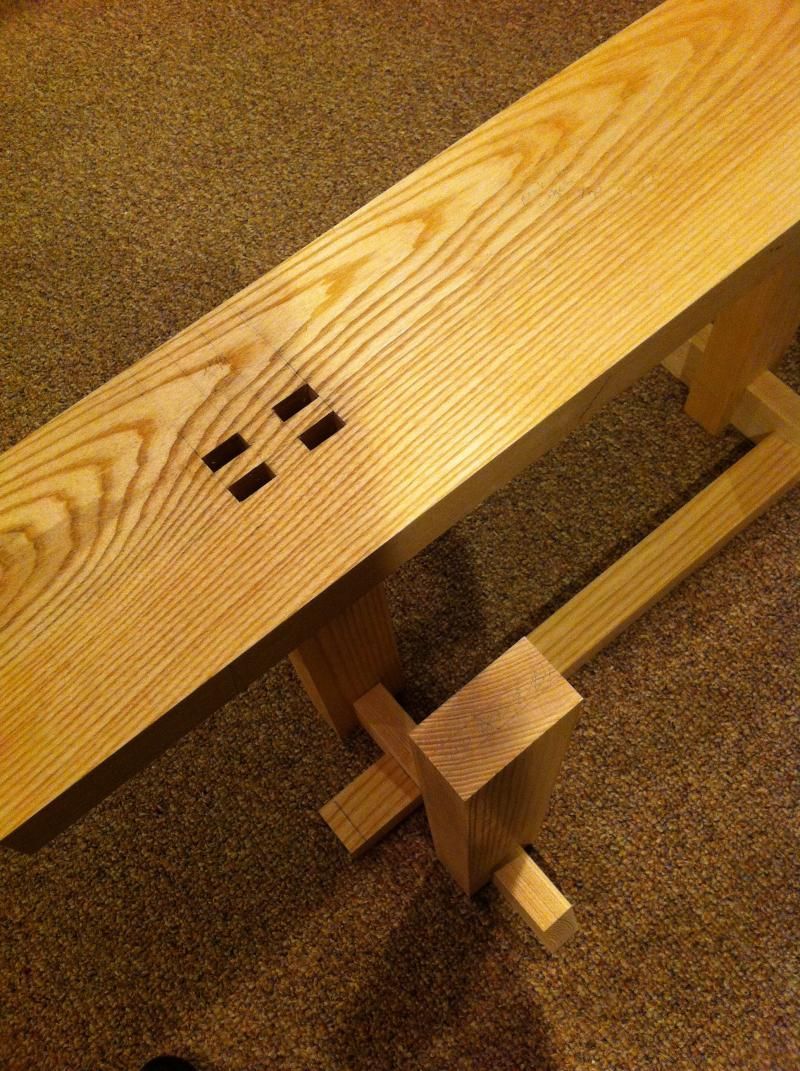
This is all by hand, so there are slight differences in thickness and placement of the legs, all within 1/32 but not exactly like a machine. I will compensate for this in the thickness and offset of the shoulders on the tenons. That way my tenons will all line up very nicely on the top.
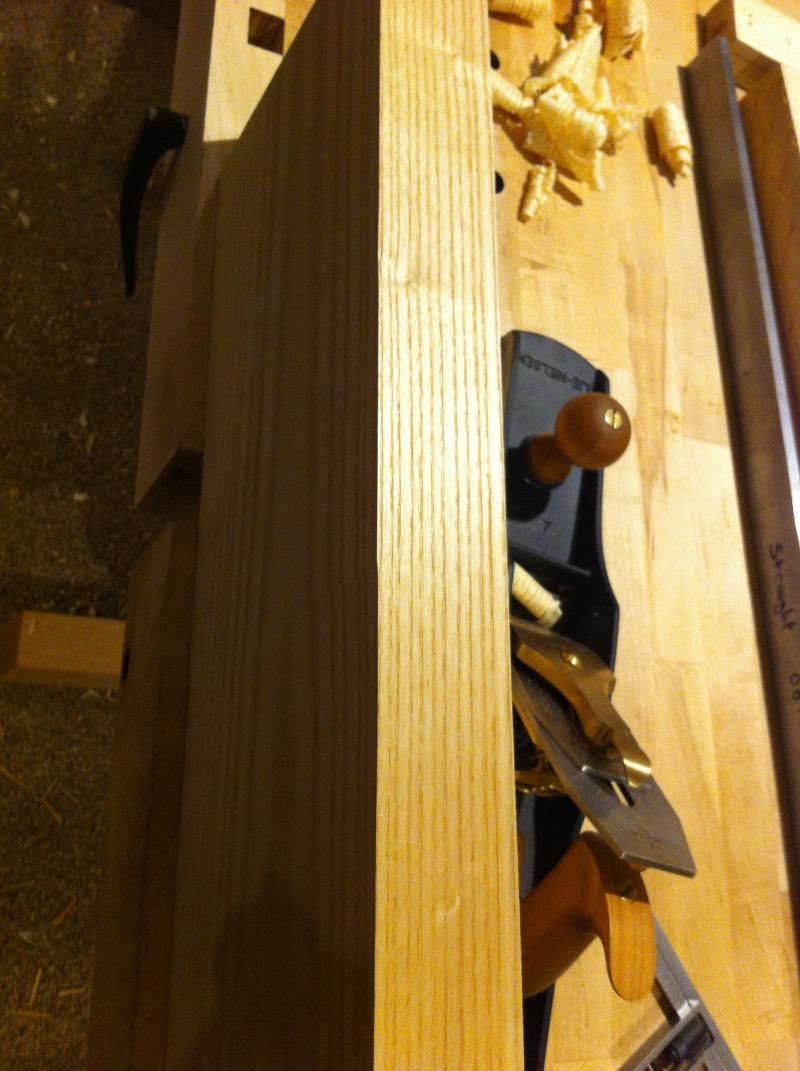
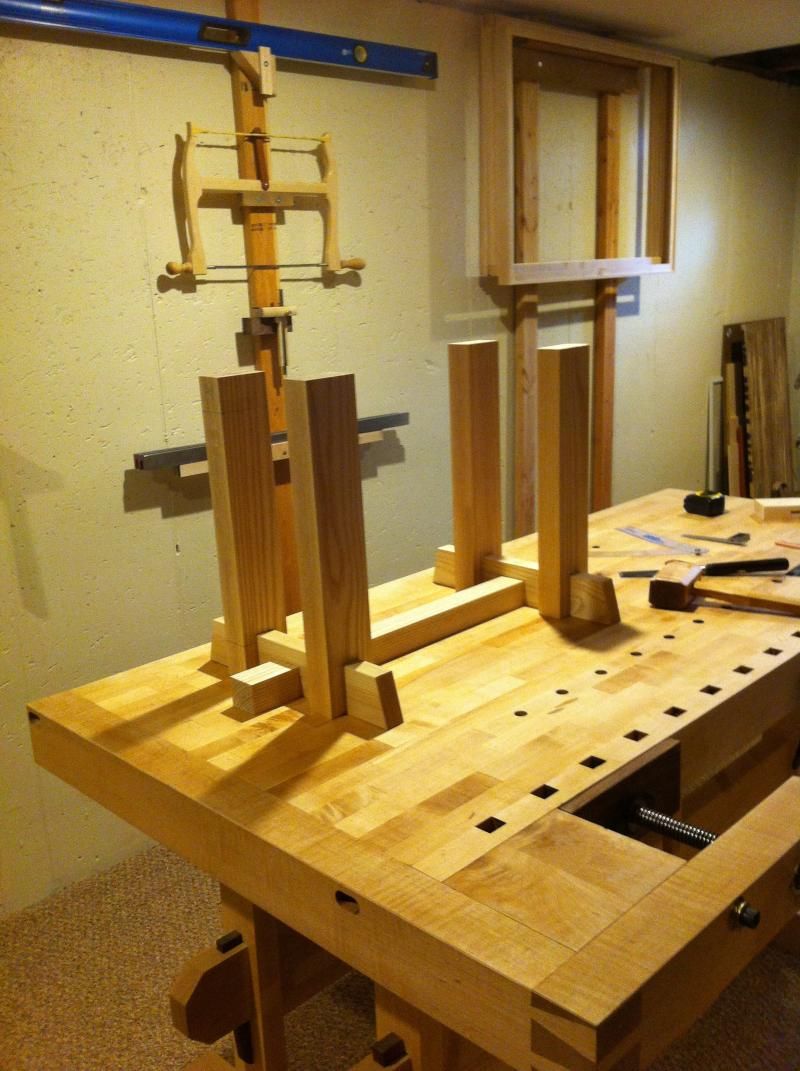
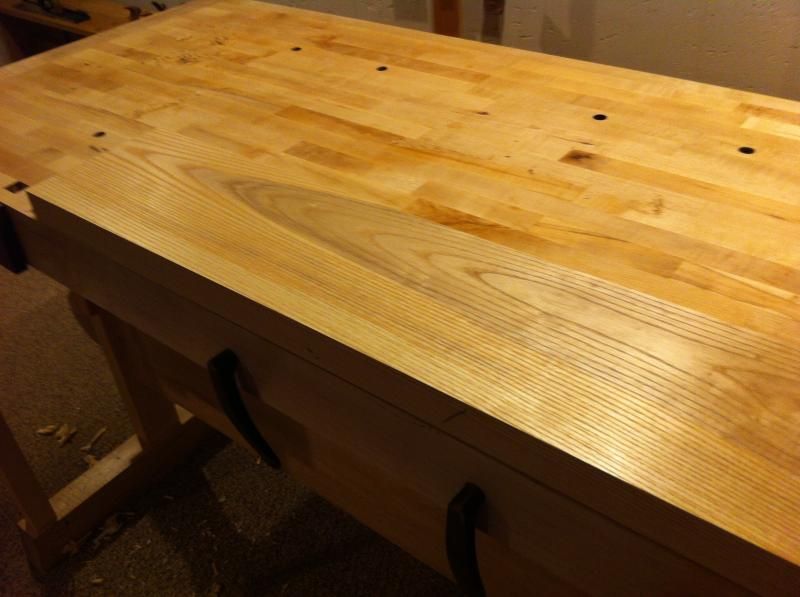
One of the tops had irregulaties so I needed to rough approx 1/4" off of both, I did this with a low angle jack cutting on a skew and taking a very heavy cut. This is a breeze if everything is right, worked out nicely, finished with the jointer and lightened up to an easy cut to put a relatively smooth finish good enough to move into mortising but not enough to call finished.
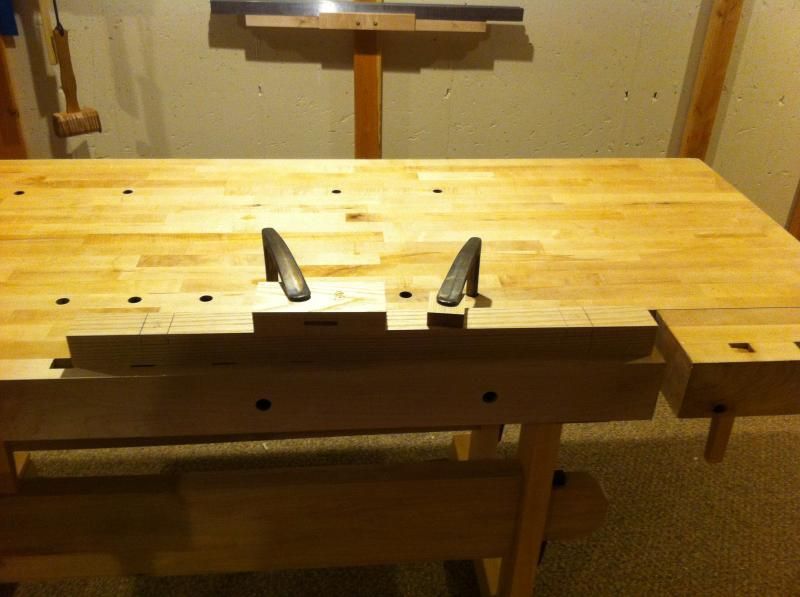
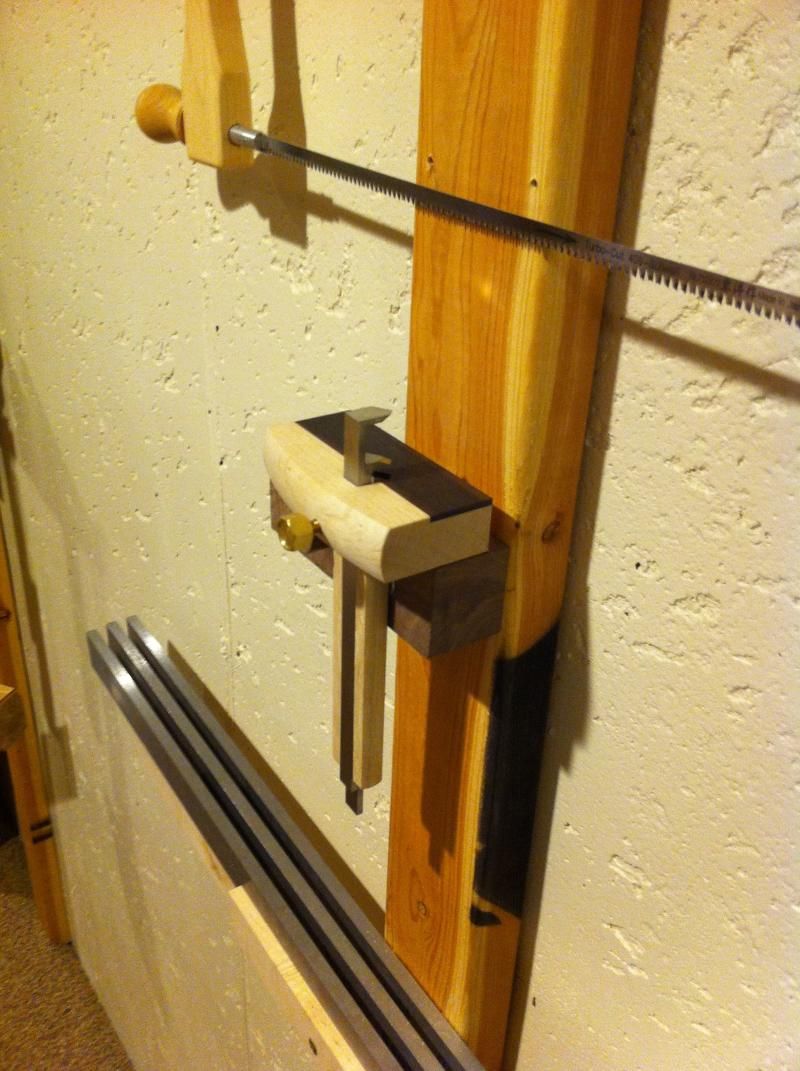
Using my new kibiki to transfer the layout and it works nicely!

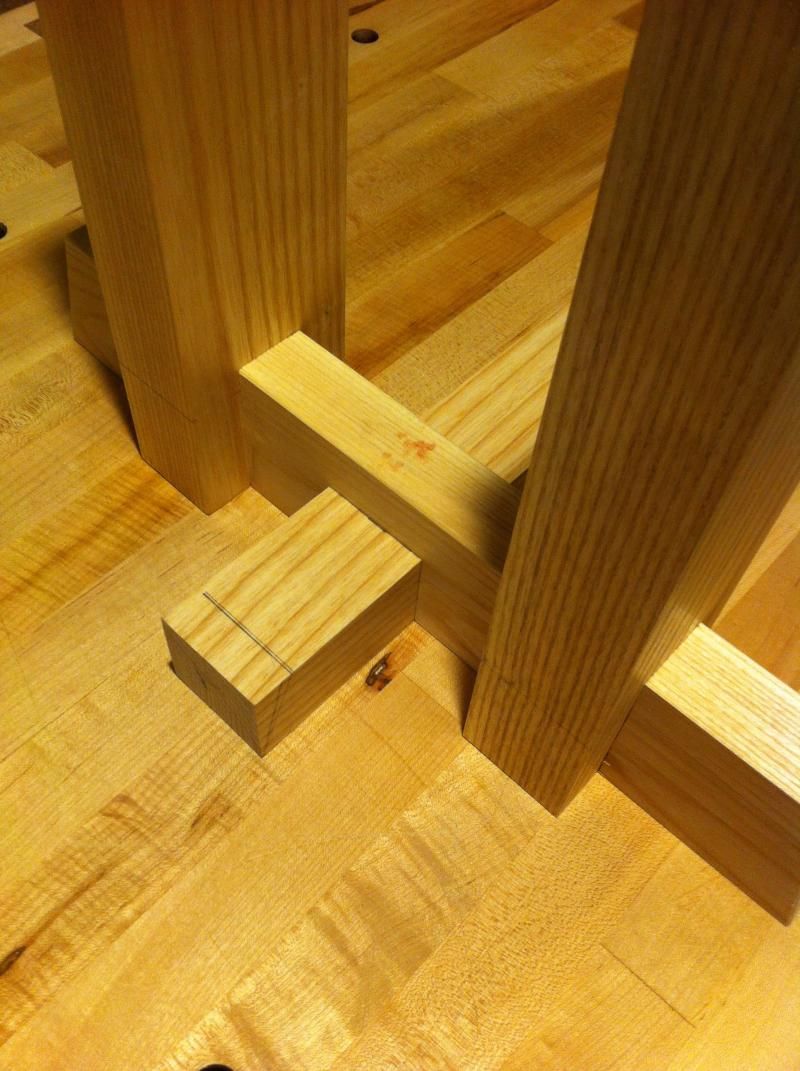
All set on this board. I use a method of drilling the waste then cutting to the line on these since there is little room for error.
One more to go then starting on the tenons.
Re: Saw Bench in progress
Posted: Wed Dec 31, 2014 9:58 am
by Chris Hall
Clean work - like it!
Re: Saw Bench in progress
Posted: Wed Dec 31, 2014 11:55 am
by Paul Atzenweiler
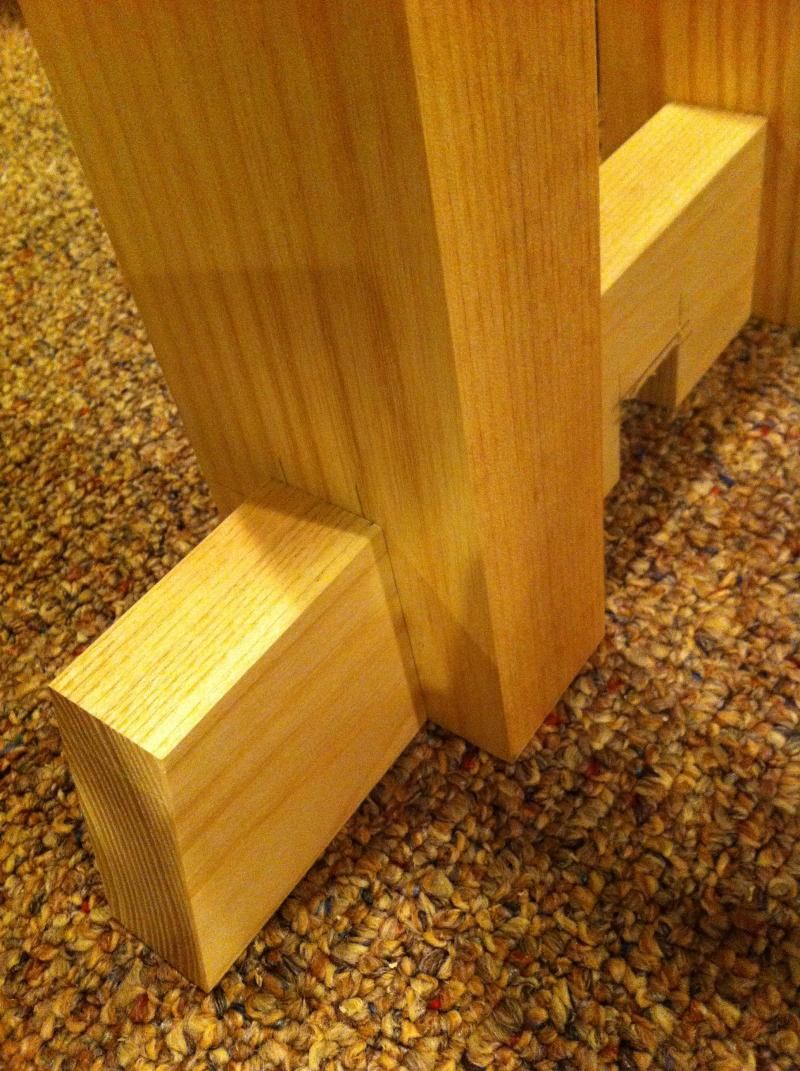
Those joints look awesome and very well fitted - I'm adding that to the list of why I should dislike you.
Re: Saw Bench in progress
Posted: Thu Jan 01, 2015 10:34 am
by Brian
Thanks Gents!
Lol,,
Re: Saw Bench in progress
Posted: Fri Jan 09, 2015 5:54 pm
by Brian
Re: Saw Bench in progress
Posted: Sat Jan 10, 2015 4:22 am
by jury
Looks great Brian,that is some fine joinery you are making.
Re: Saw Bench in progress
Posted: Sat Jan 10, 2015 9:01 am
by Brian
Thank you!