Chris Pyle,
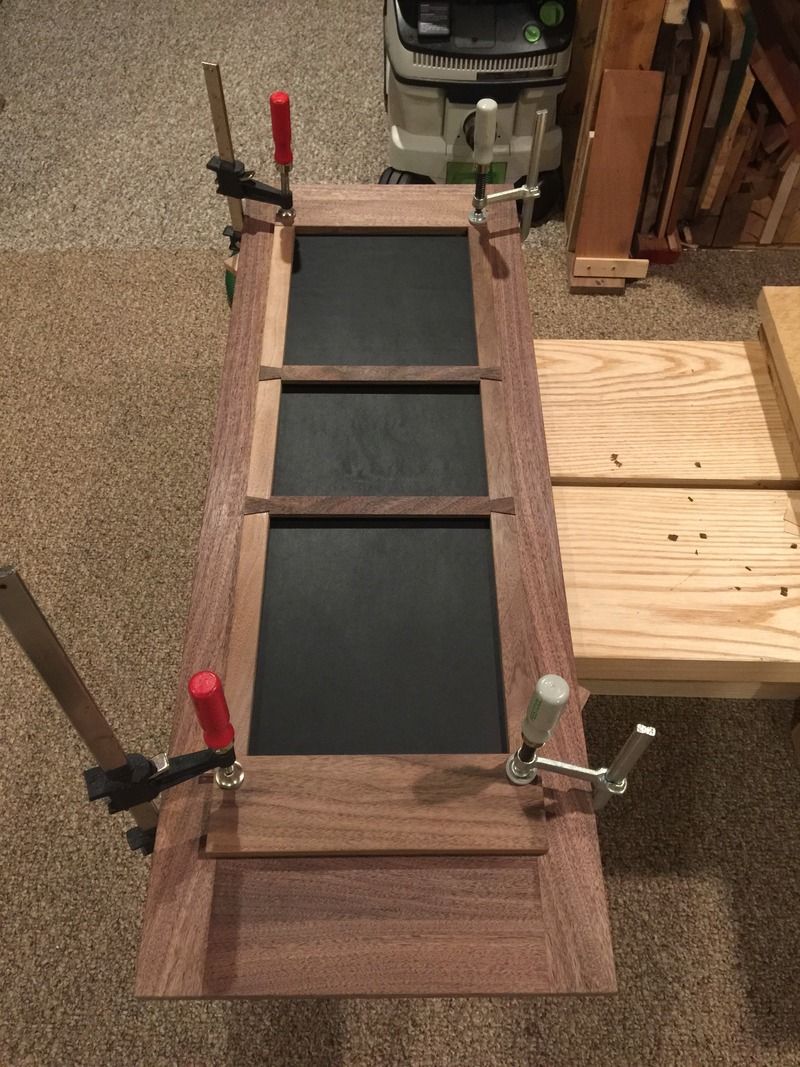
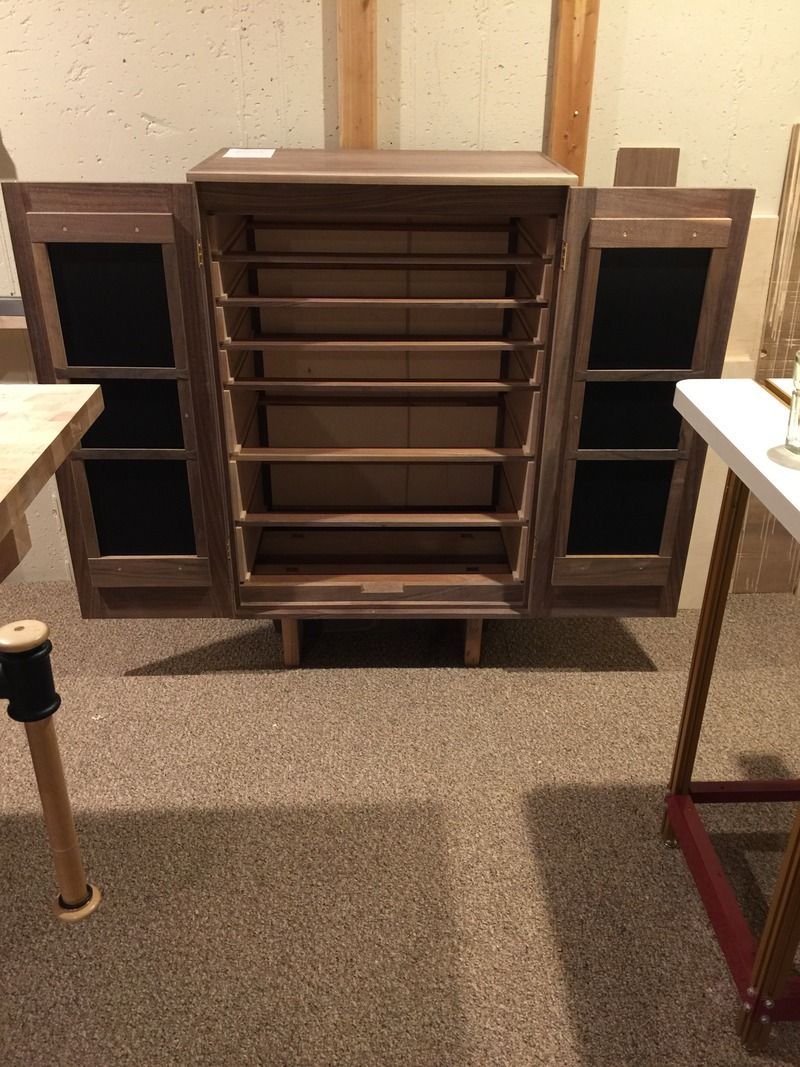
Just wanted to note that the leather application in this case is pretty simple. I ended up just using spray adhesive on both the leather and the plywood. The parts are left to sit for about 30-seconds or a minute to tack up, then they are applied. After applying I use a wooden roller to make sure there are no uneven parts (flatten out heavy areas of glue). In my experience it will continue to flatten over time.
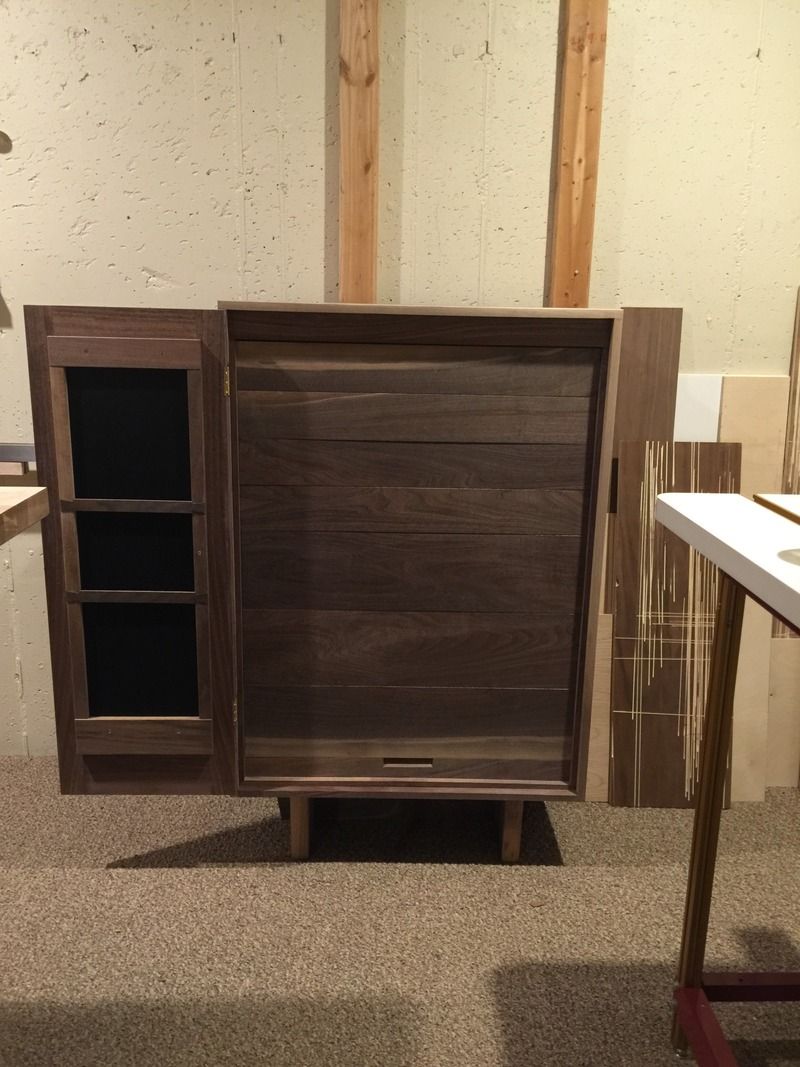
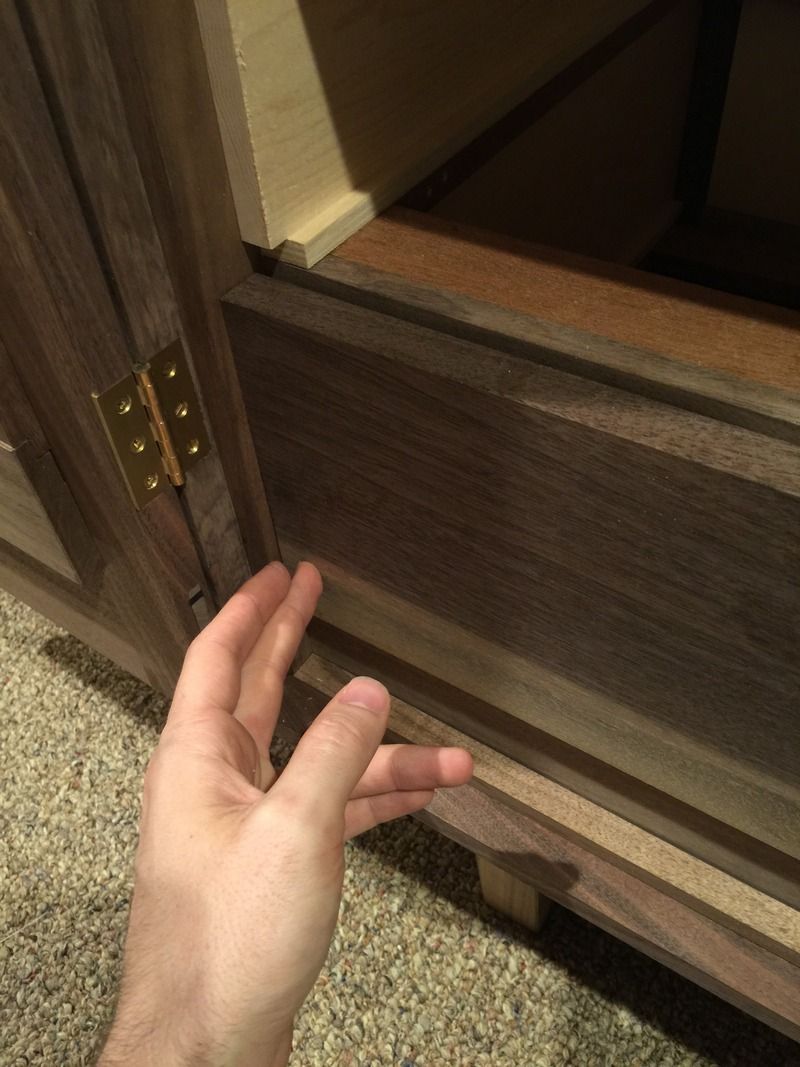
Where I'm still debating is the inner door structure. The leather adds a certain compressed thickness to this area so I will cut a recess in the boards to accommodate this thickness, however I'm not sure if I will attach them permanently or build the full panel and attach them with brass wood screws so that the leather can be removed and replaced at some point in the future, leather like this should last a good while, but it's worth planning ahead so that people are encouraged to restore this cabinet in the far future rather than replacing it, or replacing the doors.
Hopefully it stays in my family for many generations and I'm able to dictate restoration processes.
Cabinet Build (WIP)
- Brian
- Deshi
Post
Re: Cabinet Build (WIP)
So, after making those panels, squaring them and prepping them for use….they turned out to be a hair thick and I decided to shelve them….hah, just the way it goes on this sort of planning.
Here is my solution as produced, the doors still await a hanger system (my father is making that, in brass….probably).
Sorry, minimal work in progress shots, as this one was a 'seat of the pants' design process. It's difficult to document detail while thinking through expected results.
Here is my solution as produced, the doors still await a hanger system (my father is making that, in brass….probably).
Sorry, minimal work in progress shots, as this one was a 'seat of the pants' design process. It's difficult to document detail while thinking through expected results.
- Brian
- Deshi
Post
Re: Cabinet Build (WIP)
My doors are now both attached, but still need a bit of tweaking and tuning along with catches on the right side. I'm strongly considering ditching the plan for handles and installing a keyed lock with a threaded escutcheon.
In the interim and before the dry winter arrives I've decided to get a move on with the drawers. These are lipped top and bottom (i'm a glutton for punishment I suppose).
These may be unnecessary but considering the amount of daily use this cabinet will get I've decided to build sacrificial drawer runners.
Prepping for dovetail layout
Initially laid out on a 1/7 (8 degrees~);
Later changed to 10 degrees
There is some practicality here, since my next shinogi chisel is very small, I decided to stick with this chisel, but also have thinner pins.
Testing for squareness at the drawer front, easier to do now than later. I found a little tiny bit of twist in the drawer front (they've been sitting for a few weeks), and a little bit the squareness of the drawer sides. After some tweaking there is no rocking, and so a greater chance that my drawers will fit without much work after assembly.
- Chris Pyle
- Deshi
- Location: St. Louis, MO
Post
Re: Cabinet Build (WIP)
Thanks for continuing to post this Brian. And thanks for the reply above.
Excited to see this completed.
- Brian
- Deshi
Post
Re: Cabinet Build (WIP)
My pleasure!
Cruising along with the drawers, many dovetails to cut so I finally broke down and bought a good coping saw.
- patoriku
- Lurker
Post
Re: Cabinet Build (WIP)
Beautiful work so far mate. Not so sure about that plane you were shooting with though
- Brian
- Deshi
Post
Re: Cabinet Build (WIP)
Thank you, I will provide you a mailing address to ship the plane of your choice for future shooting.
- Brian
- Deshi
Post
Re: Cabinet Build (WIP)
And on we go; The drawer backs were 1/4"~ overside....too much to plane too little to saw....and definitely too little to Karate chop....or so it seems;
These about .020"
And back to more dovetailing;
I've seen this floating around, I believe it was Jim Matthews who mentioned this to me, notching out the corners makes it really easy for the saw to fall right into the knife line. You may notice that I'm well off my knife line....Its an illusion, that knife life was an oopsie.
Fishtail!
I'm particularly proud of this bevel, finished on a Nakayama Asagi. Showing my wife did not get the appreciation I was hoping for...so now I show you folks
- djwong
- Deshi
- Location: Cupertino, CA
Post
I also purchased a Nakayama Asagi razor sized stone from So-san. At the time, he listed 3 stones labeled NK12(0)1, NK12(0)4, and NK12(5)3. I bought NK12(5)3. So-san estimated 28-30K "fineness". My everyday finisher is a shiro suita, possibly Ohira. The Nakayama is definitely harder and finer, also more difficult to use.
David
Re: Cabinet Build (WIP)
I get the same reaction from my wife and daughter whenever I show them anything, accompanied by a disapproving rolling of the eyes.I'm particularly proud of this bevel, finished on a Nakayama Asagi. Showing my wife did not get the appreciation I was hoping for...so now I show you folks
I also purchased a Nakayama Asagi razor sized stone from So-san. At the time, he listed 3 stones labeled NK12(0)1, NK12(0)4, and NK12(5)3. I bought NK12(5)3. So-san estimated 28-30K "fineness". My everyday finisher is a shiro suita, possibly Ohira. The Nakayama is definitely harder and finer, also more difficult to use.
David
- Brian
- Deshi
Post
Re: Cabinet Build (WIP)
Hah, thats my experience as well. My wife will comment from time to time, but she fears encouraging me too much will mean that I will be doing even more work than currently.
I'm certainly lucky that I have the internet as an outlet, there are not many people (if any) in my local social circle that share my interests.
Funny enough I originally intended this Nakayama to be the 'sometimes' stone, where I want the ultimate fineness (for my purpose) then after spending more and more time on it I tend to like it more than my Shinden suita for my white steel chisels.
Do you build a slurry with a 1200 atoma?
Who is online
Users browsing this forum: No registered users and 11 guests