Page 3 of 4
Re: Table Build
Posted: Wed Jan 13, 2016 5:23 pm
by Gadge
Hi Chris,
Regarding Brian's illustration of the sage-kama, while spitting the dummy you said the joint detailing is wrong on several fronts.
I am about to make saw horses from the plans the illustration was taken from. Can you clarify what is wrong with the detailing. Feel free to offer another joint if you feel that one is inappropriate.
Re: Table Build
Posted: Wed Jan 13, 2016 8:17 pm
by Chris Hall
Will be happy to show some better connection options for that, just give me a day or two.
Doing a search for 'shitage kama' (sic) I discovered the source of the misinformation: an article by Jay Van Arsdale from American Woodworker Magazine. Okay, I'm up to speed now. There are other details, joinery-wise, in that article that I would tend to suggest might be finessed a bit better.
Re: Table Build
Posted: Wed Jan 13, 2016 10:45 pm
by Gadge
Yes, that was the article I was planning to use. I look forward to your suggestions.
Re: Table Build
Posted: Thu Jan 14, 2016 3:09 pm
by Brian
Re: Table Build
Posted: Sun Jan 17, 2016 11:45 am
by Brian
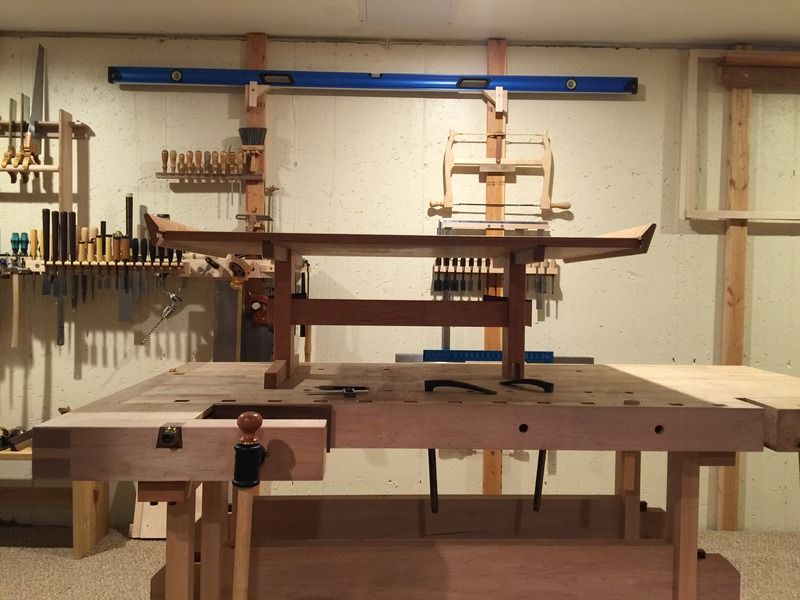
Finally have two feet

Re: Table Build
Posted: Mon Jan 18, 2016 10:05 pm
by Brian
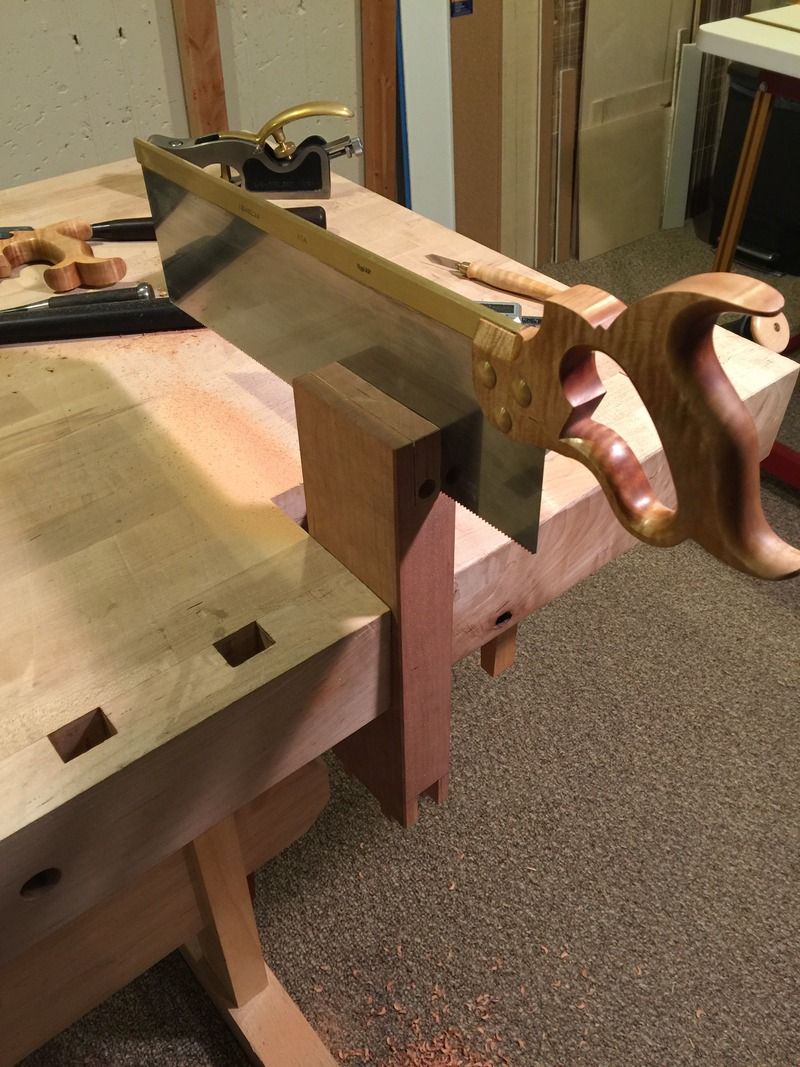
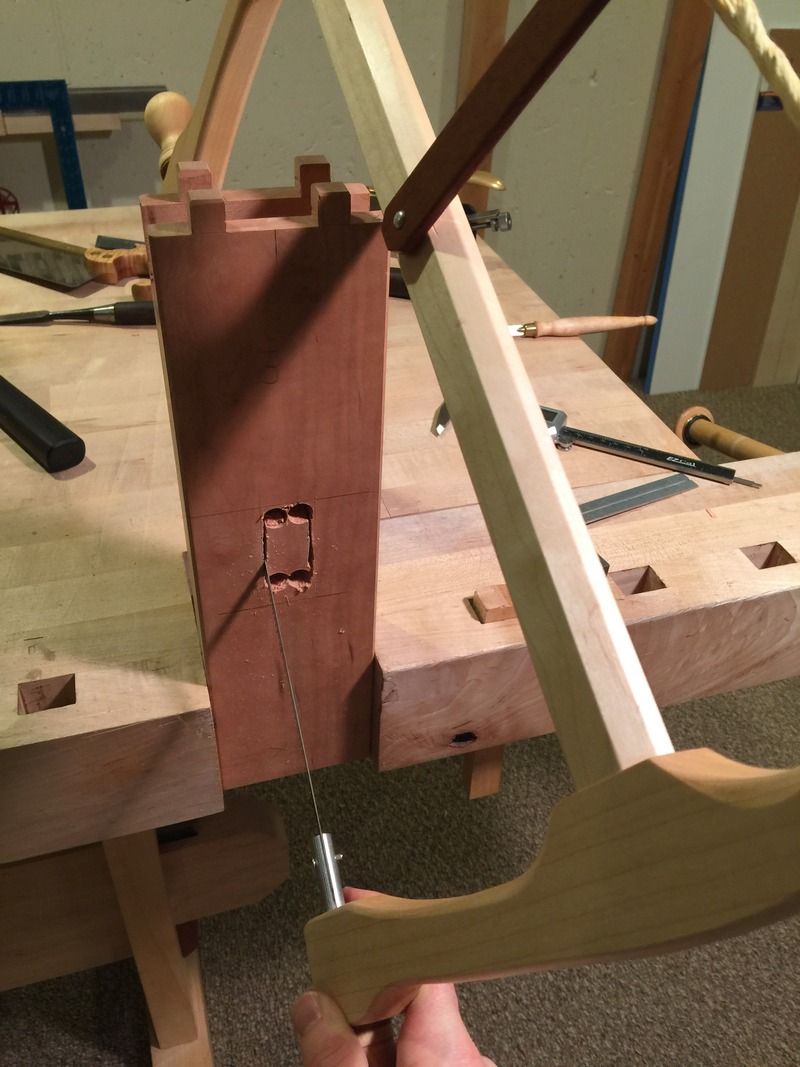
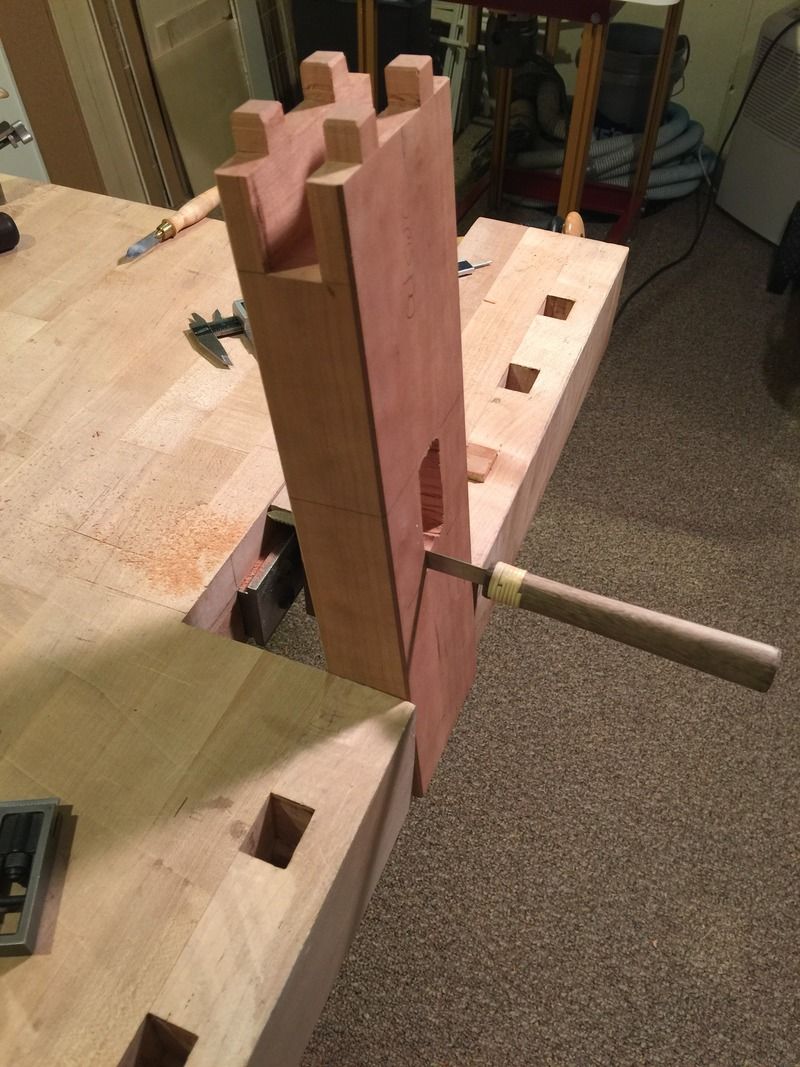
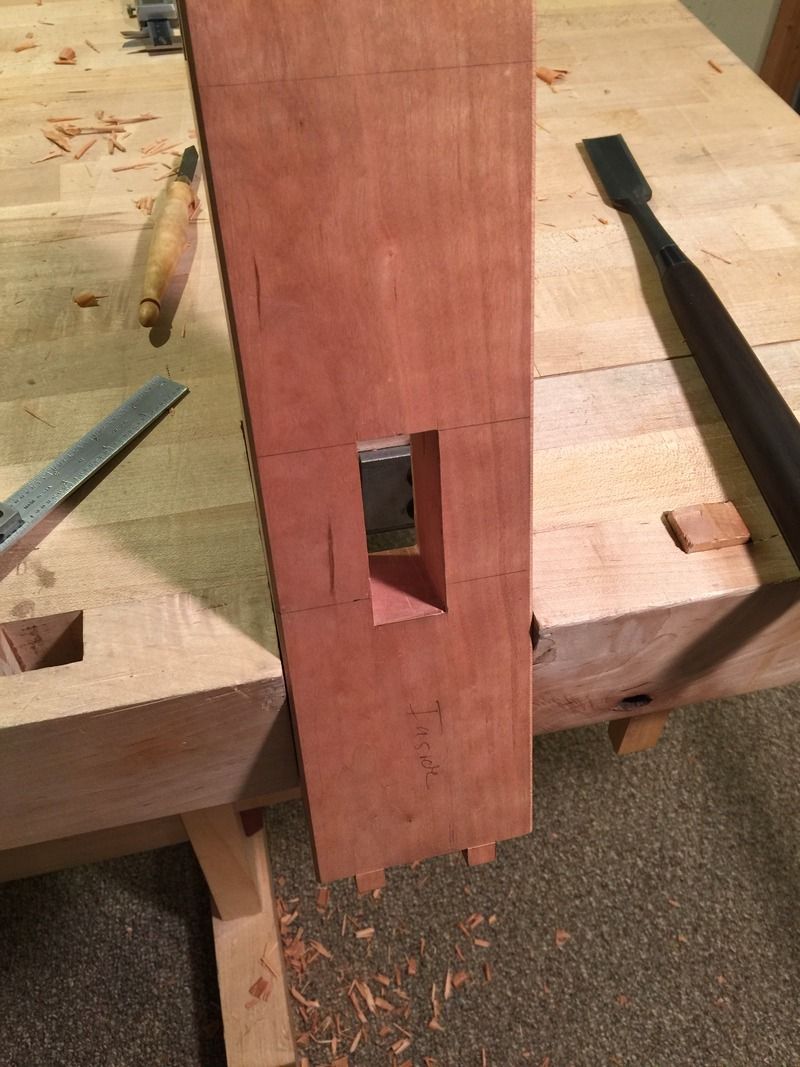
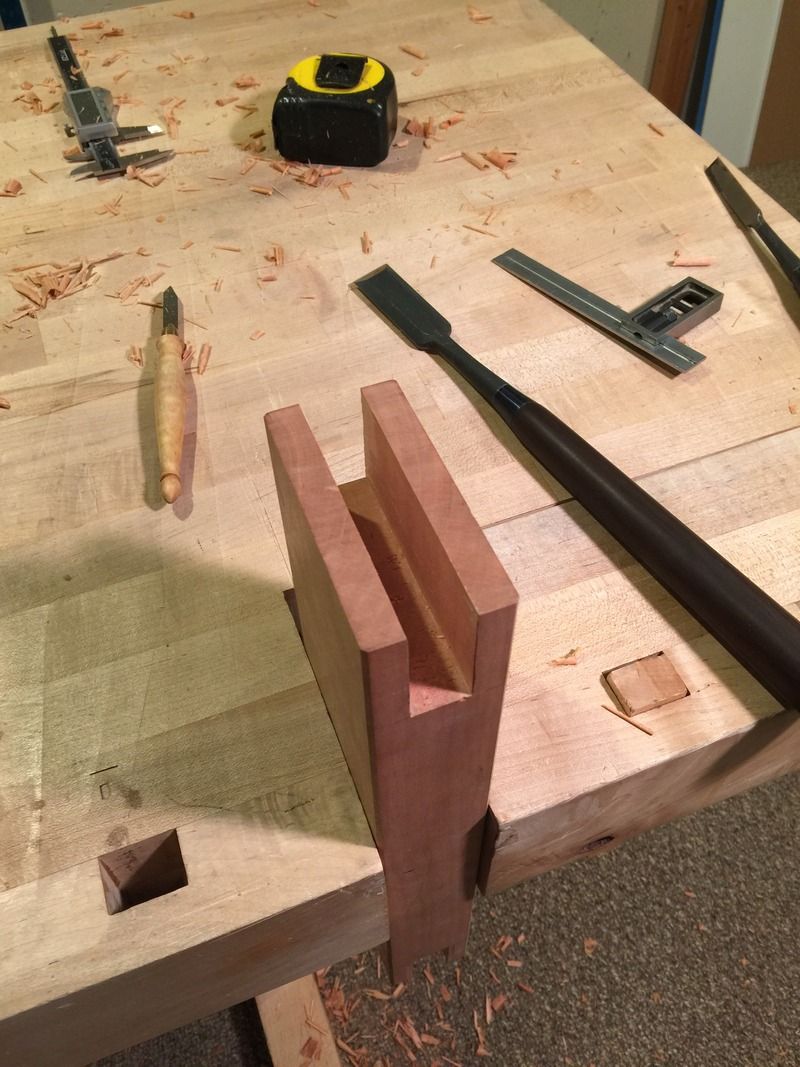
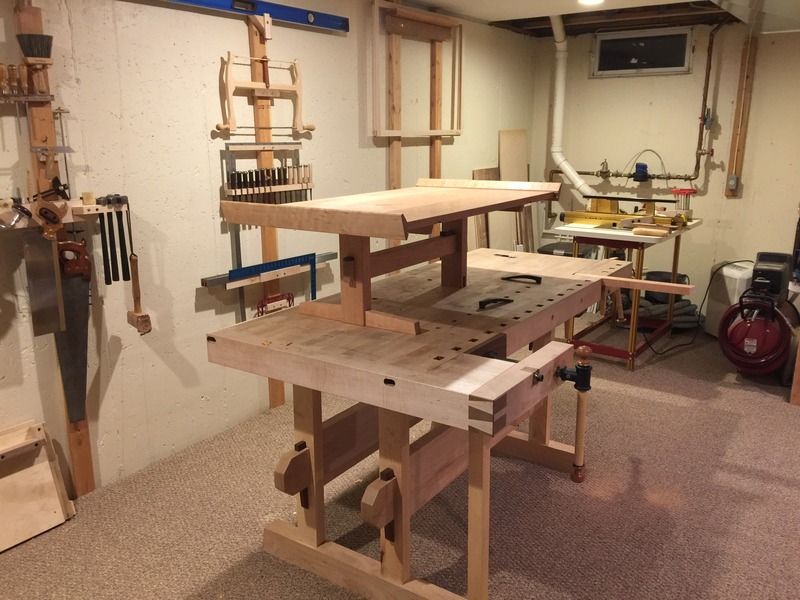
After finishing the last foot, it's complete.
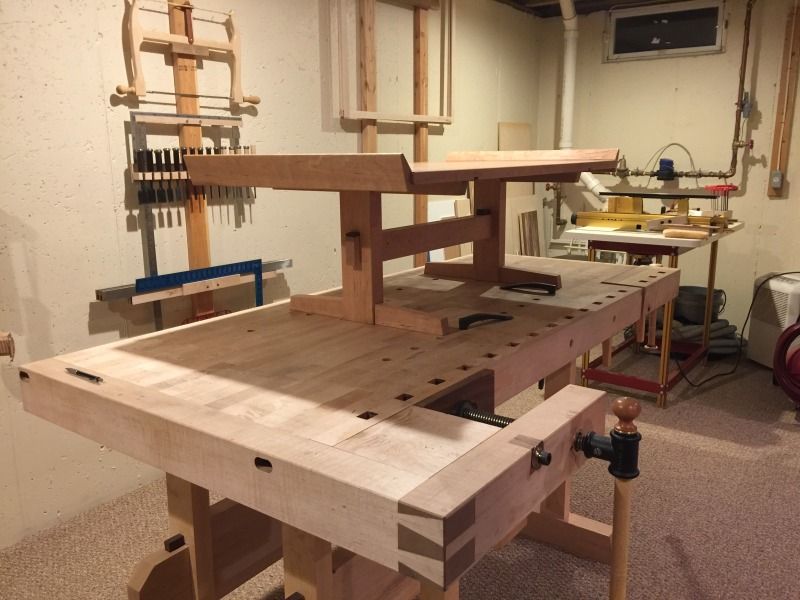
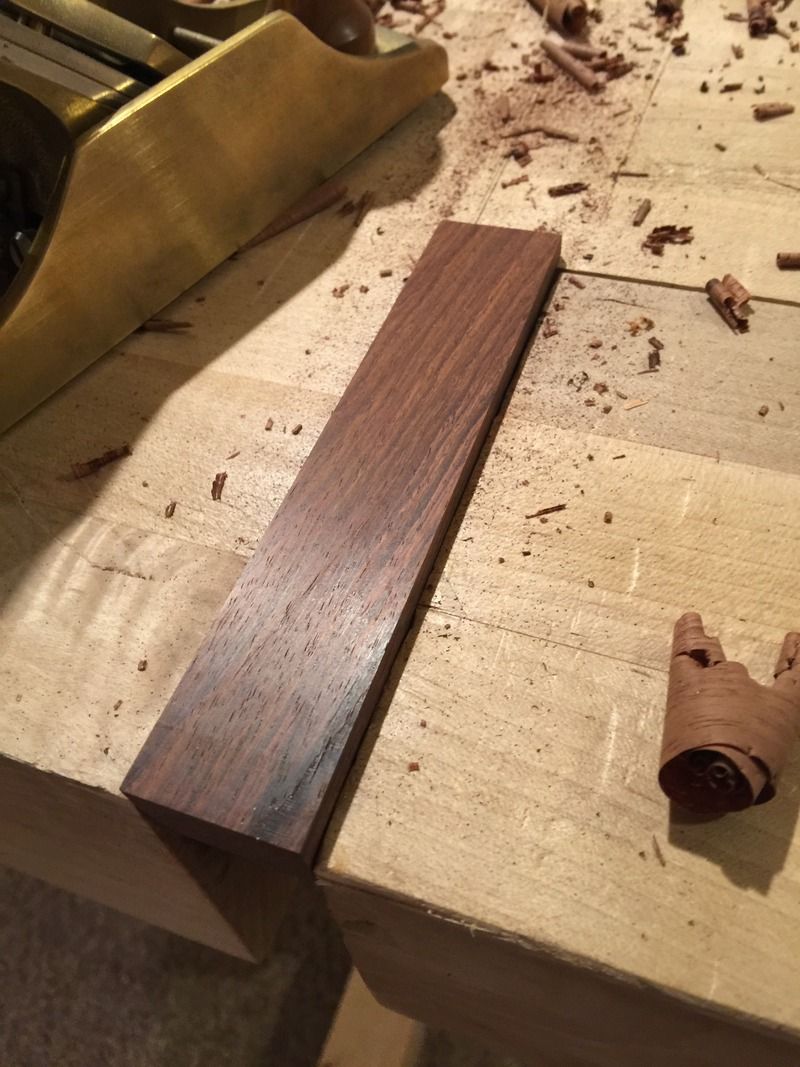
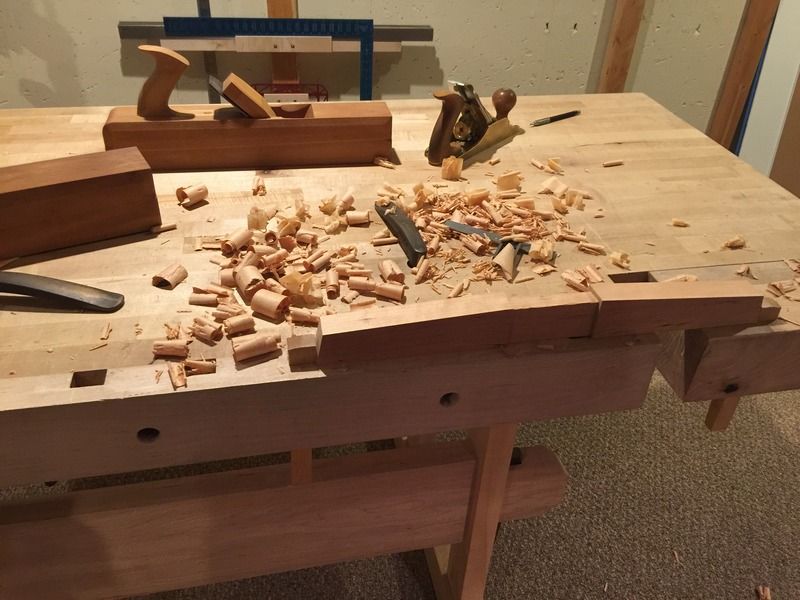
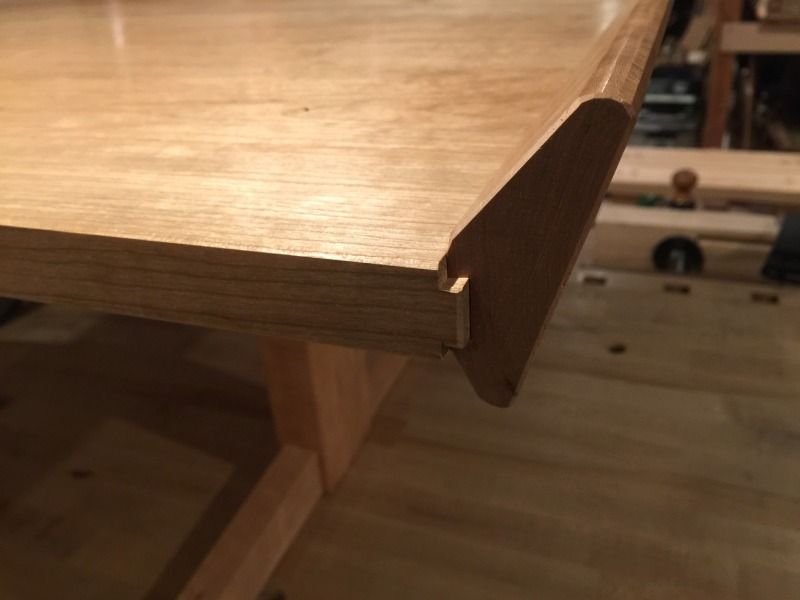
I love cherry, the top planed to a beautiful finish right off the #4 plane

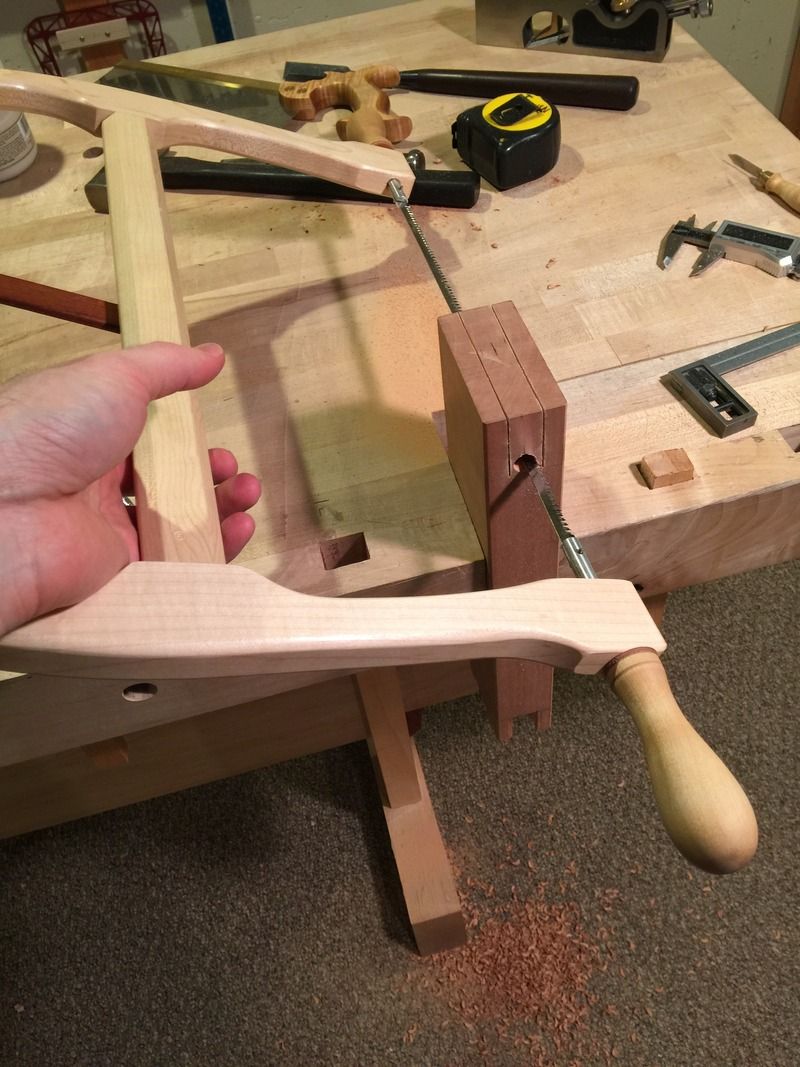
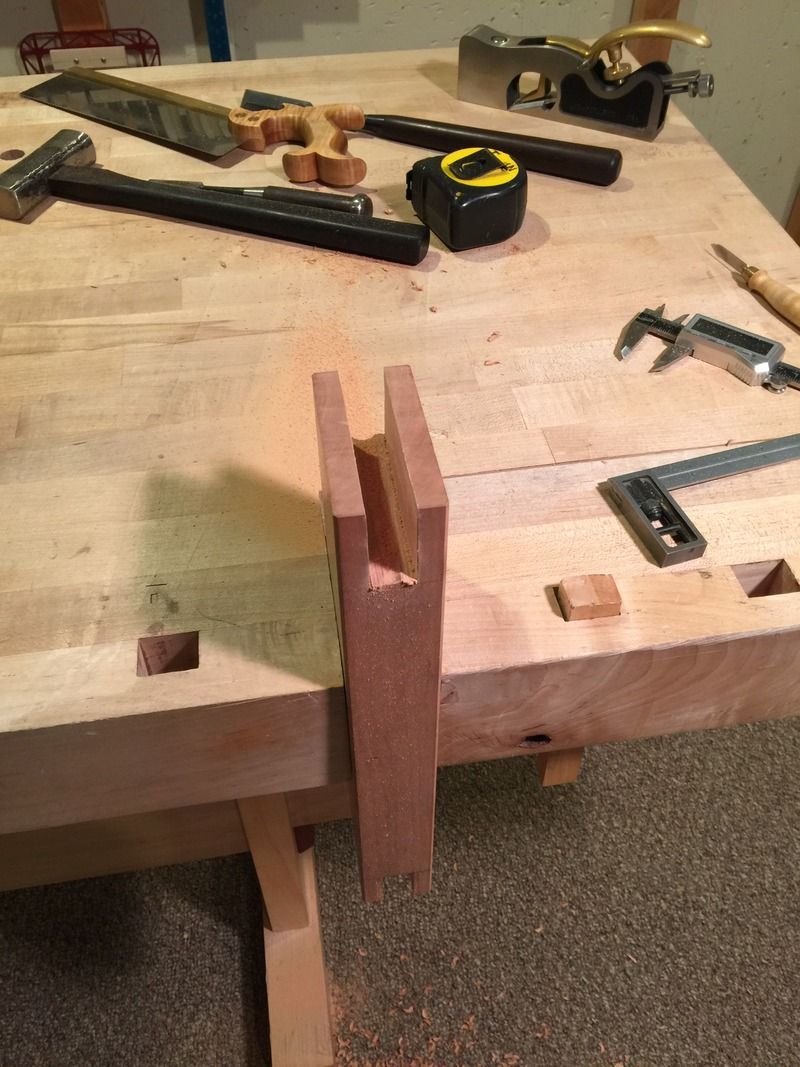
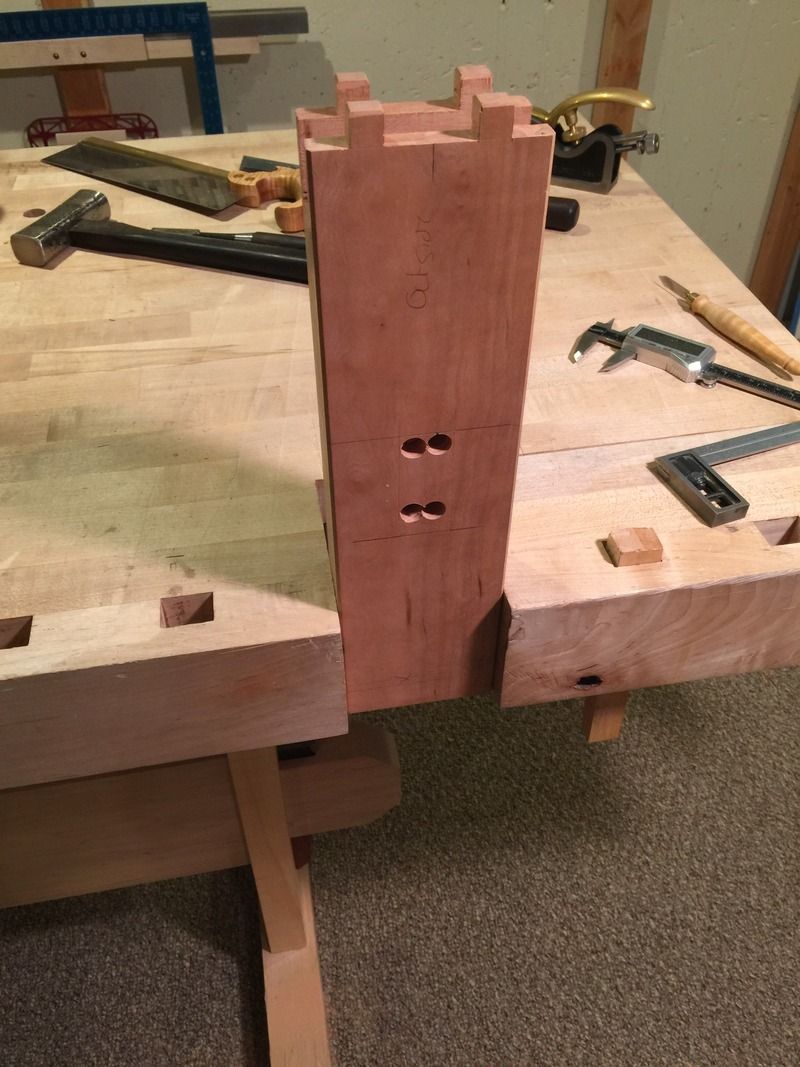
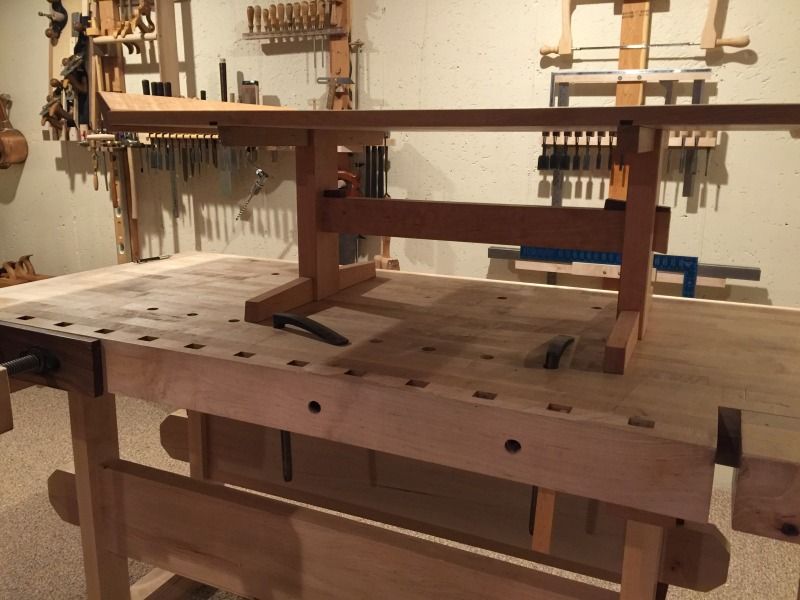
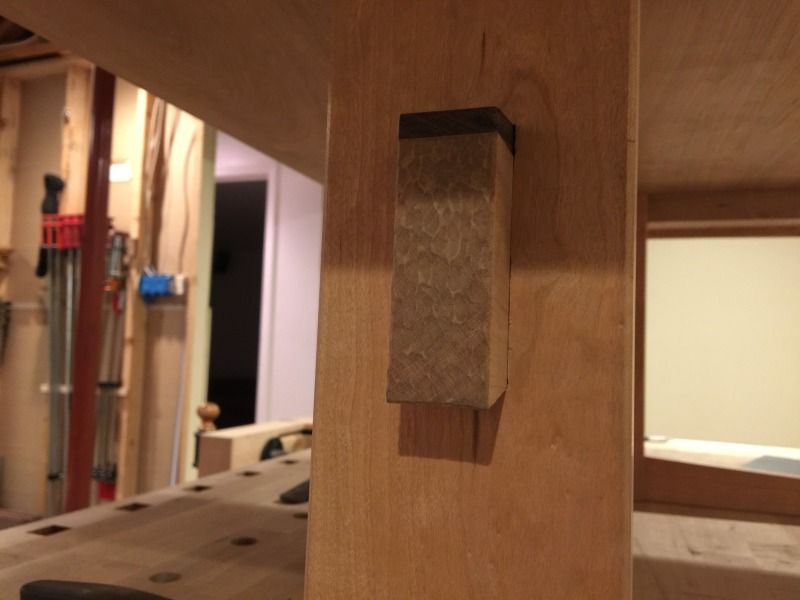
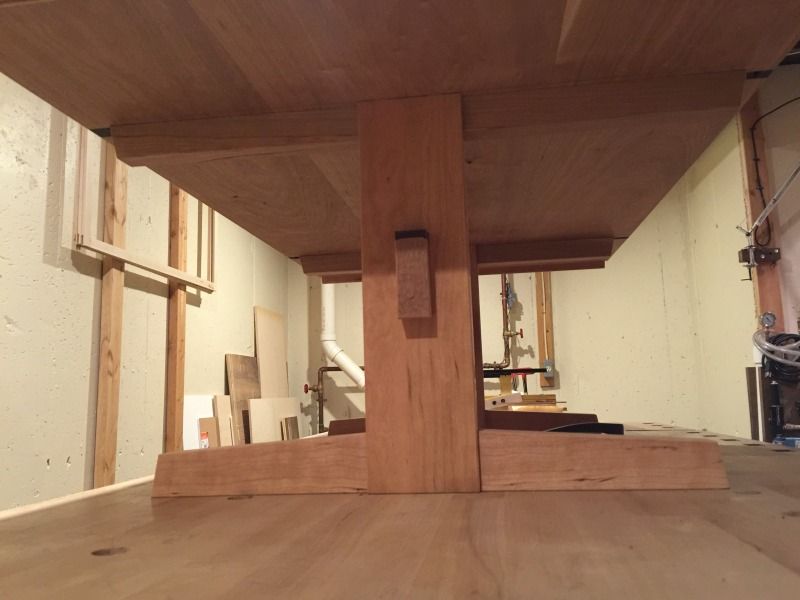
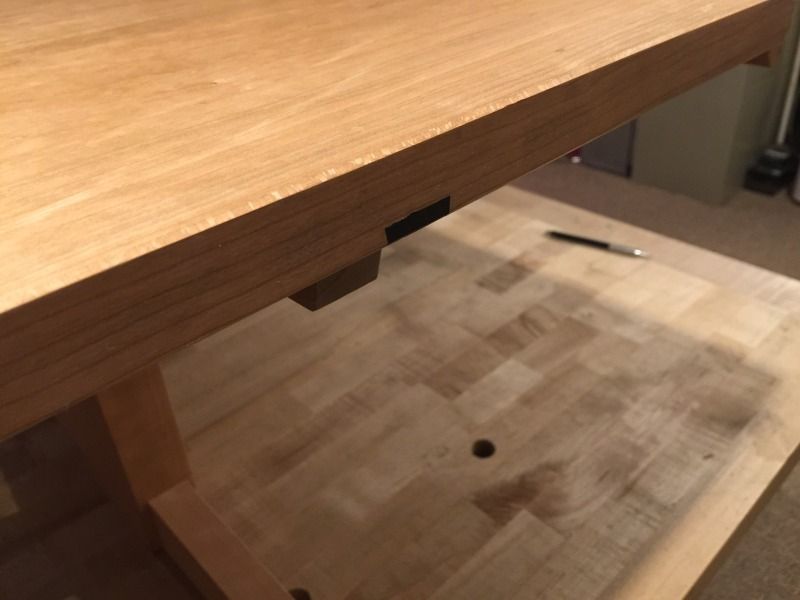
Finished detailing the sliding dovetail channels with ebony inserts and trimming the ends to length, plenty of time spent with the chamfer plane as well detailing corners.
End grain carved
This should give a good perspective of how the battens are;
My final debate is whether or not I peg the top bridle joints, or just leave the top free floating. I may try it out for a few days and see if it moves at all in regular use. I like the joinery without pegs, but maybe it's a foolish plan.
Re: Table Build
Posted: Tue Jan 19, 2016 12:49 am
by Gadge
Chris Hall wrote:Will be happy to show some better connection options for that, just give me a day or two.
Beautiful work Brian. I've enjoyed watching the process.
Chris, I don't want to appear pushy but will you show us better joints to use for saw horses?
Re: Table Build
Posted: Tue Jan 19, 2016 6:33 am
by Chris Hall
I will. I've been busy however I haven't forgotten....
Re: Table Build
Posted: Tue Jan 19, 2016 6:36 am
by Chris Hall
Brian wrote:My final debate is whether or not I peg the top bridle joints, or just leave the top free floating. I may try it out for a few days and see if it moves at all in regular use. I like the joinery without pegs, but maybe it's a foolish plan.
The way to connect those pieces with joinery, without pegging, is to place a central through-tenon, or pair of tenons, in the middle of the connection, the tenon of which can be wedged on the exit face.
Re: Table Build
Posted: Tue Jan 19, 2016 10:31 am
by Brian
Hmm, like a tapering pin but wedged on the outside?