I have made an allowance for a full length 3/8" tall space between the interior partitions and the bottom of the trays. I can store a sashigane, 24" straightedge, and my winding stick here.

The smaller trays can nest on top of the larger tray, so I can still slide it around in use.
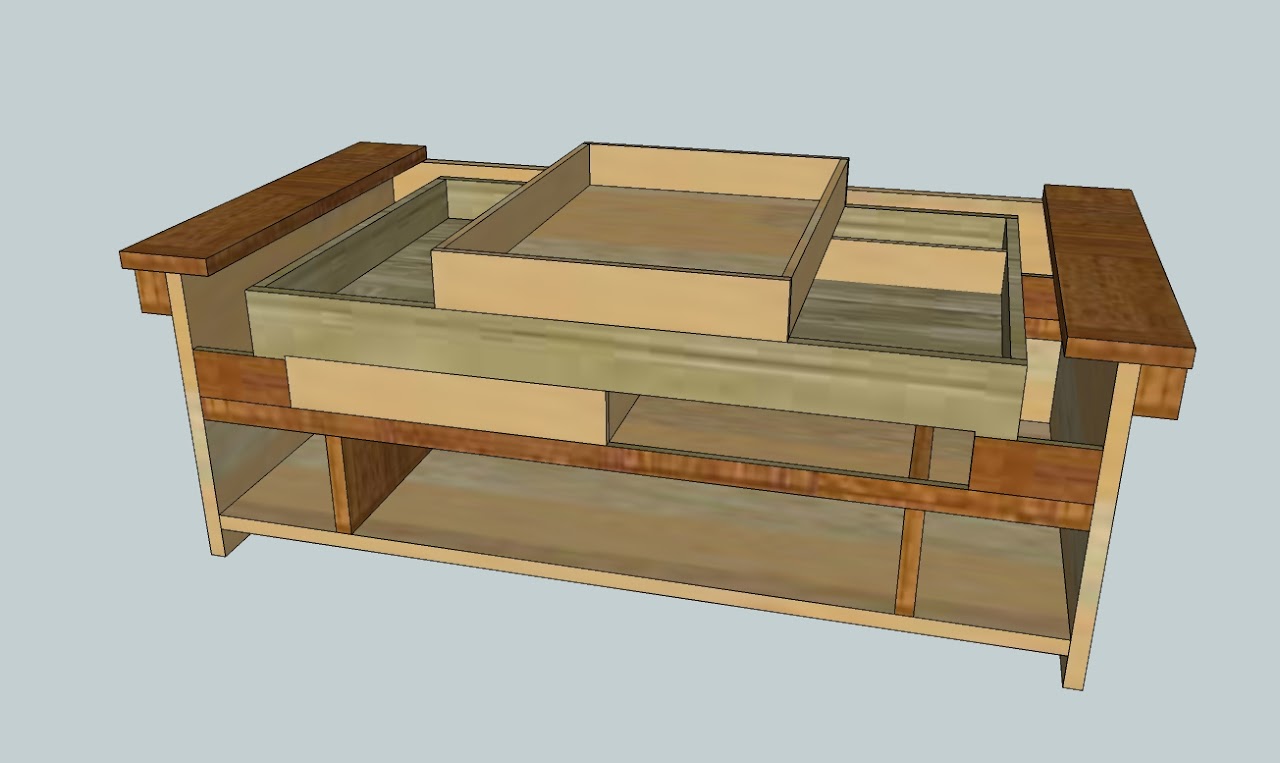
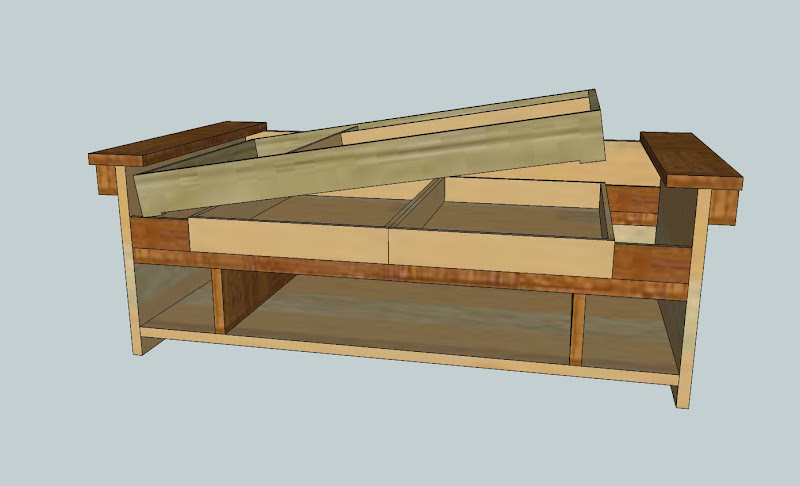
The top tray interlocks with the lower trays by 1/8". To remove the upper tray, you lift one end up slightly, slide it over, and lift it out. Because the tray is slimmer than my previous version, the lift angle is a mere 8 degrees.

I am not sure what joinery to use to attach the ledge and side stops. I may just glue the ledge in a 1/8" groove, and face gluing the stops to the side walls.
Suggestions and comments are appreciated as always.
David

