For no special reason, today I decided to process the tenons on the end of the handles. I could just as easily have worked on the end board tenons, but, what the heck?
The handles were already cut to dimension (identical to the end boards), so I used the
kama kebiki, which I had left at the same setting as it had been when marking out the end board tenons, to mark a line out around the ends of the handle:
- DSC04831-small.JPG (75.48 KiB) Viewed 3680 times
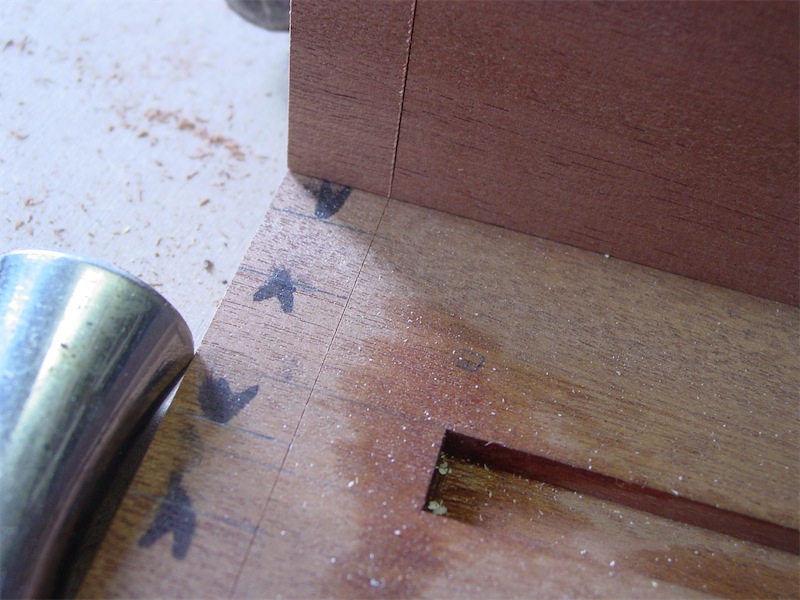
If you hadn't cut the handle and end boards to length simultaneously, or had not kept the
kama kebiki set, then you can compare your knifed marks for width on the handle with the ones on the end boards:
- DSC04832-small.JPG (139.46 KiB) Viewed 3680 times
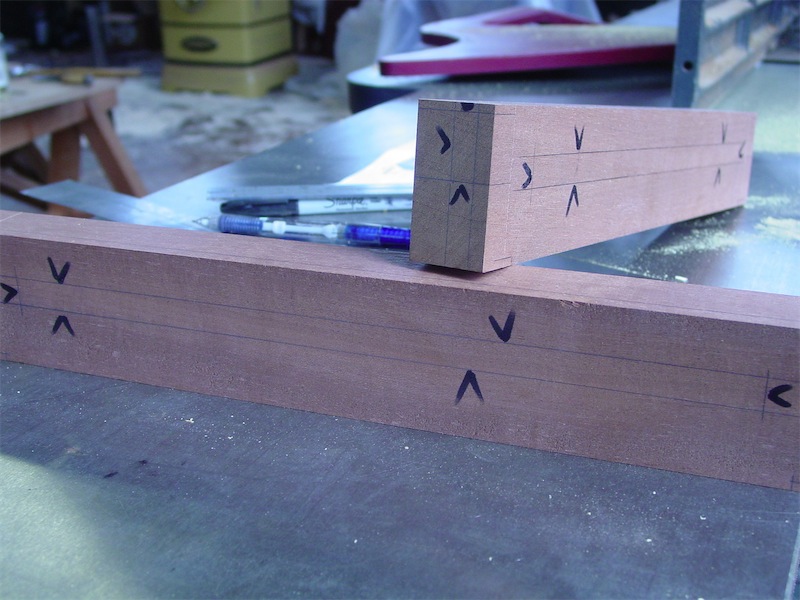
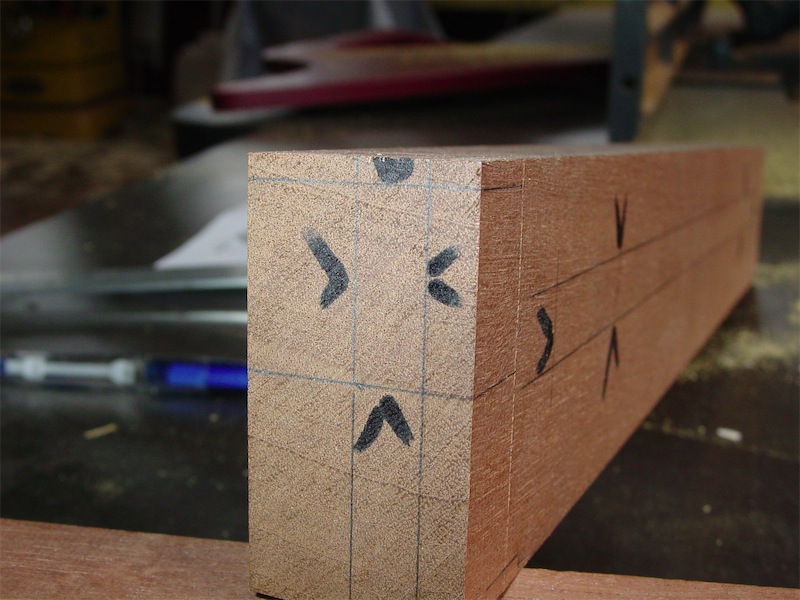
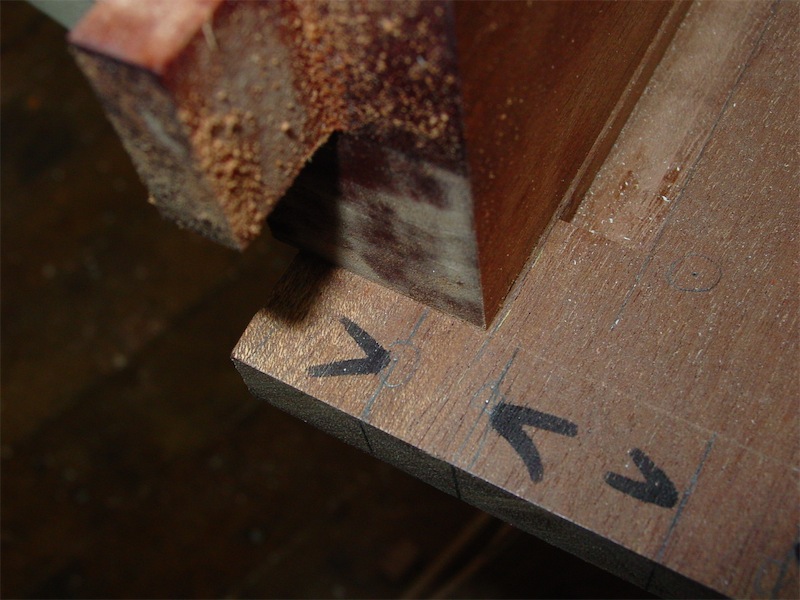
Then I used combo square and 0.5mm pencil to mark out the tenons, which are 0.375" x 1.0" (@ 9.5mm x 25mm) along with the top and inside face tongues:
- DSC04833-small.JPG (132.77 KiB) Viewed 3680 times
- DSC04835-small.JPG (131.95 KiB) Viewed 3680 times
The board in the above picture is oriented so that its bottom face is uppermost.
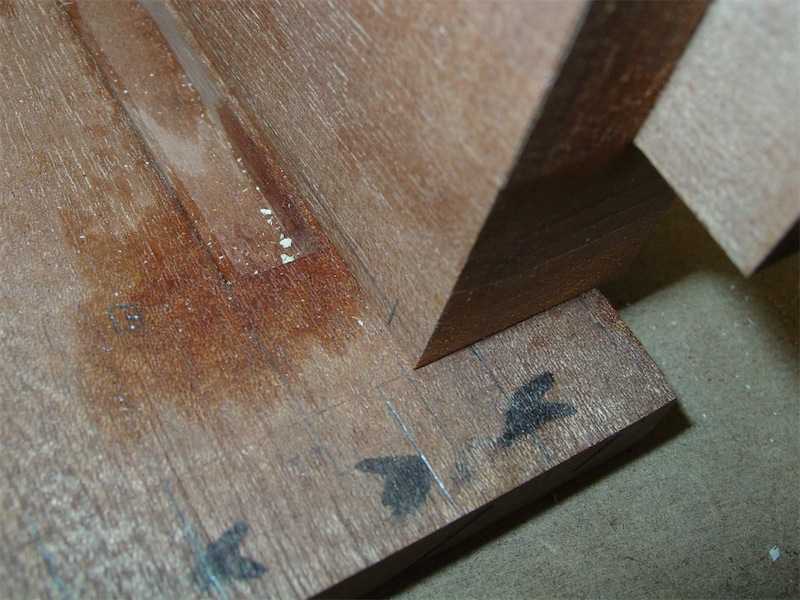
Another check to make sure that the inside face tongue laid out corresponds to the groove already cut on the outside face of the end board:
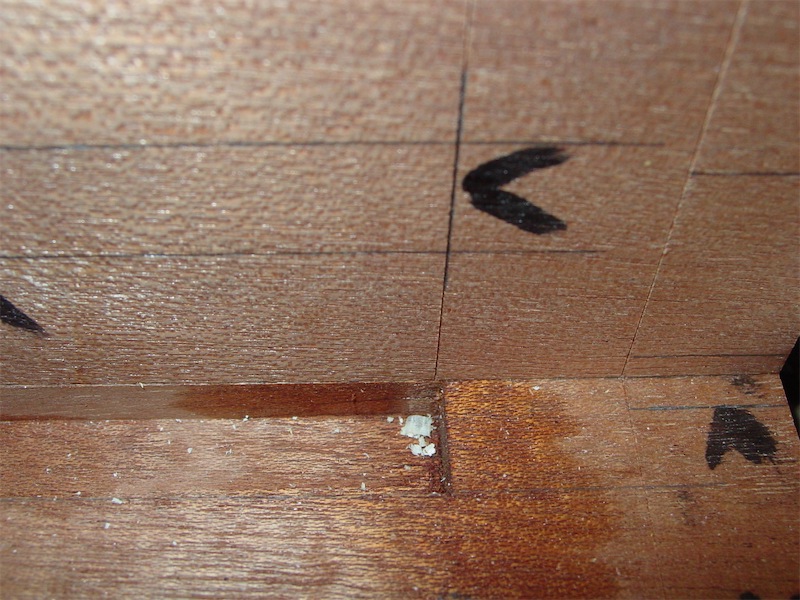
- DSC04837-small.JPG (175.68 KiB) Viewed 3680 times
The tongue is slightly shorter, which is fine. The critical fit aspect to the tongue and groove is the tongue's width, and making sure the groove is a hair deeper than the tongue.
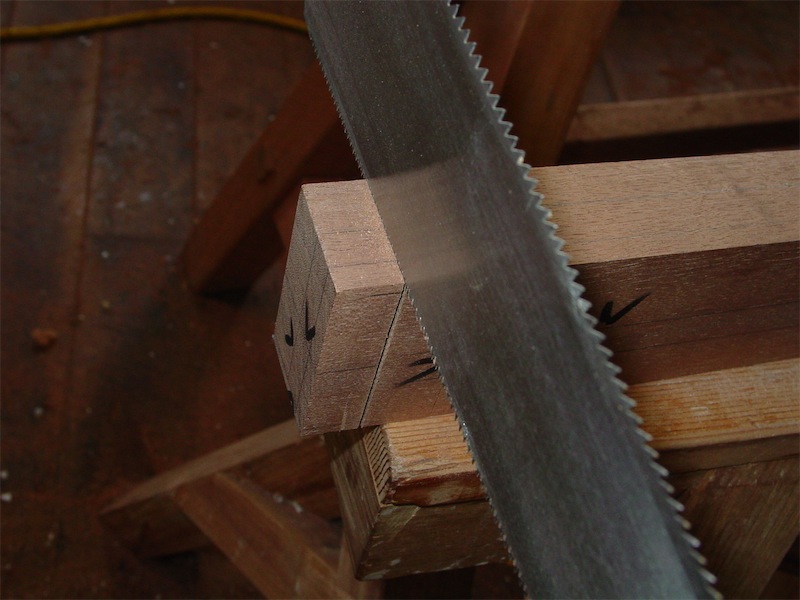
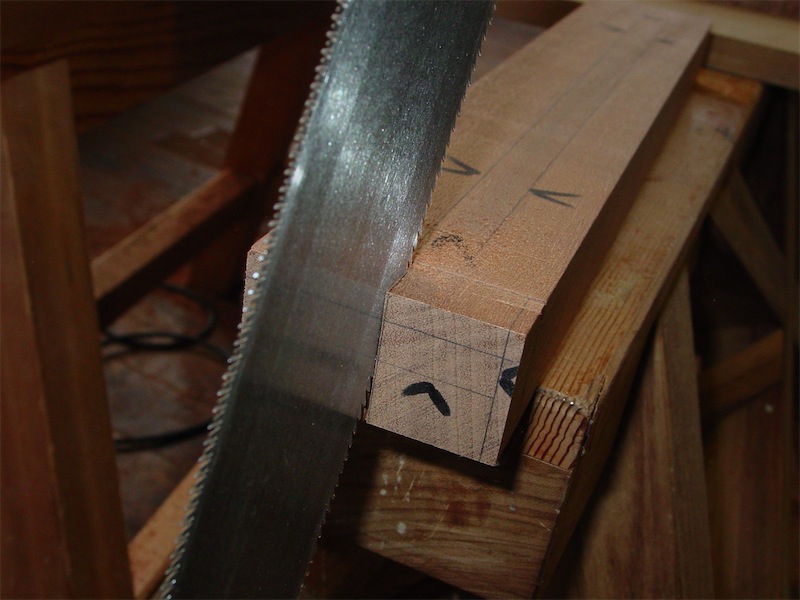
One way to process the cuts on the tenon is with a handsaw - I start by cutting the shoulders first, broad face first:

- DSC04838-small.JPG (101.82 KiB) Viewed 3680 times
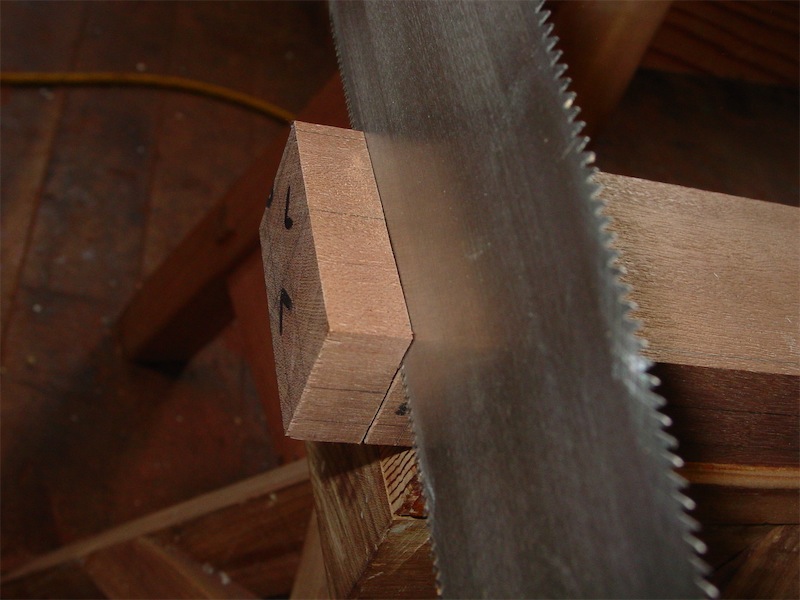
Then the bottom edge:
- DSC04839-small.JPG (105.21 KiB) Viewed 3680 times
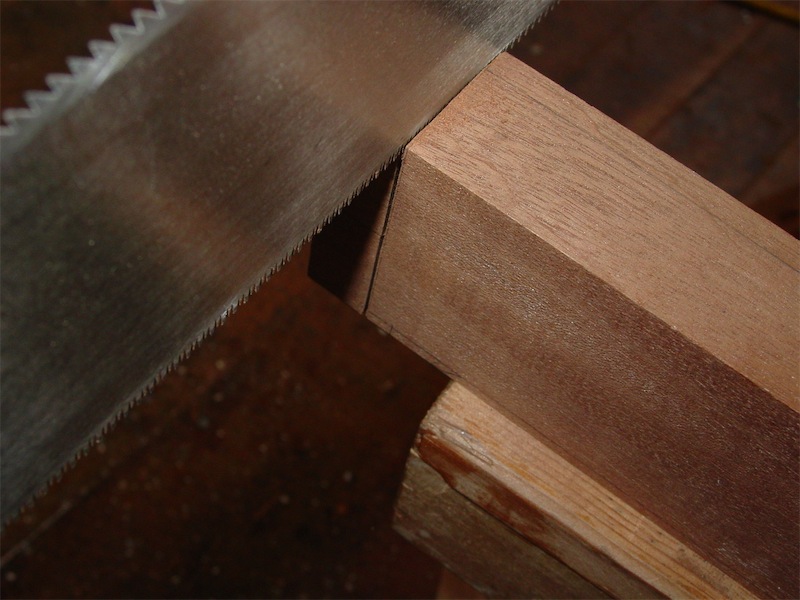
The next face:
- DSC04840-small.JPG (105.48 KiB) Viewed 3680 times
And final face:
- DSC04841-small.JPG (119.28 KiB) Viewed 3680 times
Then the ripping can begin:
- DSC04842-small.JPG (107.95 KiB) Viewed 3680 times

- DSC04843-small.JPG (137.65 KiB) Viewed 3680 times
Now, the ripping is more often done so that you would remove the waste from the long sides first, then pare the exposed end grain square to the face, and then use a corner cutting-plane to trim the side of the tenon cheek square and to the required depth. I feel fairly confident with my hand rip cuts, so I just went and removed all the waste to leave the roughed out tenon. Then I pared the exposed end grain clean:
- DSC04848-small.JPG (144.34 KiB) Viewed 3680 times
A little more trimming and the tenon is defined, with a little clean up of the tenon cheeks still required:
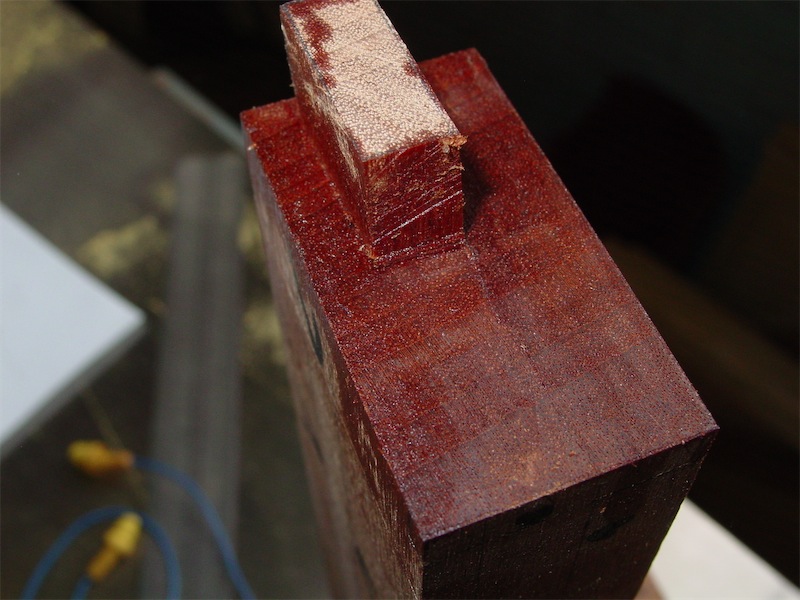
- DSC04851-small.JPG (129.01 KiB) Viewed 3680 times
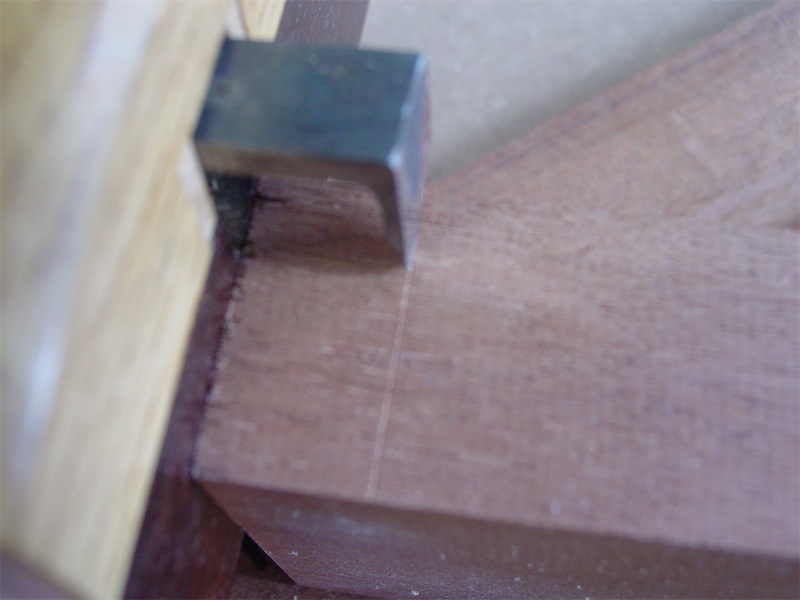
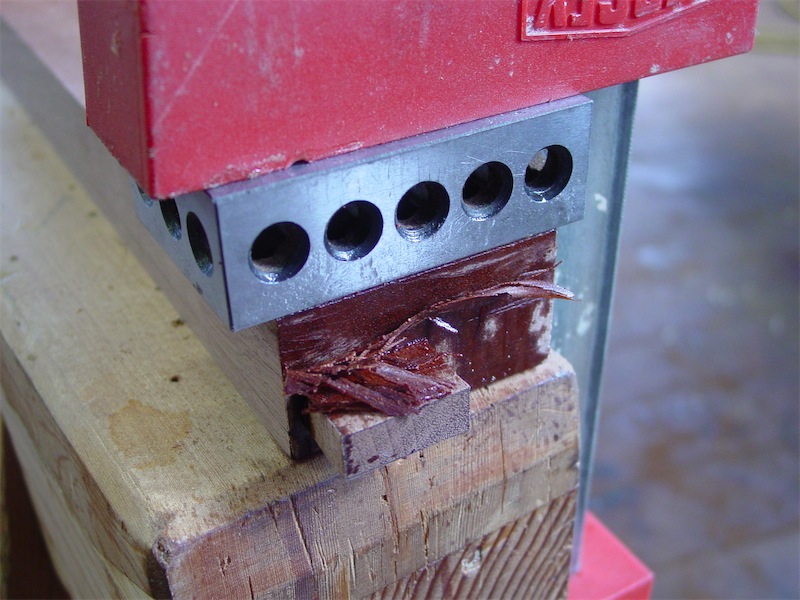
Now, with smaller piece of wood like this I usually do not saw and pare my way there - I use the router in a jig where I can cut directly onto the end grain to form the tenon, a configuration in which the router excels:
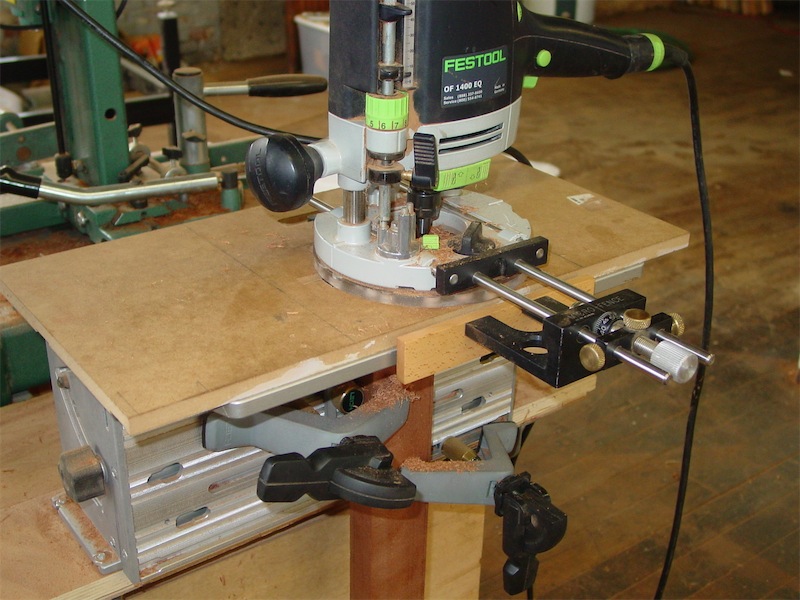
- DSC04852-small.JPG (146.75 KiB) Viewed 3680 times
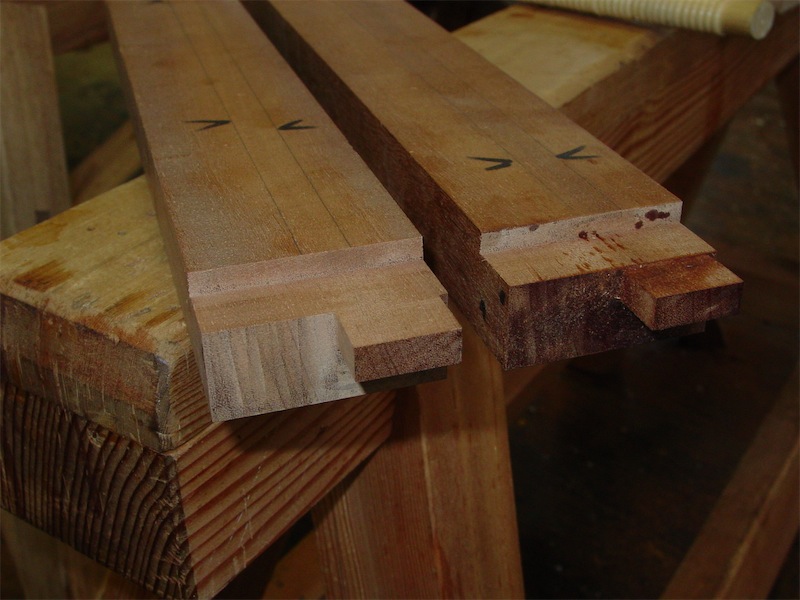
The cut out proceeds in stages, and when the tenons are done, I check the handle's end against the end board to make sure they are exactly the same dimension. Here's one side:
- DSC04853-small.JPG (168.19 KiB) Viewed 3680 times
And here's the other:
- DSC04854-small.JPG (129.58 KiB) Viewed 3680 times
Tenons complete, sawn one on the right, routed one on the left, plus a few more cutting steps along the way:
- DSC04855-small.JPG (117.91 KiB) Viewed 3680 times
Another view:
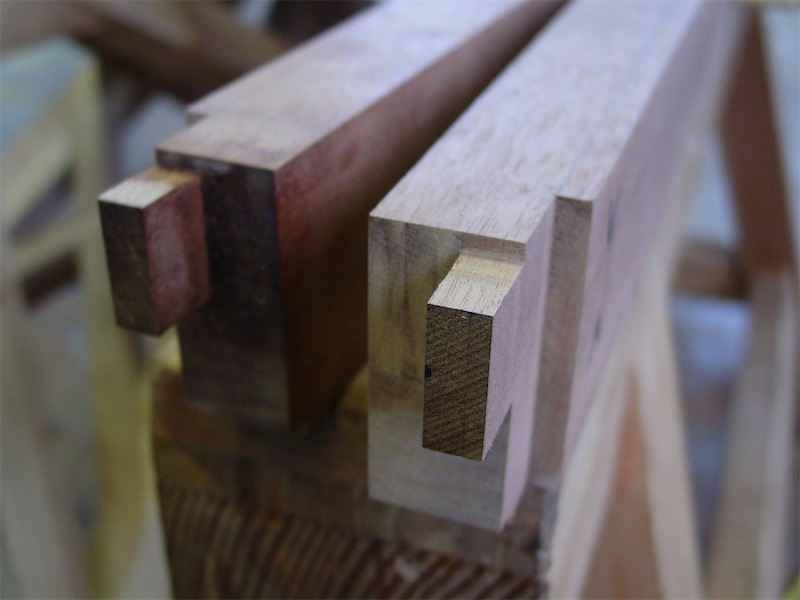
- DSC04858-small.JPG (84.03 KiB) Viewed 3680 times
I have yet to process the cuts to define the tongue on the inside face and top face of the handle. Then there will be the template-profiling work. I'll leave that until next time.
Here's where my pile of boards is, stage-wise:
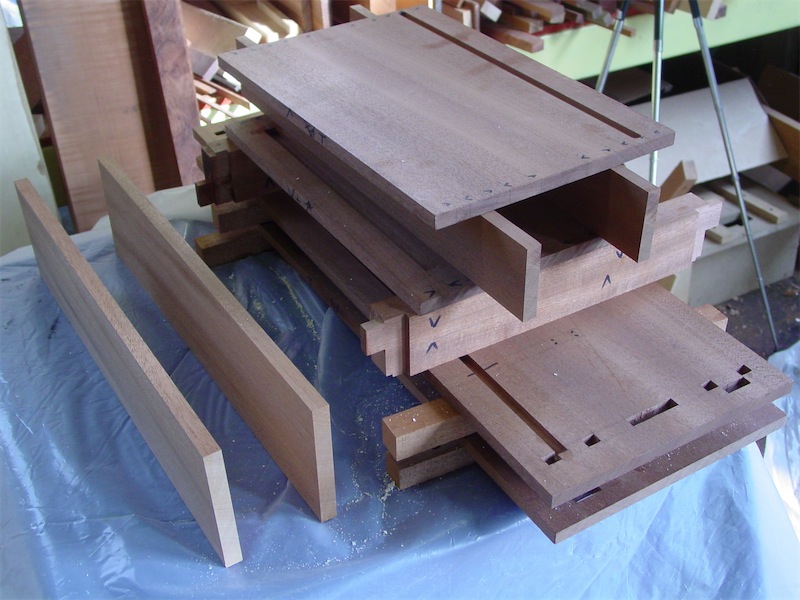
- DSC04861-small.JPG (137.06 KiB) Viewed 3680 times