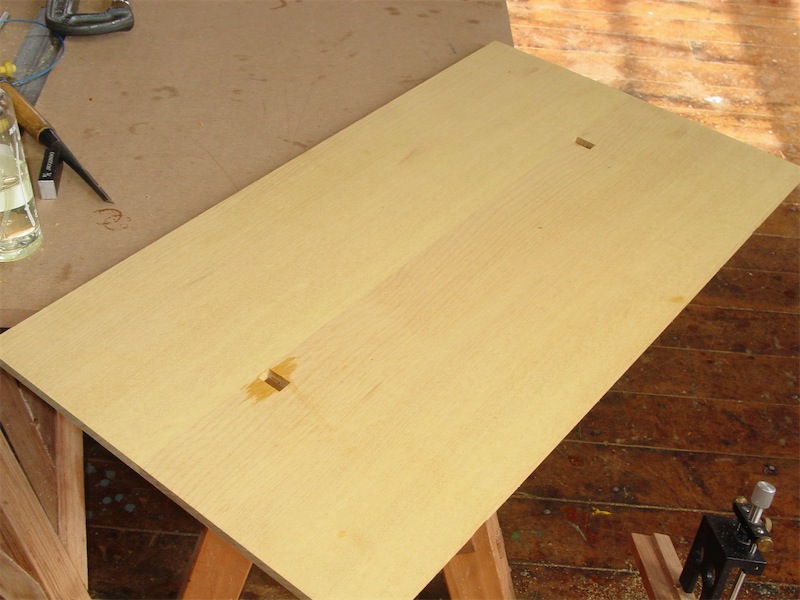
With the changes made to the floor pan of the tool box in order to accommodate some new trays, I need to add some shallow dadoes to the floor panel. These are 0.0625" deep and 0.375" wide. You'll have to look closely at the photo to see them, but they're there!:
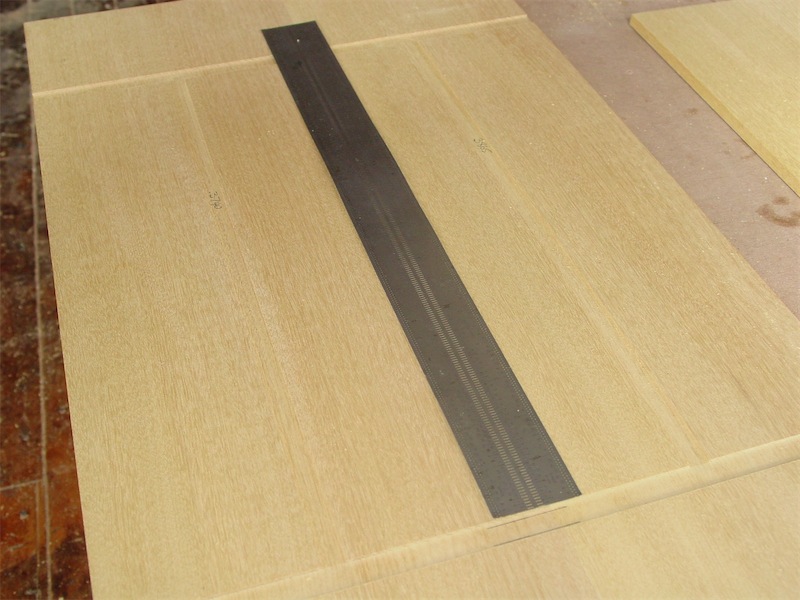
- DSC05038-small.JPG (126.41 KiB) Viewed 6138 times
I also prepared the stock which will be fitted into these new dadoes, and I chose Pau Amarella for that. See the 'What goes in the Box' thread for illustration of the center trays and support pieces.
With my new router table up and running, I trimmed a 1/8" nib off the top edge end portions of the end boards:
- DSC05039-small.JPG (101.12 KiB) Viewed 6138 times
Then I trimmed the height of the long side boards down 1/8" on a tablesaw (not shown).
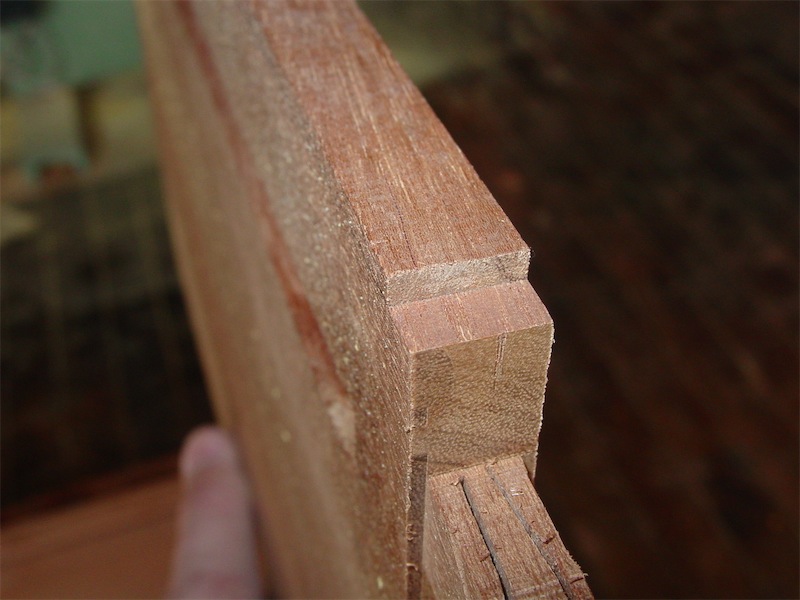
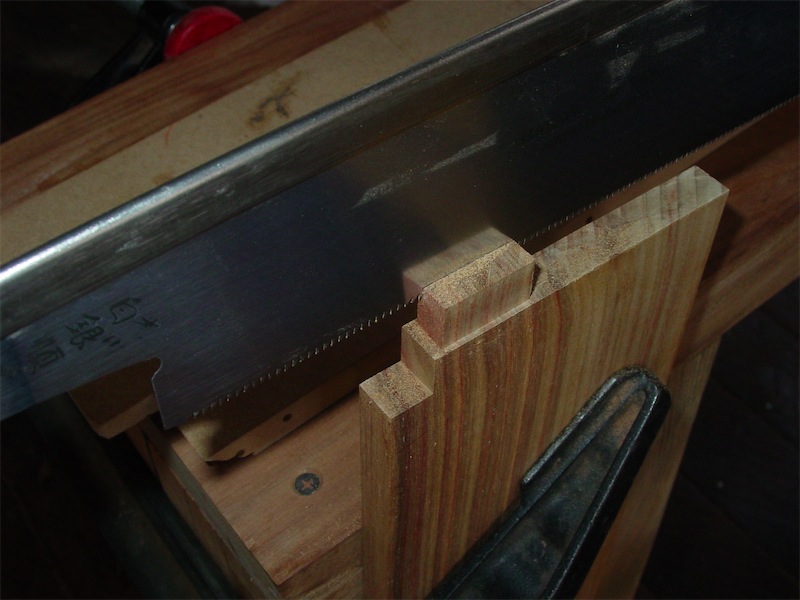
I finished off the work on the handles to define their tongues, both on the back side and top edge:
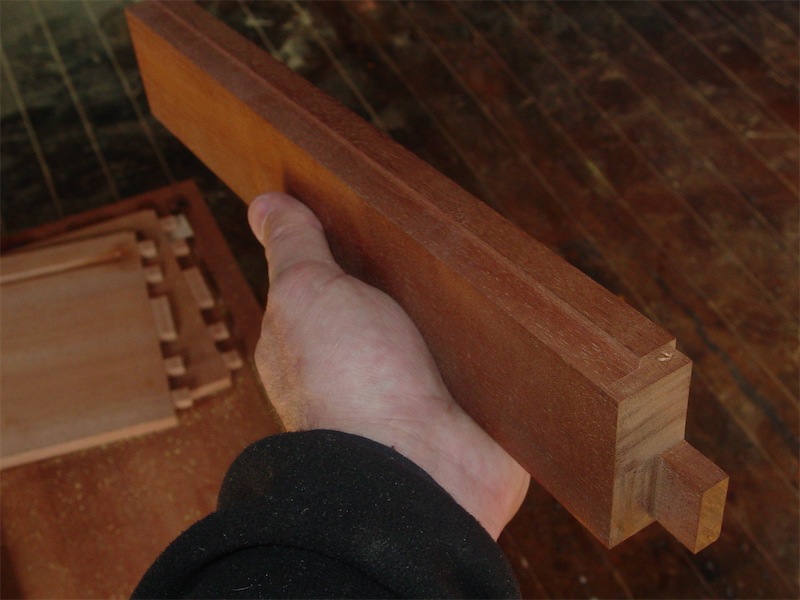
- DSC05041-small.JPG (100.5 KiB) Viewed 6138 times
The fit between the handles rear tongue and the end board's dado is a light interference fit - for the time being I'll hold off on putting them together, but this photo gives a good idea of how the parts will associate:
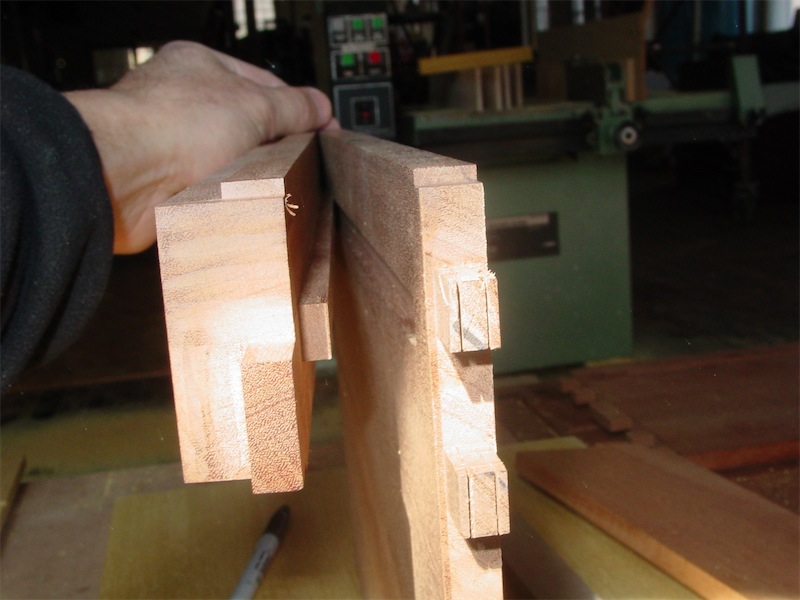
- DSC05042-small.JPG (100.28 KiB) Viewed 6138 times
This picture above shows clearly how the tongue on the top edge of the handle attaches alongside the top edge of the end board, and purpose of removing the nib from the end board top edge ends should now be clear. The handle's top edge tongue and the top edge of the end board when put together form a large tongue which will fit into a recess on the cap piece.
The main partitions will attach to the floor panel using some wedged floating keys, and I took care of the two mortises for this:
- DSC05055-small.JPG (118.17 KiB) Viewed 6138 times
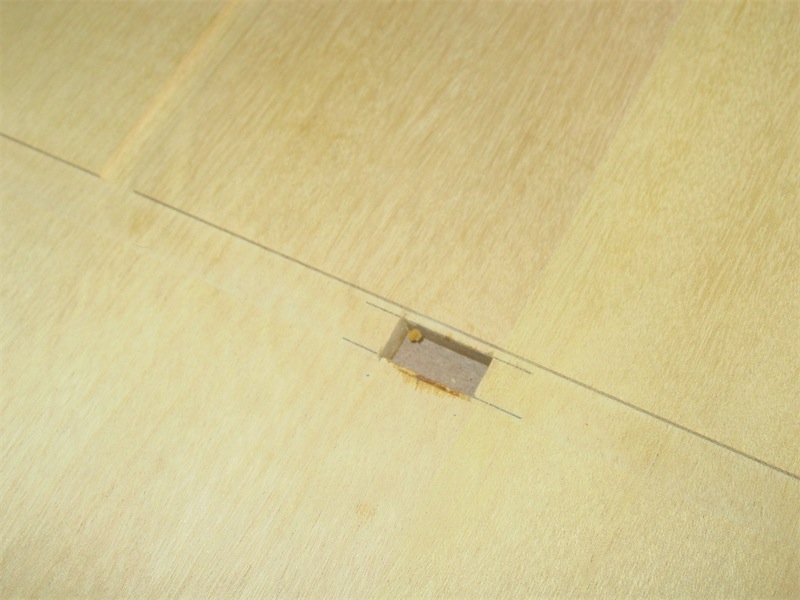
- DSC05053-small.JPG (102.26 KiB) Viewed 6138 times
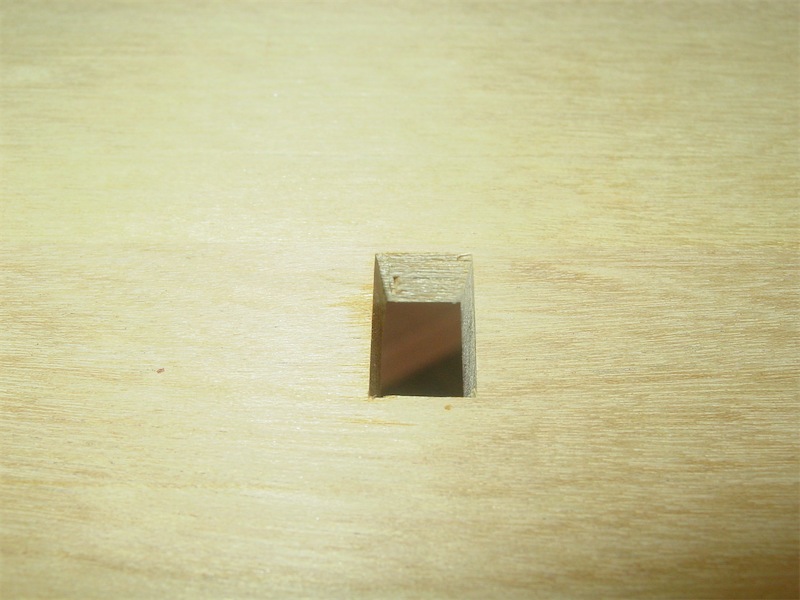
- DSC05054-small.JPG (102.36 KiB) Viewed 6138 times
I had made the interior partitions, however I was a bit less than enthused about the mahogany which I had selected for them. Good mahogany is dark, dense, and has white flecks in the pores - the bad stuff is pale and light. These partitions were of that latter type, and as I worked them and looked at them day after day I grew less excited about using them. I think the partitions will take a fair amount of wear and tear from taking the tray out and putting it back repeatedly, and I felt a harder wood was called for.
I decided to ditch the light mahogany partitions and go with some material a little lighter in color and denser. I would have preferred
Pau Amarello, however I had no adequately wide pieces left. I found some quartersawn pieces of Canary Wood on the shelf however and decided they would do just fine. So, time to make the interior partitions,
round two. With the added trays in the middle of the box, I changed the cut-out sequence slightly, this time beginning with the housed mortises for the bottom tray support pieces.
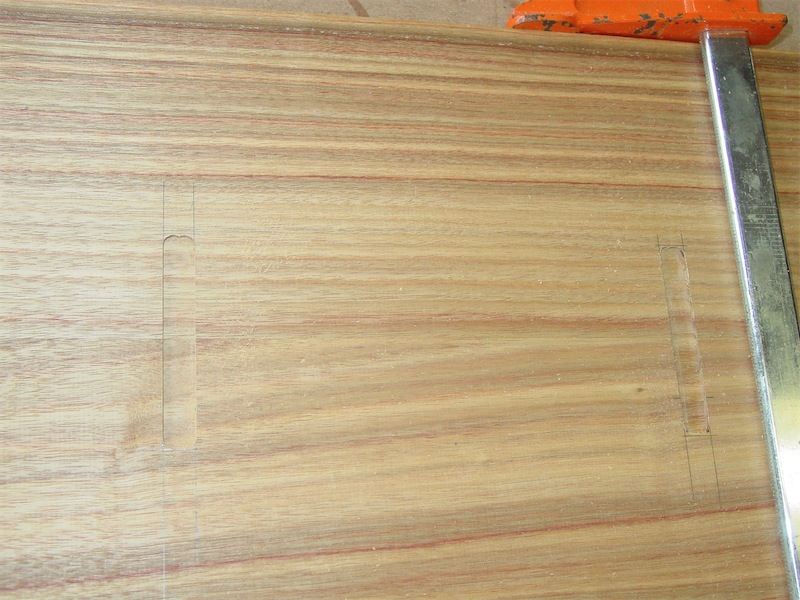
Laid out and both boards clamped together in preparation for routing:
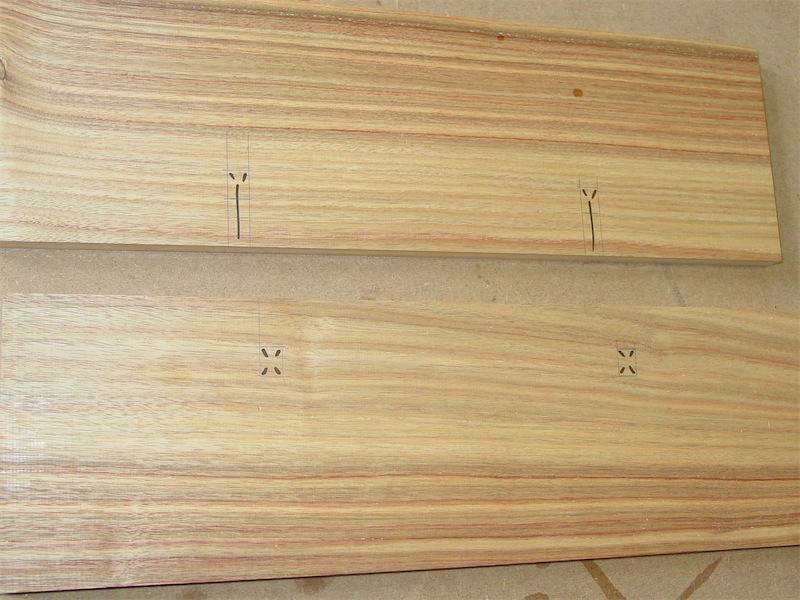
- DSC05060-small.JPG (149.12 KiB) Viewed 6138 times
A bit of routing later:
- DSC05061-small.JPG (155.39 KiB) Viewed 6138 times
Then I went over to the hollow chisel mortiser to deal with the holes:
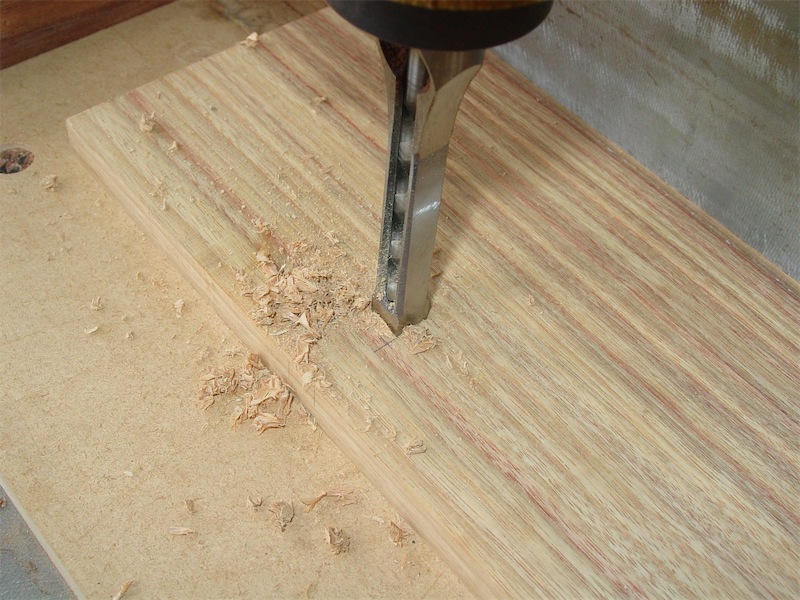
- DSC05062-small.JPG (175.3 KiB) Viewed 6138 times
Done - one board is facing out, one facing in:
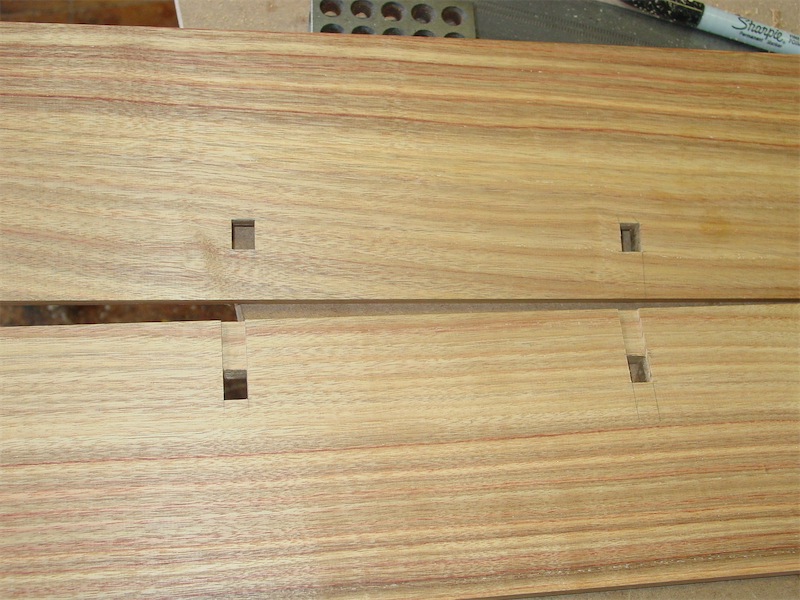
- DSC05063-small.JPG (156.63 KiB) Viewed 6138 times
A closer look:

- DSC05064-small.JPG (80.28 KiB) Viewed 6138 times
These mortises are not flared and the tenons going into them will not be wedged - there's no need for that form of joint as the partitions are constrained from moving by the floor panel dadoes and by the tenoned connections holding the partitions to the long side walls of the box.
The mortises could use a little paring yet, but I'll save that for the fitting stage:
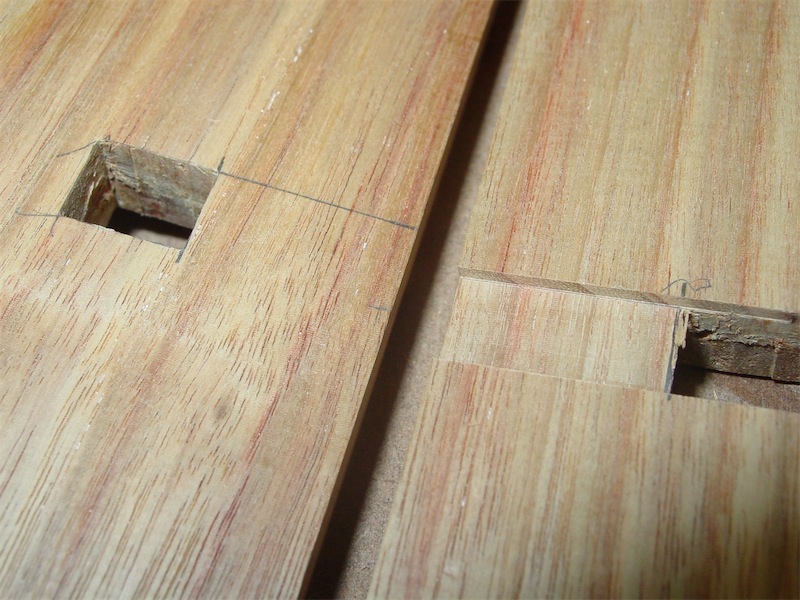
- DSC05065-small.JPG (161.29 KiB) Viewed 6138 times
Then I processed the tenons on each end, and with that complete, I could saw kerfs into the tenons:
- DSC05067-small.JPG (101.58 KiB) Viewed 6138 times
One done, three to go:
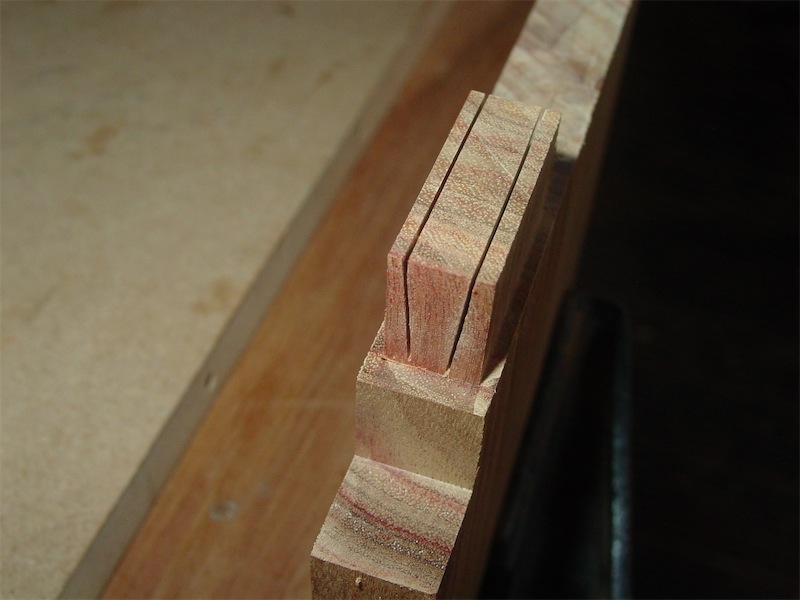
- DSC05068-small.JPG (87.04 KiB) Viewed 6138 times
So, the floor pan is done, and the partitions are done. I have the lengthwise tray support stock pieces prepared, but haven't begun cutting them out yet. Here's how the parts relate to one another in case you're feeling a little lost:
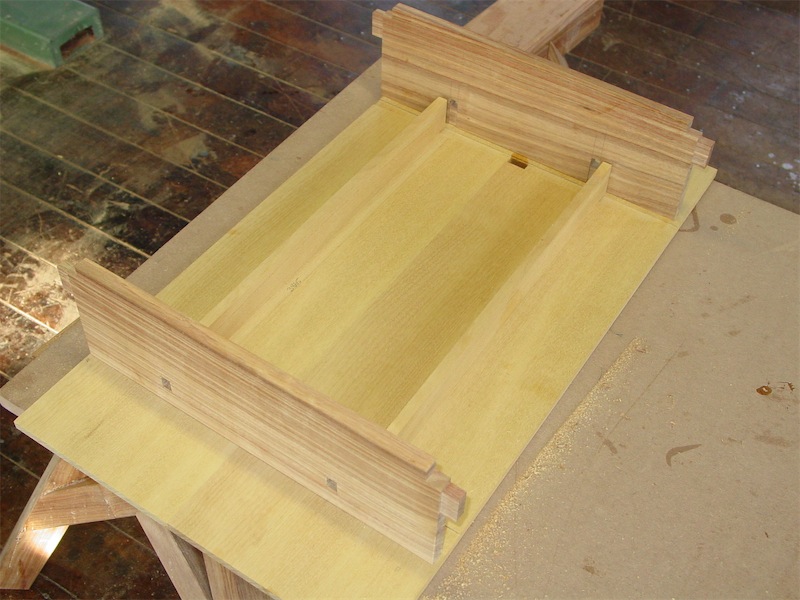
- DSC05069-small.JPG (132.66 KiB) Viewed 6138 times
I'll start a separate thread for the tray builds, as that aspect is somewhat outside the project scope. Maybe you'll build trays like me, and maybe you will decide on something different altogether.