Page 8 of 8
Re: Getting rolling - dadoes, mortises and tenons
Posted: Tue May 29, 2012 7:44 pm
by Jack_Ervin.
Re: Getting rolling - dadoes, mortises and tenons
Posted: Tue May 29, 2012 9:07 pm
by Chris Hall
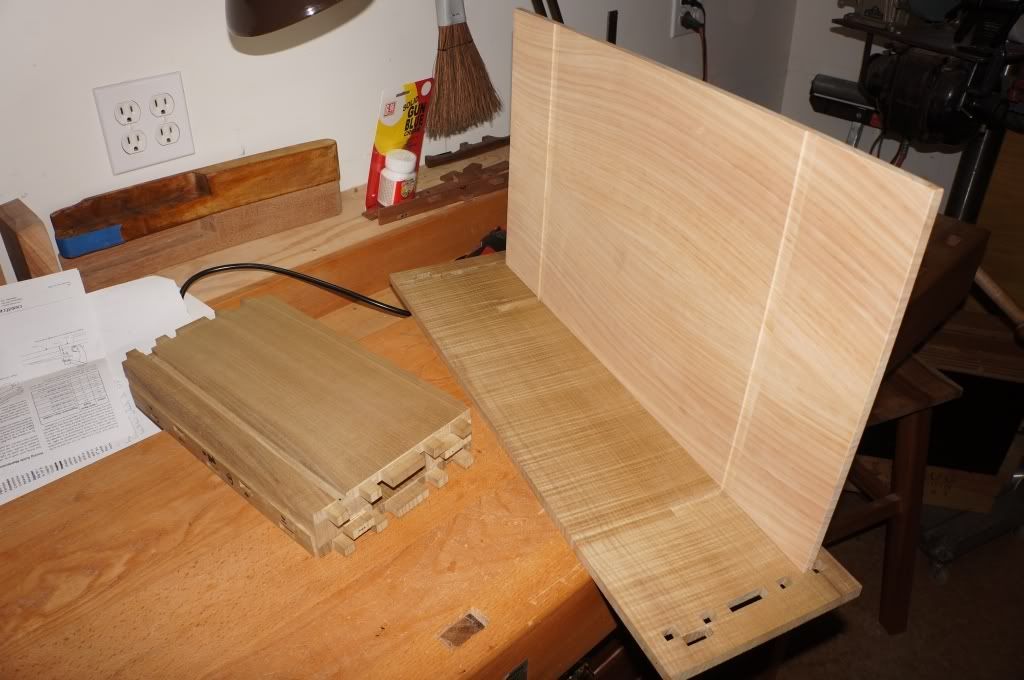
Coming along nicely..
Re: Getting rolling - dadoes, mortises and tenons
Posted: Fri Jun 01, 2012 11:40 pm
by Jack_Ervin.
Re: Getting rolling - dadoes, mortises and tenons
Posted: Wed Jun 06, 2012 7:41 pm
by Dan McC
Hi Chris,
You mention that "The main partitions will attach to the floor panel using some wedged floating keys". Also that the main partitions are of Pau Amarillo and later on that the wedged floating keys are of jatoba. Can you explain how the jatoba keys are connected to the pau amarillo partitions? It appears to me that the partitions have flat bottoms.
I am continuing to work away on mine as time permits. I have the partition grooves cut now in the sides and the bottom, and am ready to make the tapered mortices for the partitions. After that I plan to put some shellac on the inside surfaces, then hopefully on to assembly.
Cheers,
Dan
Re: Getting rolling - dadoes, mortises and tenons
Posted: Wed Jun 06, 2012 8:35 pm
by Chris Hall
Dan,
check out this thread for more on the floating tenons:
http://www.thecarpentryway.com/Carpentr ... f=26&t=135
Keep up the good work

Re: Getting rolling - dadoes, mortises and tenons
Posted: Wed Jun 06, 2012 8:37 pm
by Dan McC
Thanks Chris, that's exactly what I was looking for. Don't know how I missed that thread!
Dan
Re: Getting rolling - dadoes, mortises and tenons
Posted: Wed Jun 06, 2012 10:38 pm
by Chris Hall
Glad I could point you in the right direction.
Re: Getting rolling - dadoes, mortises and tenons
Posted: Wed Dec 17, 2014 2:37 pm
by Chris Pyle
I have a very basic question: When you lay down your centerline, is it horizontal or vertical? Is it based on the symmetry or asymmetry of the joinery?
Re: Getting rolling - dadoes, mortises and tenons
Posted: Wed Dec 17, 2014 6:03 pm
by Chris Hall
Chris Pyle wrote:I have a very basic question: When you lay down your centerline, is it horizontal or vertical? Is it based on the symmetry or asymmetry of the joinery?
It can be oriented either way. It's a reference line, helpful when the joinery is marked out relative to a center line. With a box, if the internal dimensions (length and width) are important, then it is convenient to establish a centerline on the stock and mark out half the desired dimension each way. If the connecting walls are 20" apart in the inside surfaces, then you would measure out 10" each direction from the centerline.
You can leave the board long in this approach. An alternative would be to marks out and perhaps cut the board to a specified length and then lay off of each cut end or marked line inwards a certain amount. But, in that method, you are already working on a dimension which is established off of another dimension, and thus the chance for error is doubled over the centerline method. Of course, you can check after you have marked in from each end, and you will likely find you are slightly off the desired 20" spacing you were after, say.