Cap in Hand...
Posted: Fri Mar 23, 2012 6:19 pm
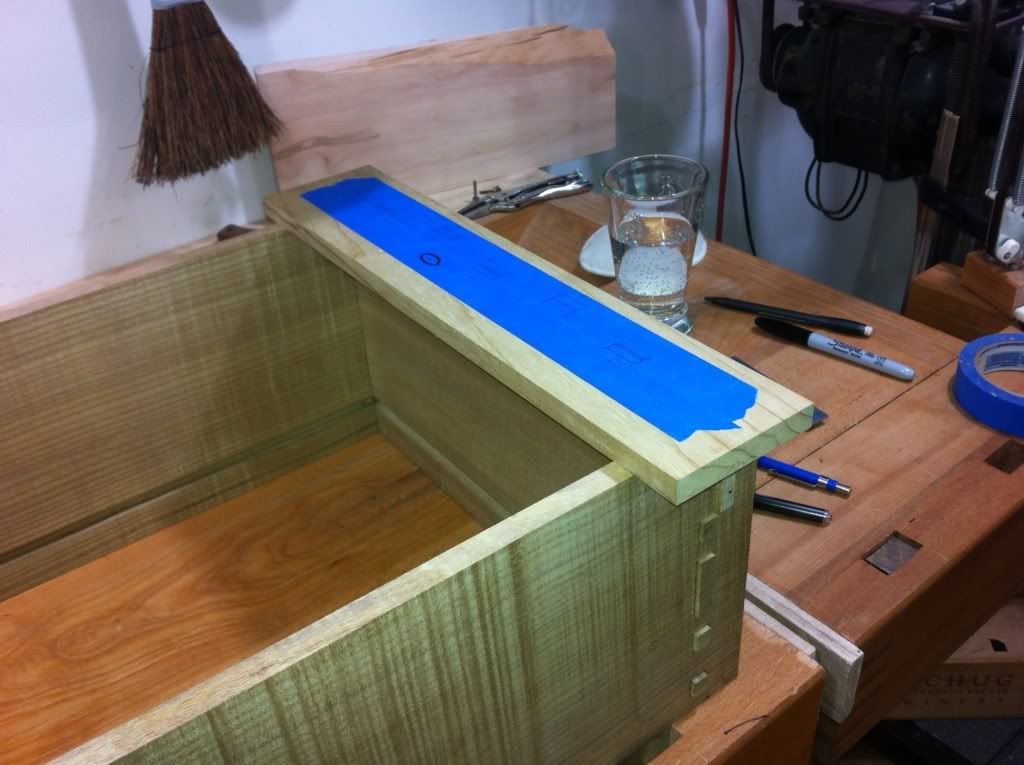
With the toolbox carcase assembled, the next matter for attention were the two caps which are fastened to the end board and handle assembly.
The underside of the caps have shallow housings to index directly onto the tongue which was formed on the top edges of both end boards and handle:
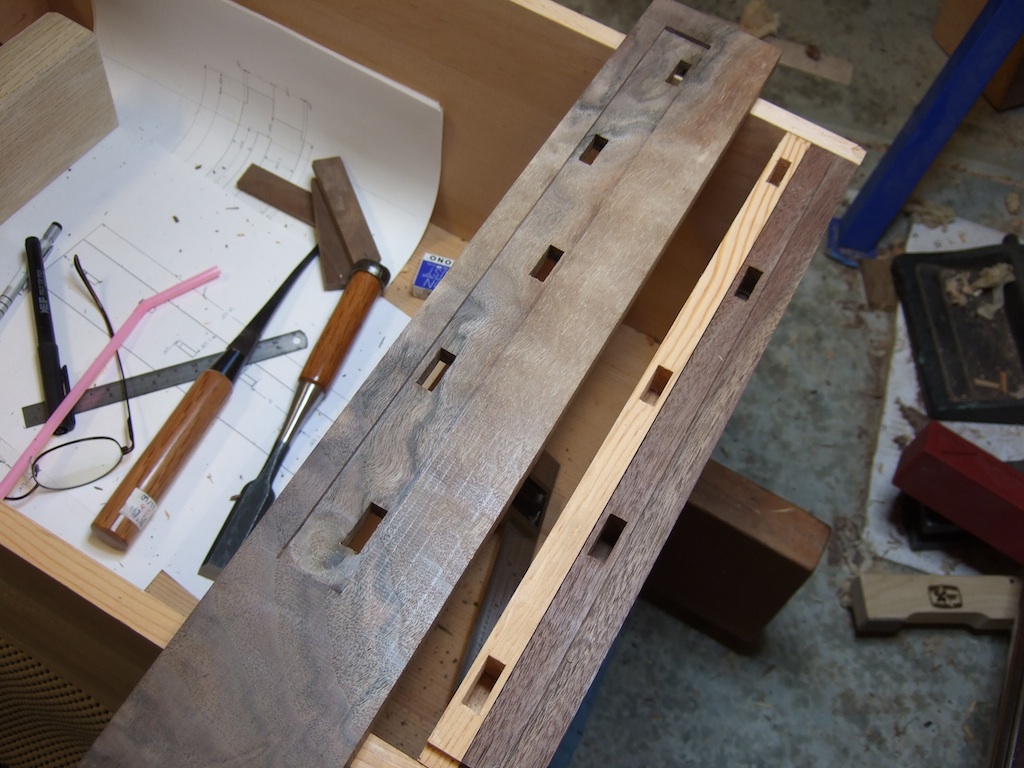
The caps were flipped face up and the layout of the mortises for the keys, connecting the end board assembly to the cap using 5 double-wedged floating keys. This was the strongest connection I could come up with:
The key's are 0.75" wide by 0.25" thick, and enter into the end board assembly 0.625".
I processed the cuts with the caps mounted in position on the box, using my router and a longish 1/4" solid carbide bit:
One side done:
The process was repeated on the other cap. Then it was time to square up the mortises with a paring chisel and guide:
Repeat 10 times per cap:
Here I'm giving a tip of my cap, if you know what I mean:
Next step was to create an interior flare in the mortises, which in this instance I worked out to be a 1:9 slope. I prepared a paring block using a piece of laminated bamboo ply, and went to work:
Then end mortises were a little tricky, needing some shimming to support the paring block properly:
With all the mortises flared out, I prepared 10 keys, using Jatoba, and lined them up like so many ducks:
There was a slight amount of variation between mortises and keys, so they were individually fitted and numbered:
The keys were then kerfed and I began fitting them also to the cap mortises, to make sure they were snug for thickness most particularly:
One end done, fitting keys to cap:
The other end also complete:
Then the mortises in the cap were flared out, using a 1:8 paring guide, spacing 3/64" off the end line of the mortise:
With the cap mortising complete, I trimmed the excess length off the caps so they were close to the dimensions of the box. I'll save a final trimming of the cap ends for some planing work later on.
This key is going to hell:
A few taps and it is seated:
This row of ducks has certainly gone to hell:
Then I grabbed a piece of plastic to use as a spacer and lopped off the excess material from the keys:
The result:
The underside of the caps have shallow housings to index directly onto the tongue which was formed on the top edges of both end boards and handle:
- DSC05189-small.JPG (131.37 KiB) Viewed 7513 times
- DSC05190-small.JPG (131.87 KiB) Viewed 7513 times
I processed the cuts with the caps mounted in position on the box, using my router and a longish 1/4" solid carbide bit:
- DSC05191-small.JPG (142.21 KiB) Viewed 7513 times
- DSC05192-small.JPG (112.27 KiB) Viewed 7513 times
- DSC05194-small.JPG (123.04 KiB) Viewed 7513 times
- DSC05195-small.JPG (100.54 KiB) Viewed 7513 times
- DSC05196-small.JPG (125.15 KiB) Viewed 7513 times
- DSC05197-small.JPG (138.97 KiB) Viewed 7513 times
- DSC05199-small.JPG (104.83 KiB) Viewed 7513 times
- DSC05200-small.JPG (85.57 KiB) Viewed 7513 times
- DSC05201-small.JPG (114.43 KiB) Viewed 7513 times
- DSC05202-small.JPG (130.77 KiB) Viewed 7513 times
- DSC05203-small.JPG (125.14 KiB) Viewed 7513 times
- DSC05205-small.JPG (125.59 KiB) Viewed 7513 times
- DSC05206-small.JPG (120.95 KiB) Viewed 7513 times
- DSC05207-small.JPG (113.33 KiB) Viewed 7513 times
- DSC05208-small.JPG (120.06 KiB) Viewed 7513 times
This key is going to hell:
- DSC05209-small.JPG (134.69 KiB) Viewed 7513 times
- DSC05211-small.JPG (119.47 KiB) Viewed 7513 times
- DSC05212-small.JPG (108.34 KiB) Viewed 7513 times
- DSC05213-small.JPG (104.55 KiB) Viewed 7513 times
- DSC05214-small.JPG (105.42 KiB) Viewed 7513 times