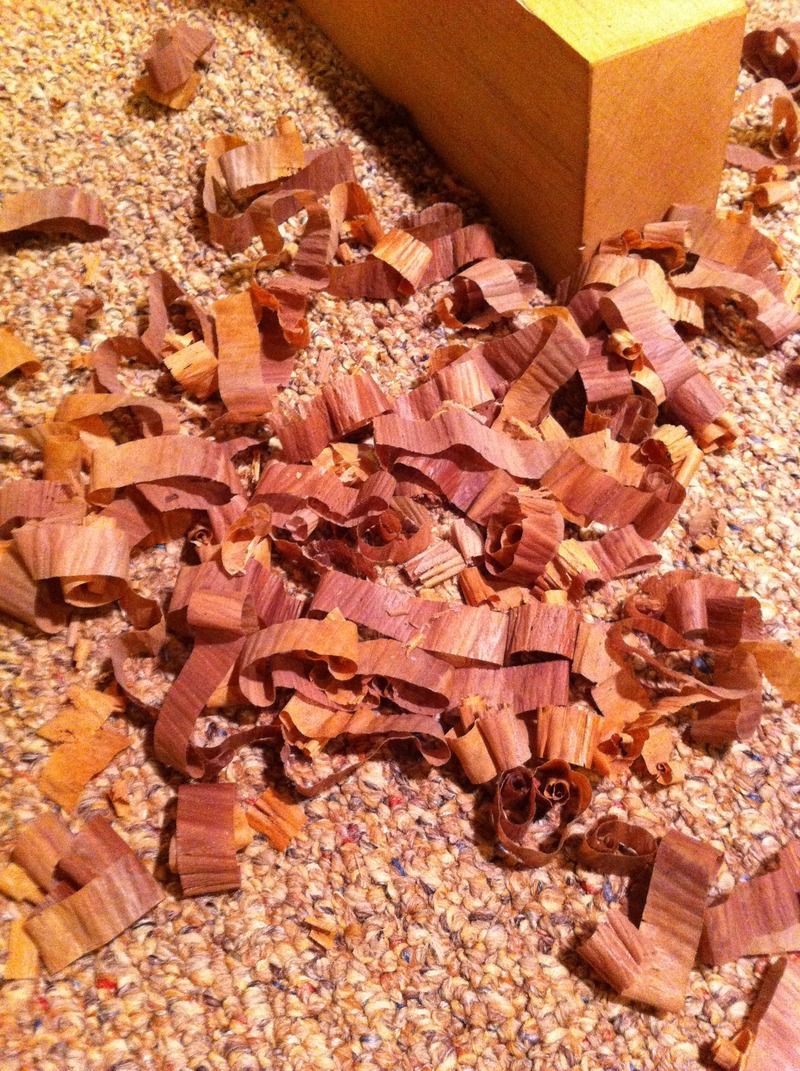
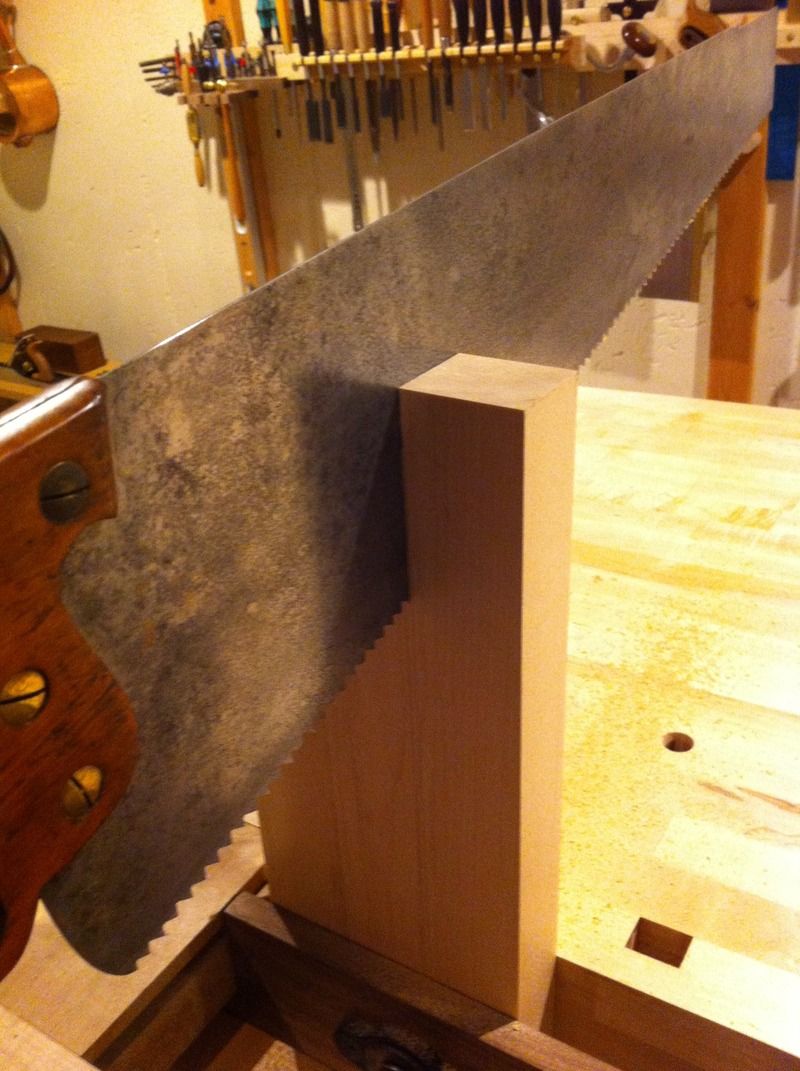
What is the saw profile? Looks like it chews through stuff.Brian wrote:Thanks Paul! That saw opened my eyes, I was attempting to rip with a 7 tpi LN prior to it, wow what a difference.
Cabinet Build (WIP)
-
Chris Pyle

- Deshi
- Location: St. Louis, MO
Post
Re: Cabinet Build (WIP)
-
Brian

- Deshi
Post
Re: Cabinet Build (WIP)
It's an animal starts 5 TPI then decreases to 4 TPI in the cut, 5 degree rake, 0 fleam. Jointed with a slight belly.
-
Brian
- Deshi
Post
Re: Cabinet Build (WIP)
Quick update on this, I took a break from inner cabinet work to do some work on the base panel and the base;


-
Paul Atzenweiler

- Deshi
- Contact:
- Location: Kansas City, MO
Post
Re: Cabinet Build (WIP)
I wanted to insert the emoji for salivating over something beautiful but I couldn't find one - and it would probably be very inappropriate!! Very nice work and I enjoy watching the process!


-
Brian
- Deshi
Post
Re: Cabinet Build (WIP)
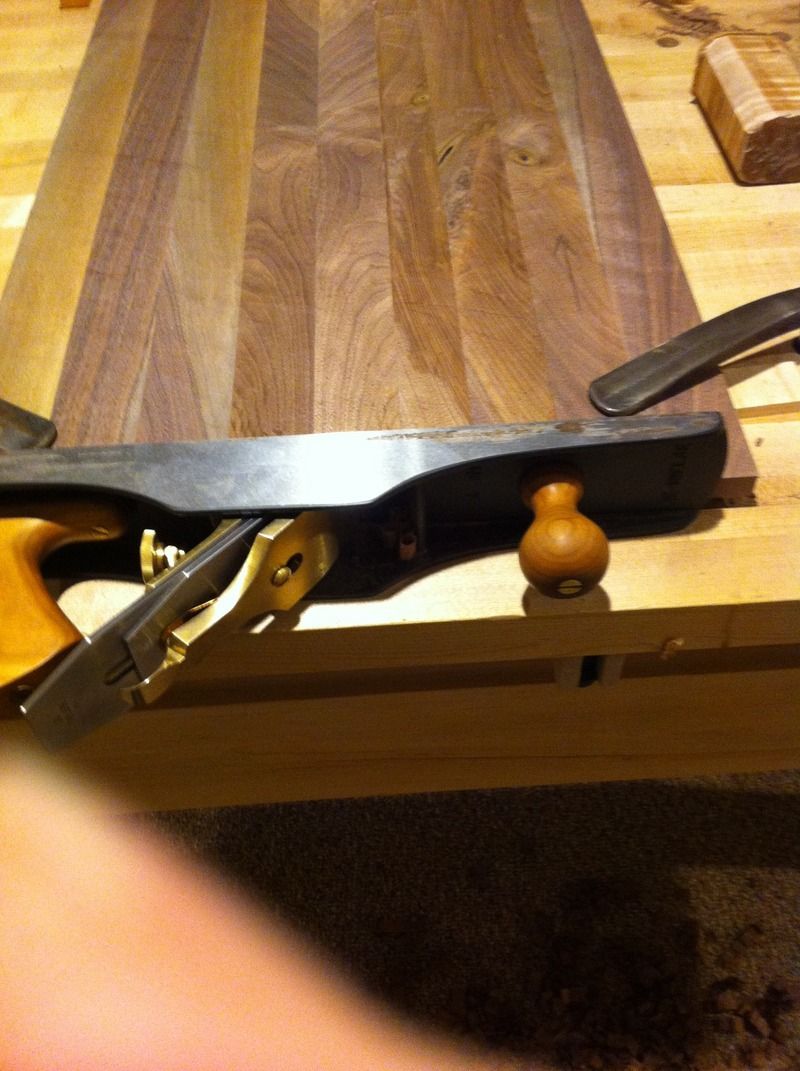
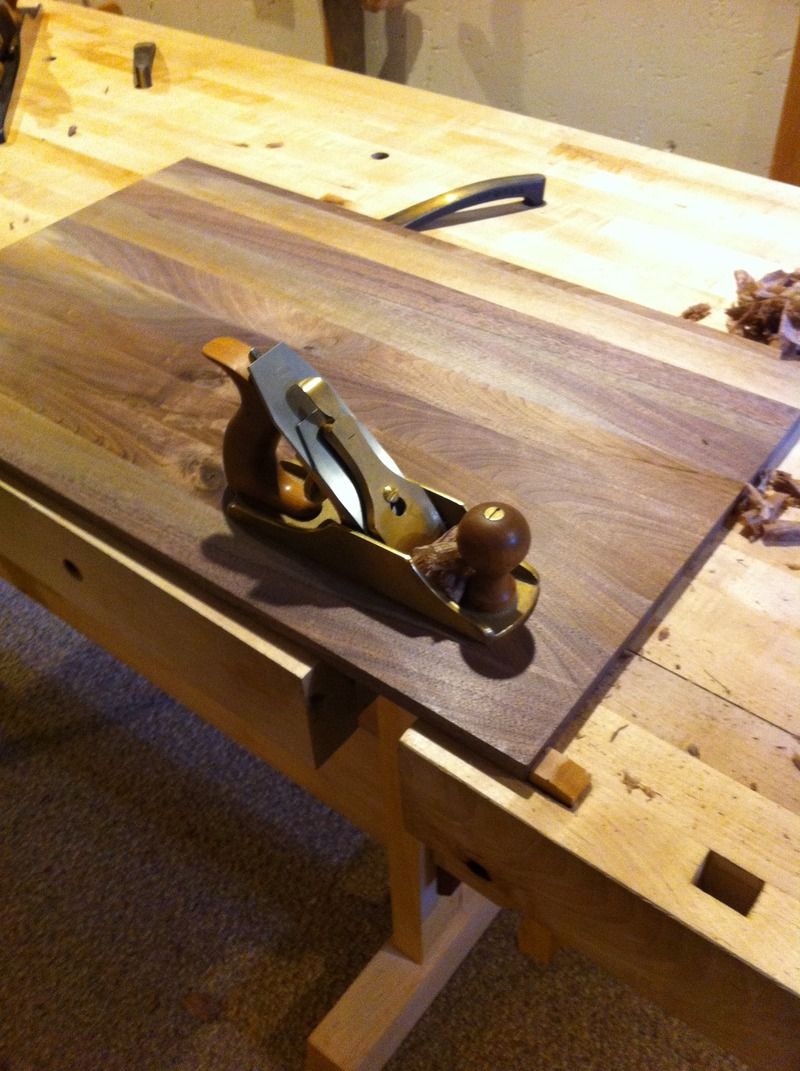
Cutting the bottom of the side panels square and to length. After rough sawing I went back and finished them to exact dimensions with the jointer plane in a make-shift shooting setup.
I cut the half blind dovetails and set in the panel;
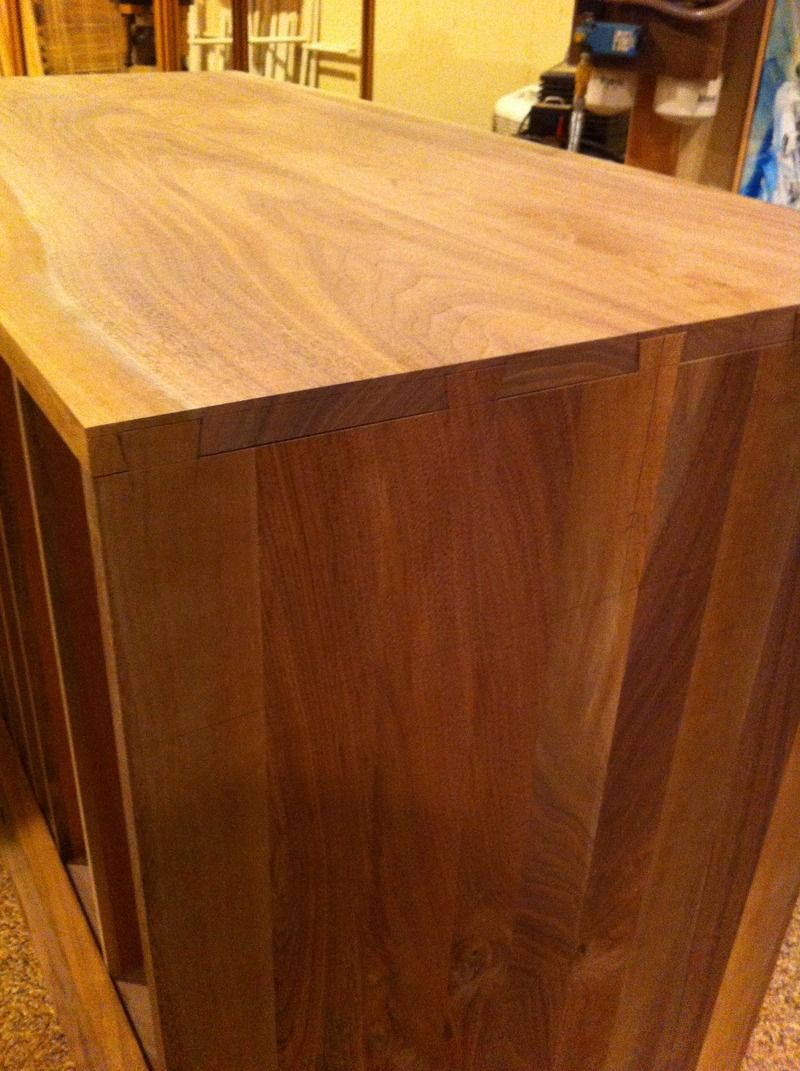
The finished trimming the inside moldings and mitering them;
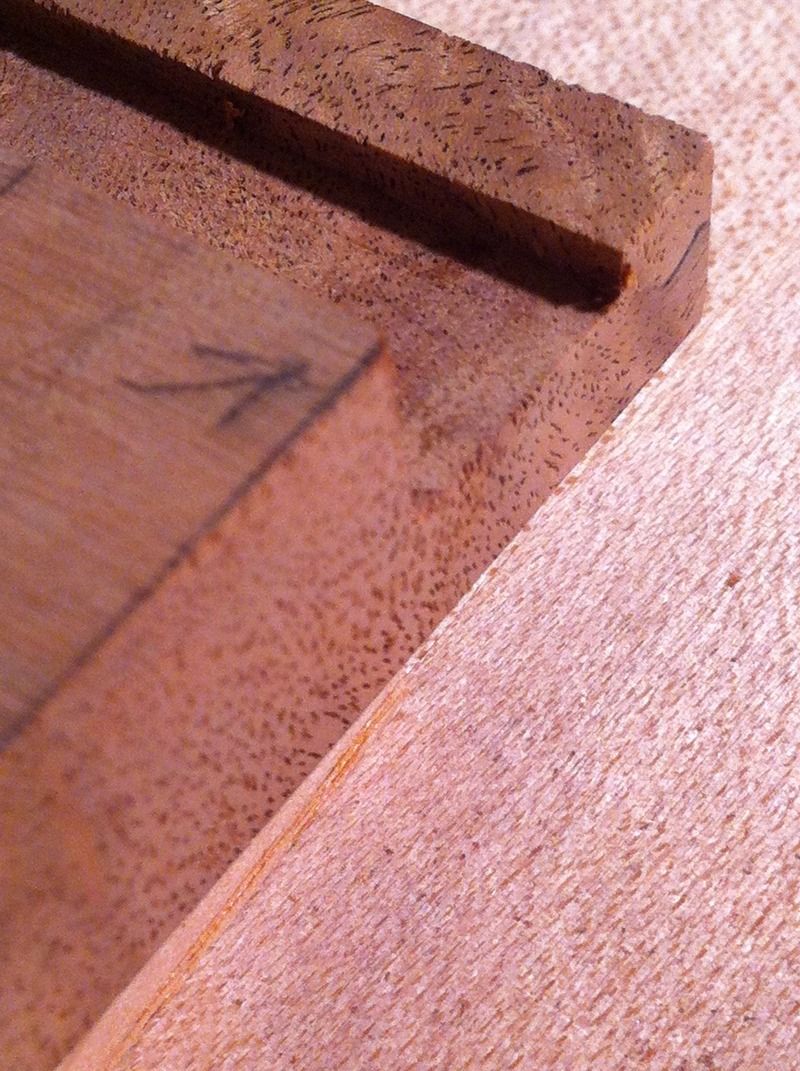
The dovetails have a minor gap between the baseline and are proud of the surface, both problems which will be solved when the cabinet is assembled;
A final inside molding was made and fit and here is the current state of the cabinet at this step
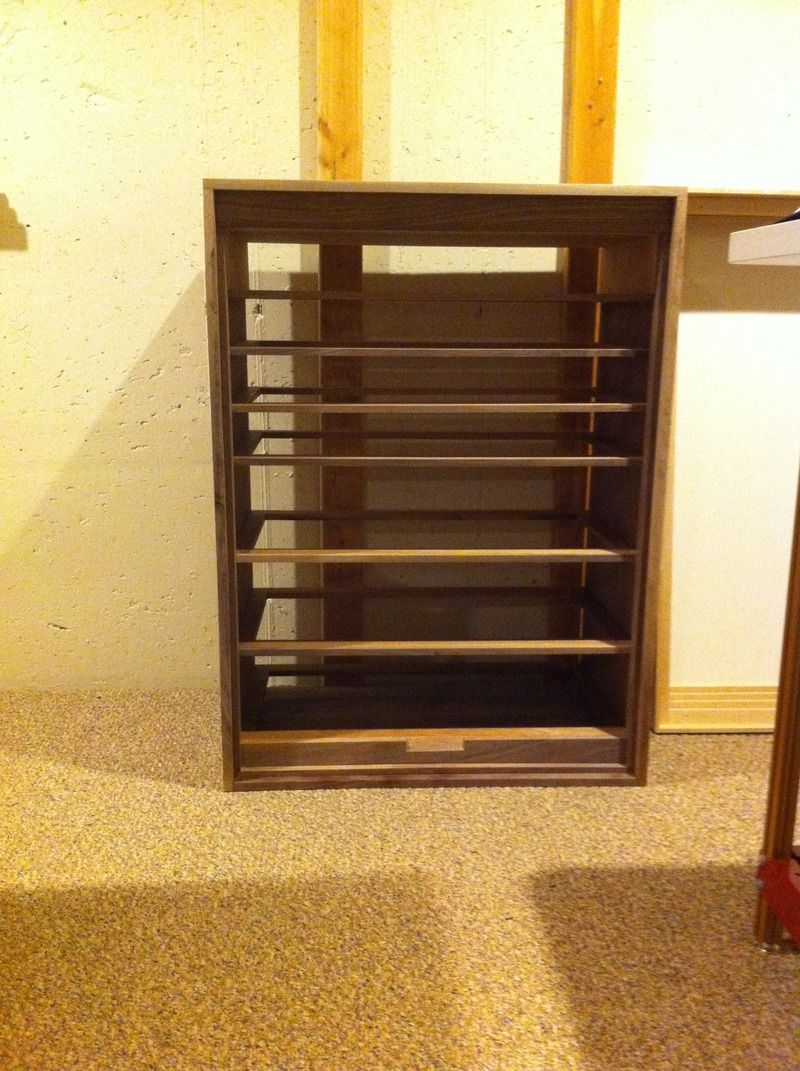
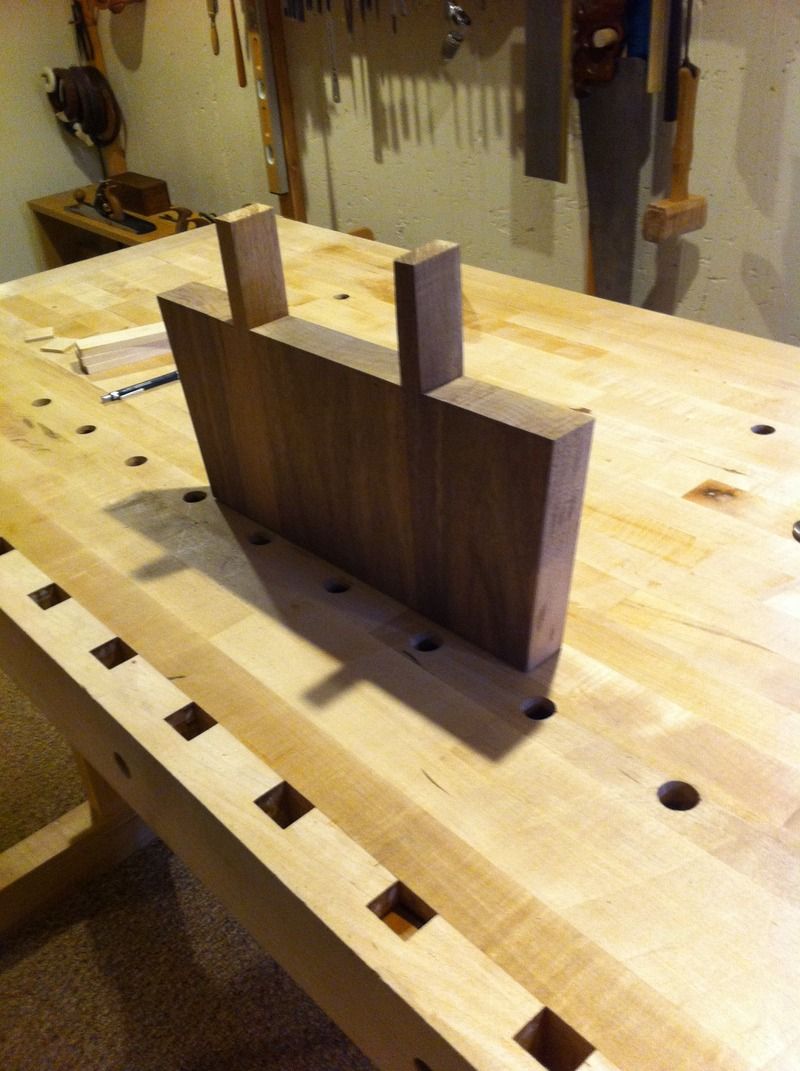
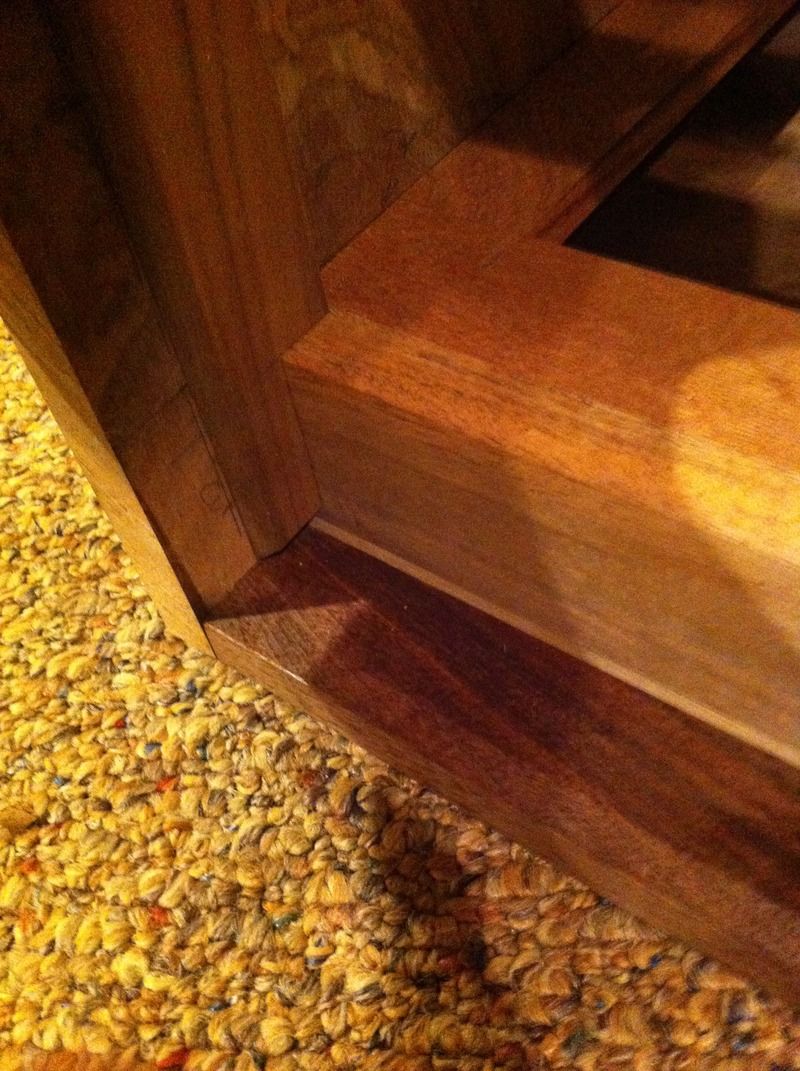
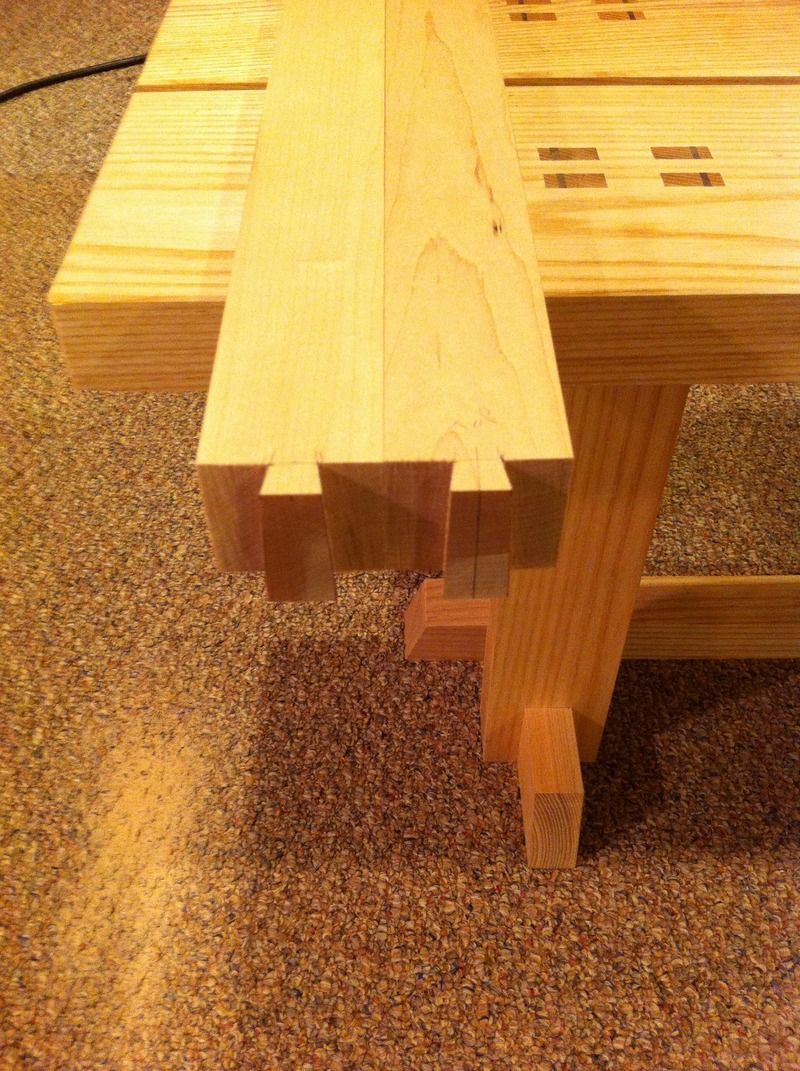
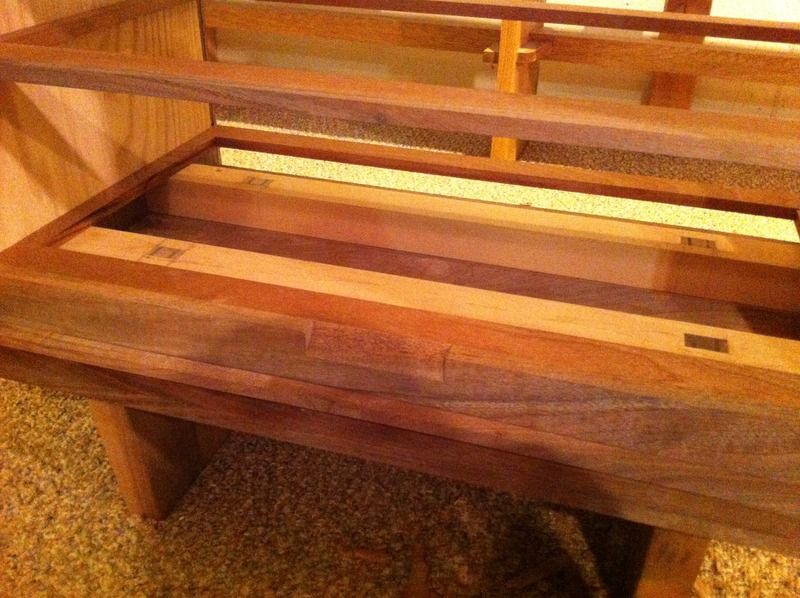
Making crossmembers for the bottom inside of the cabinet. I decided that rather than display these under the cabinet I could hide them inside and dovetail the ends and they would work in two functions and remove the base panel as the structural link between the legs and the sides of the cabinet;
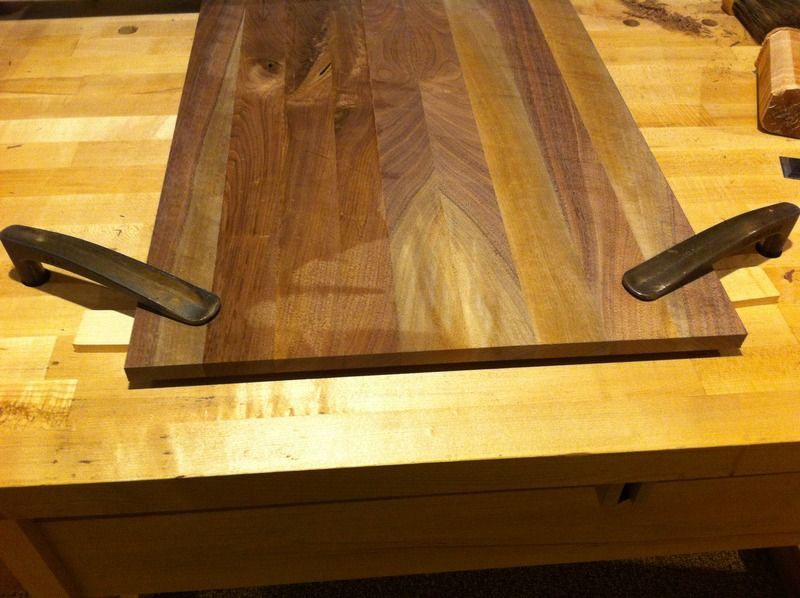
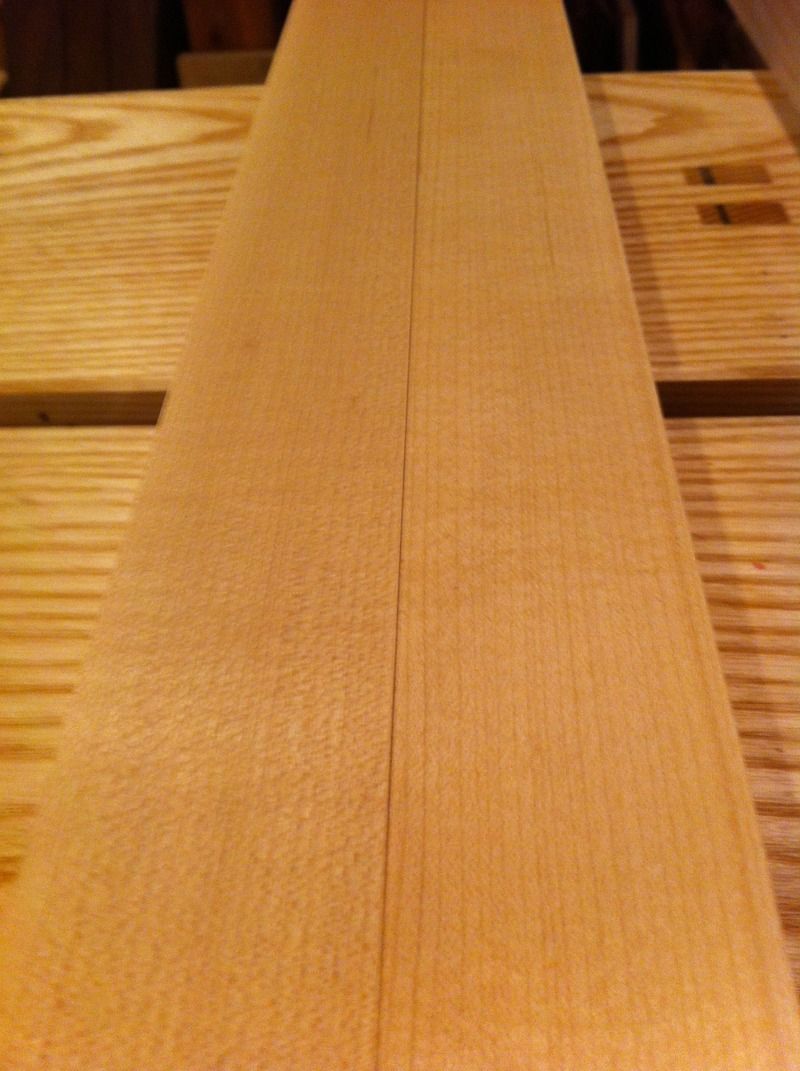
I find a beauty in straight grained wood that I think goes unappreciated.
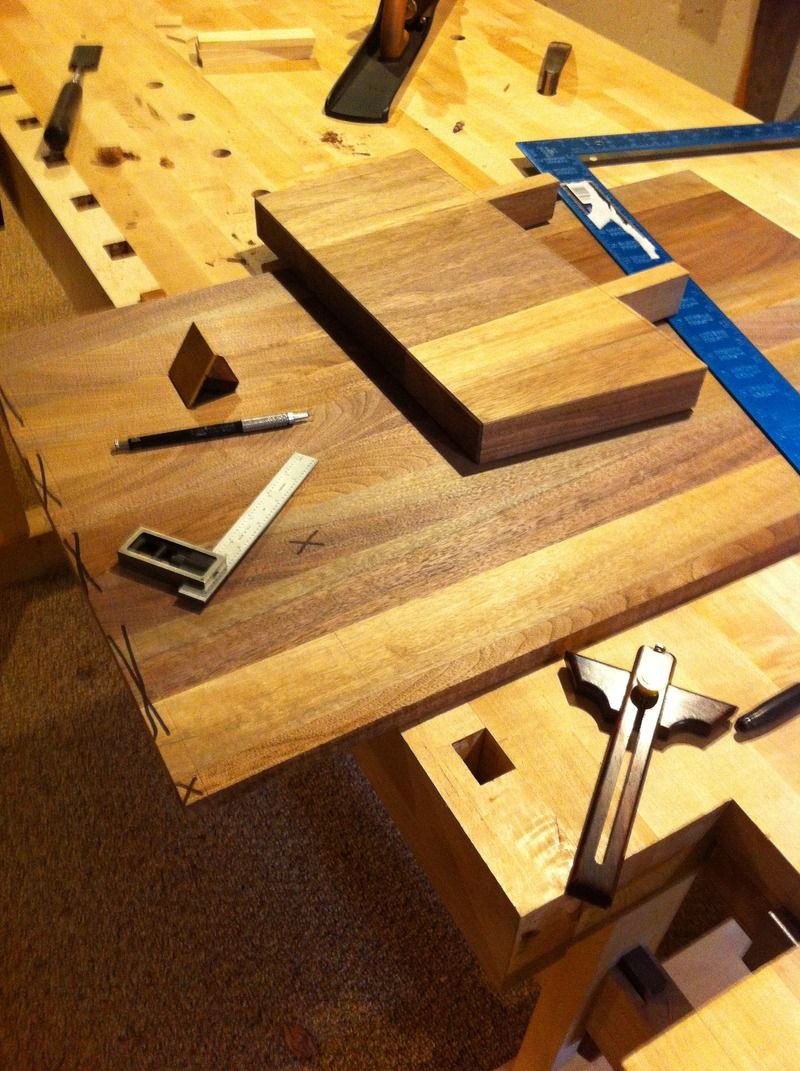
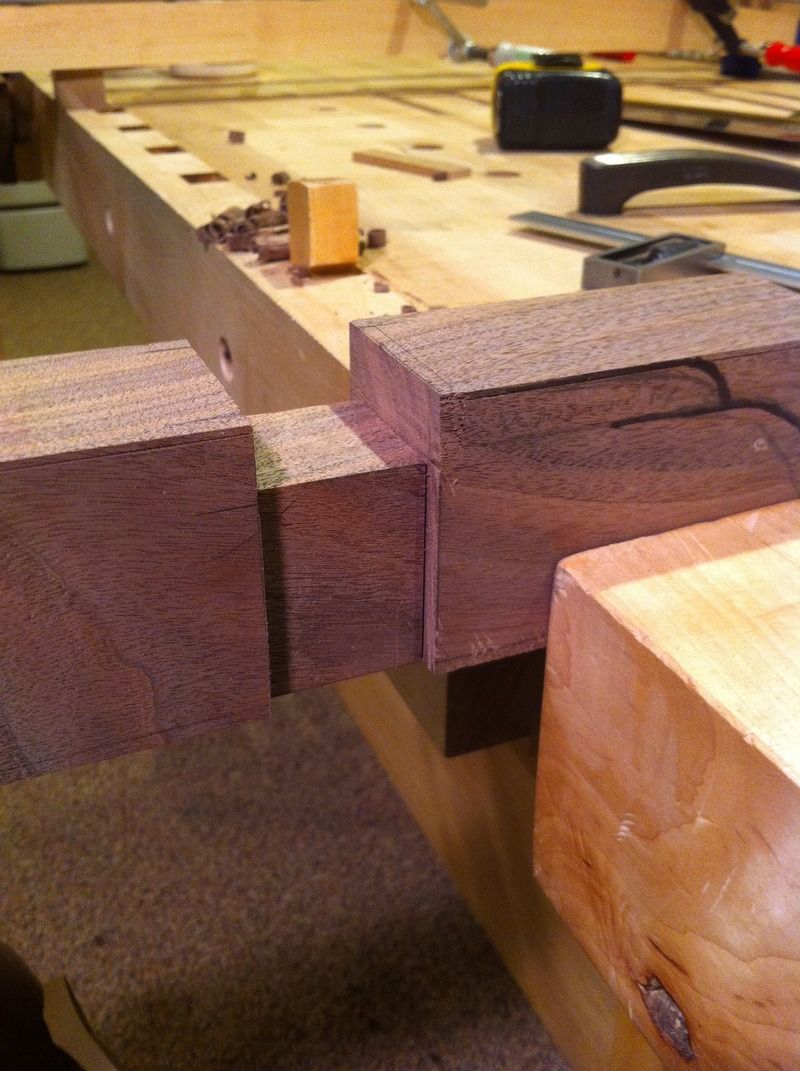
Cut the tapered dovetails and these will match positioning of the dovetails of the basepanel;
Back onto the base uprights;
Still some fine tuning to do on the halflaps

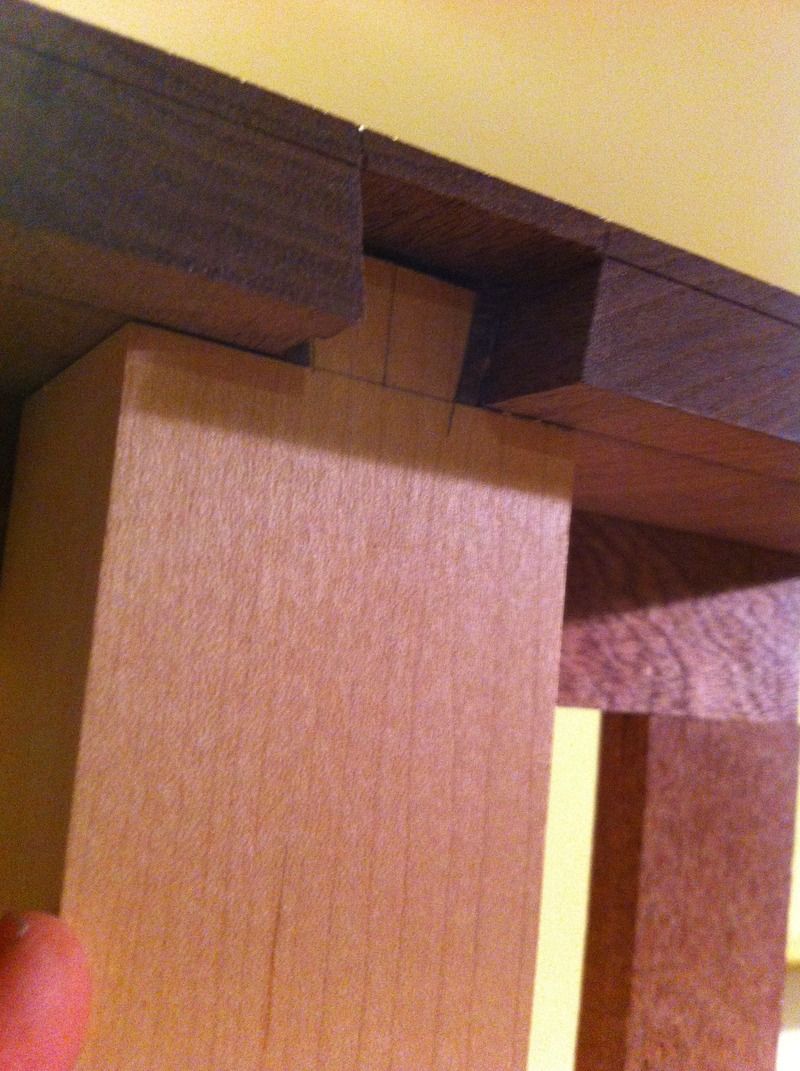
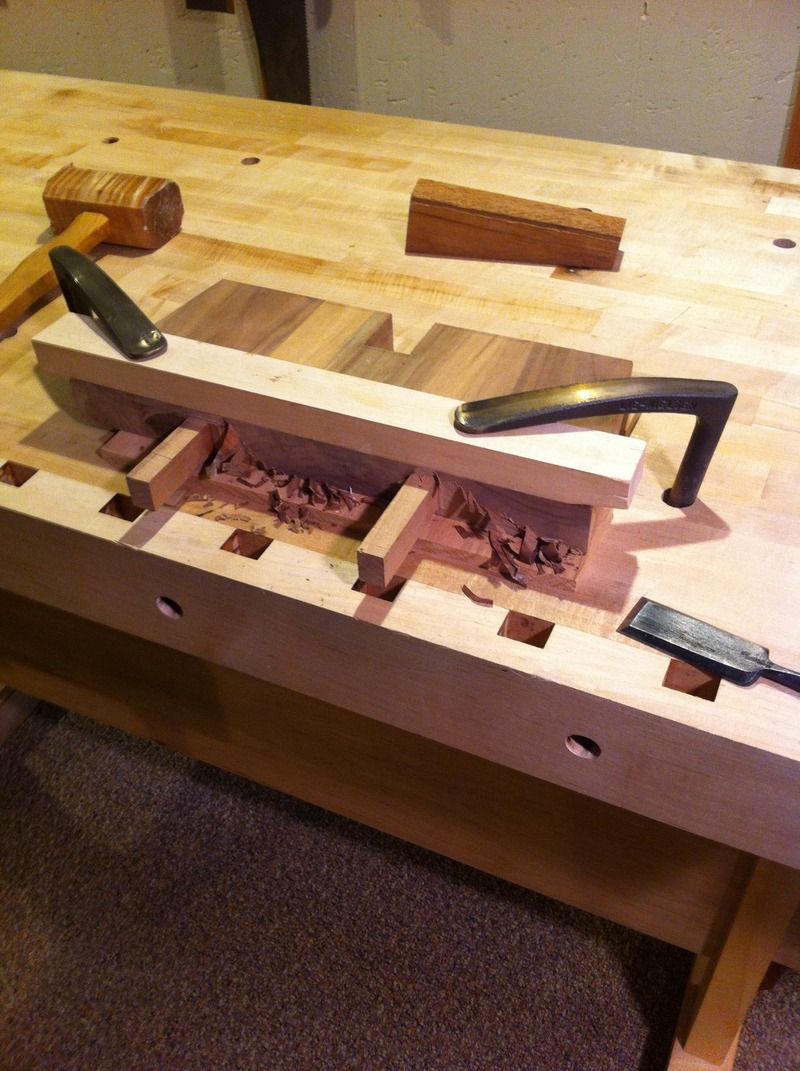
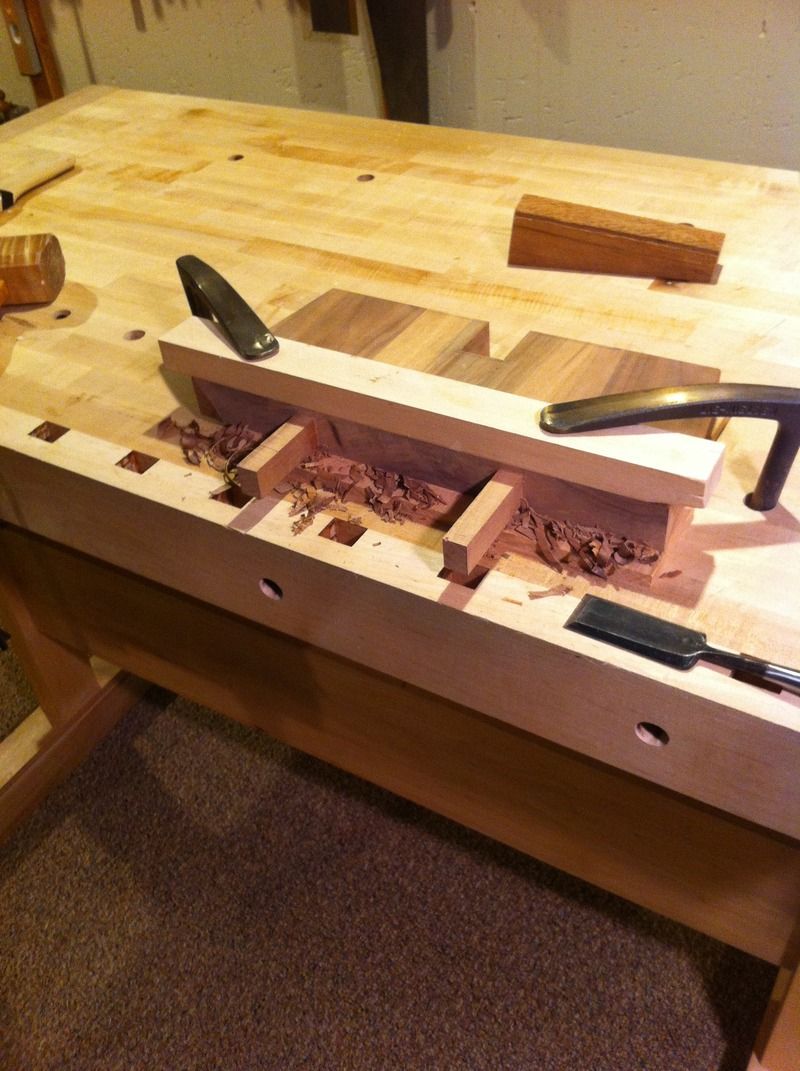
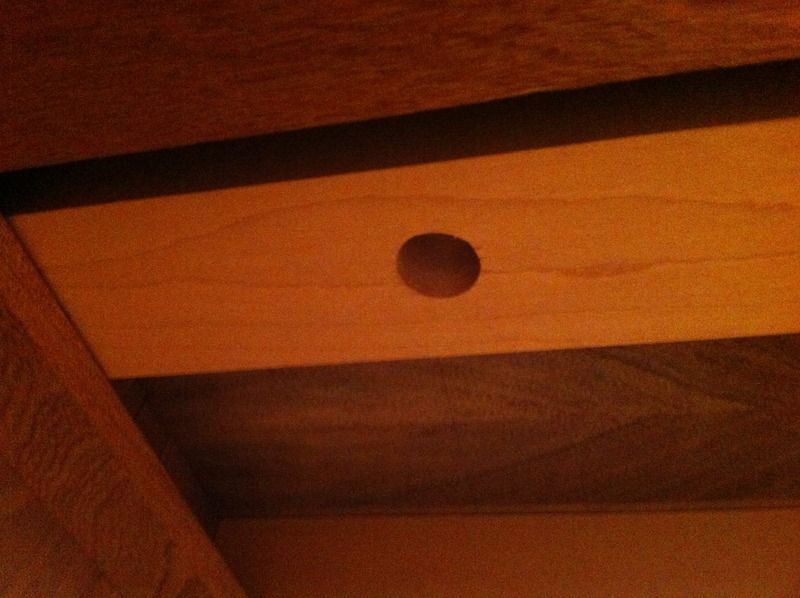
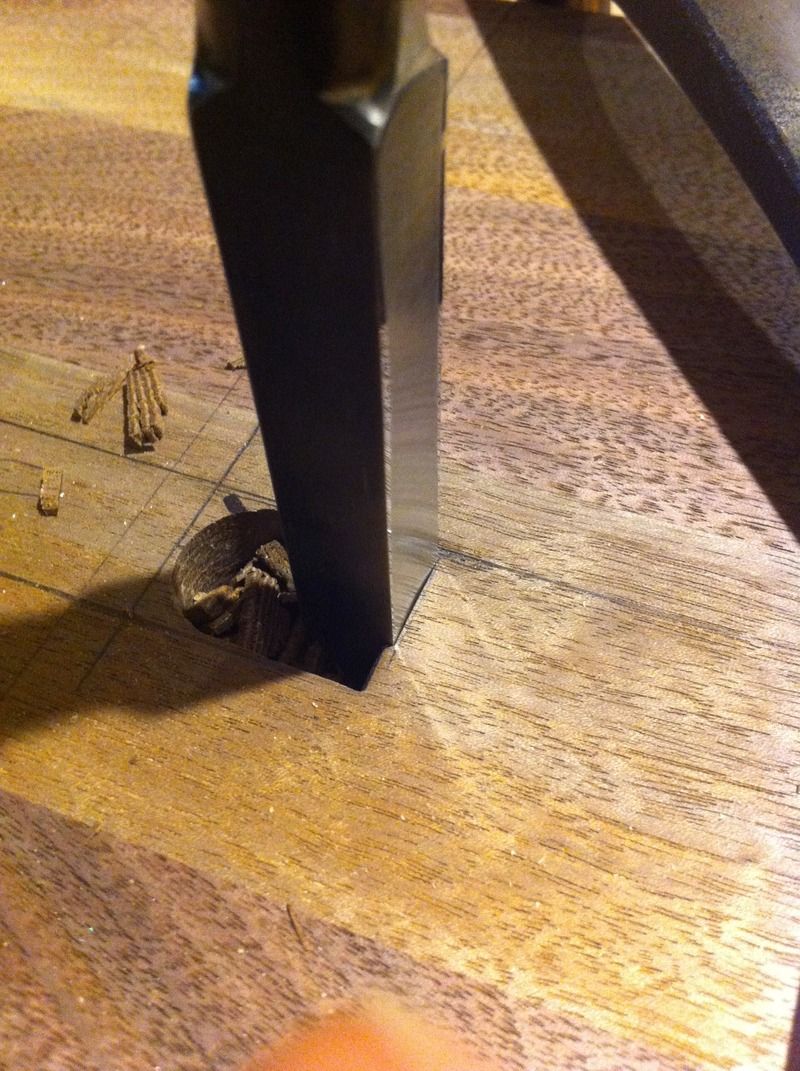
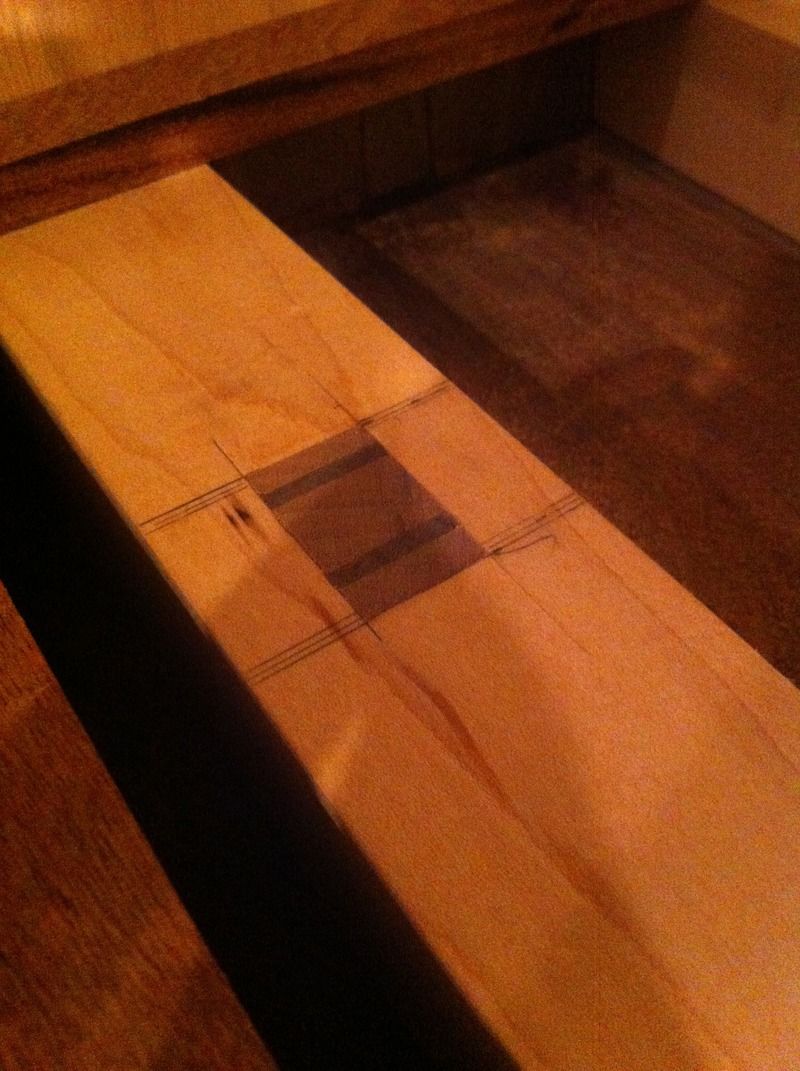
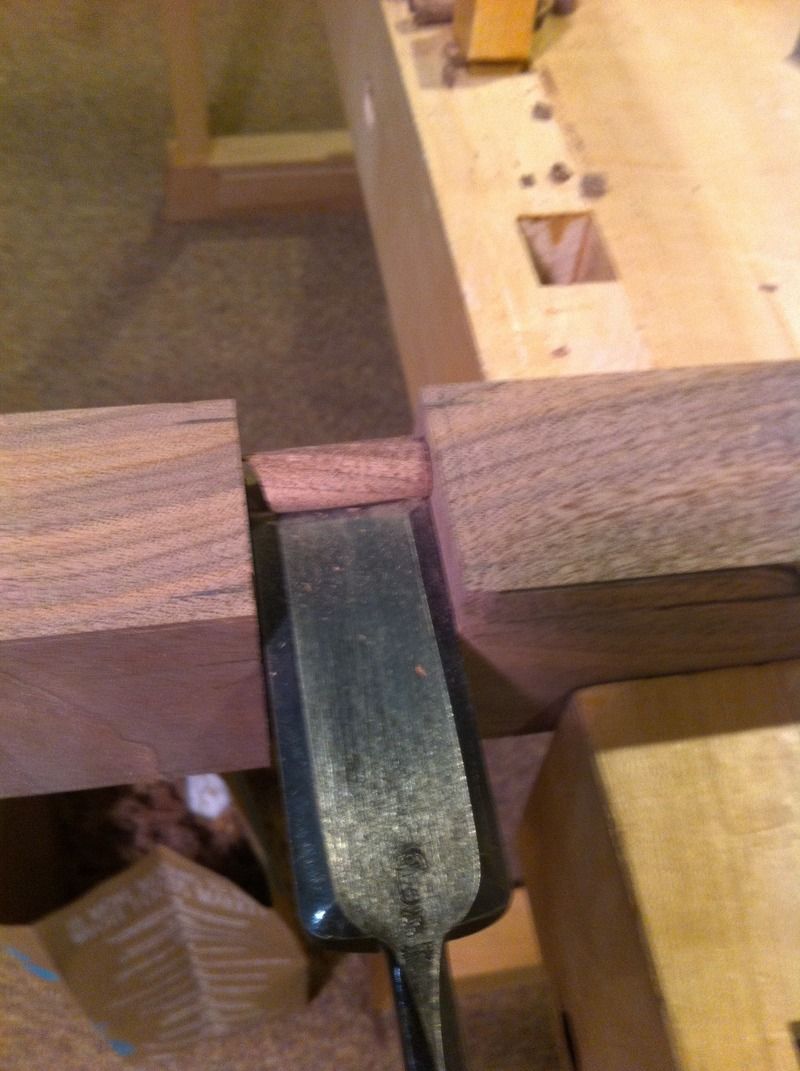
Layout and initial drilling of the holes for the mortises, these pass through the bottom panel and the crossmembers. I cut this hole and the other three with a brace and bit. I did so because it's very easy to maintain perpendicular when doing so, and so the exit is clean and on the money;
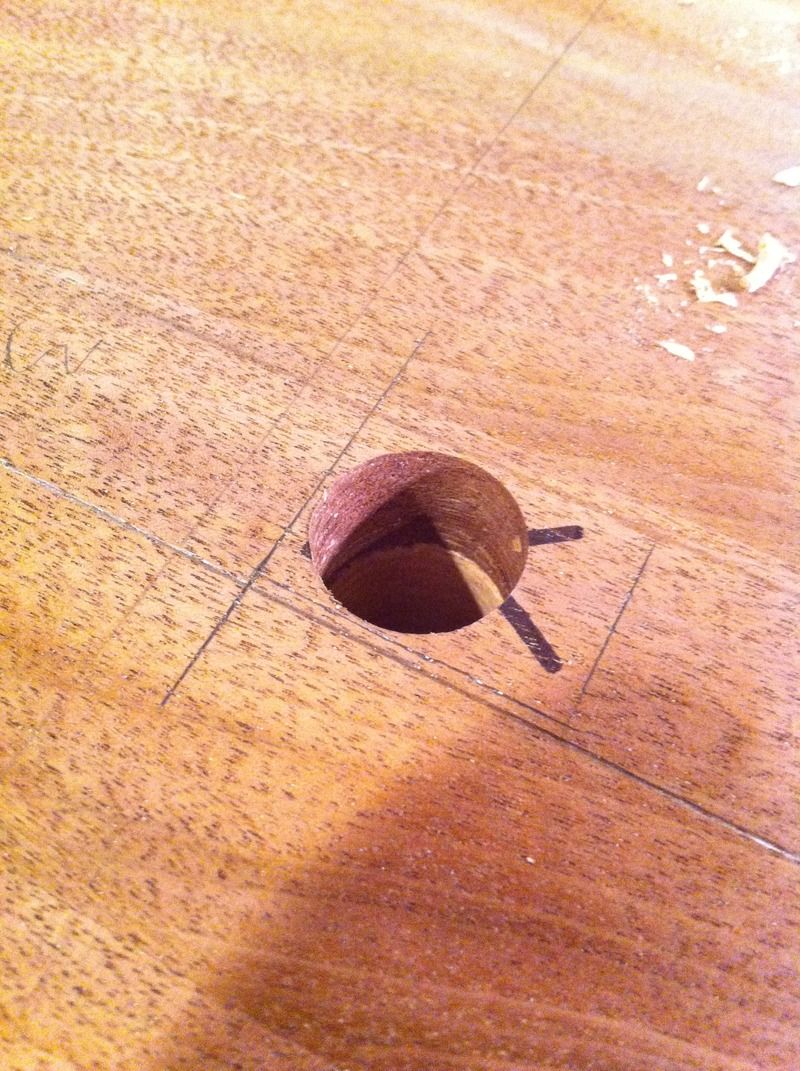
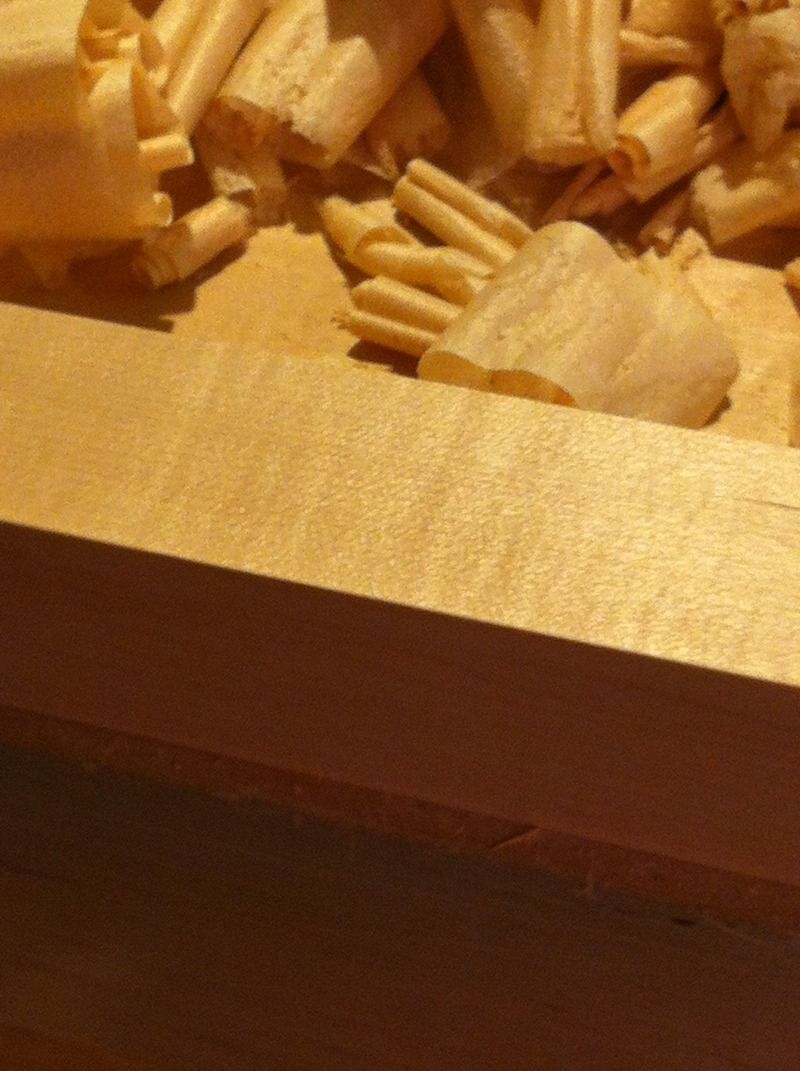
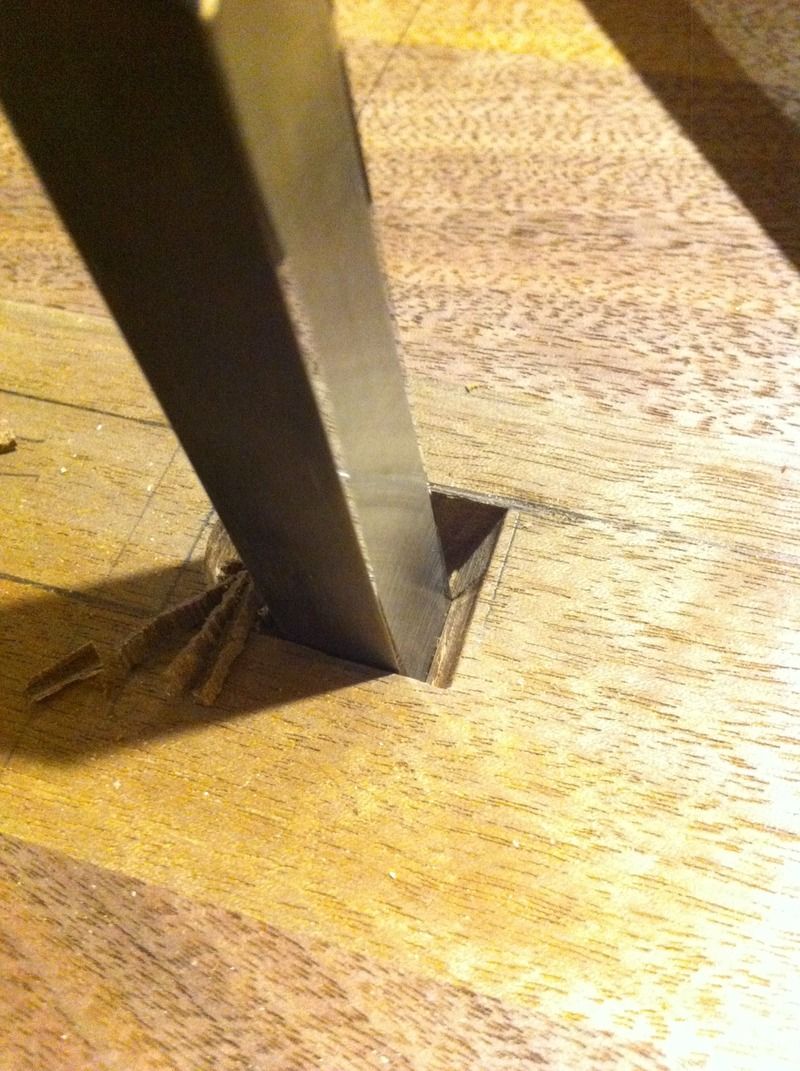
I chop wasting into the hole;
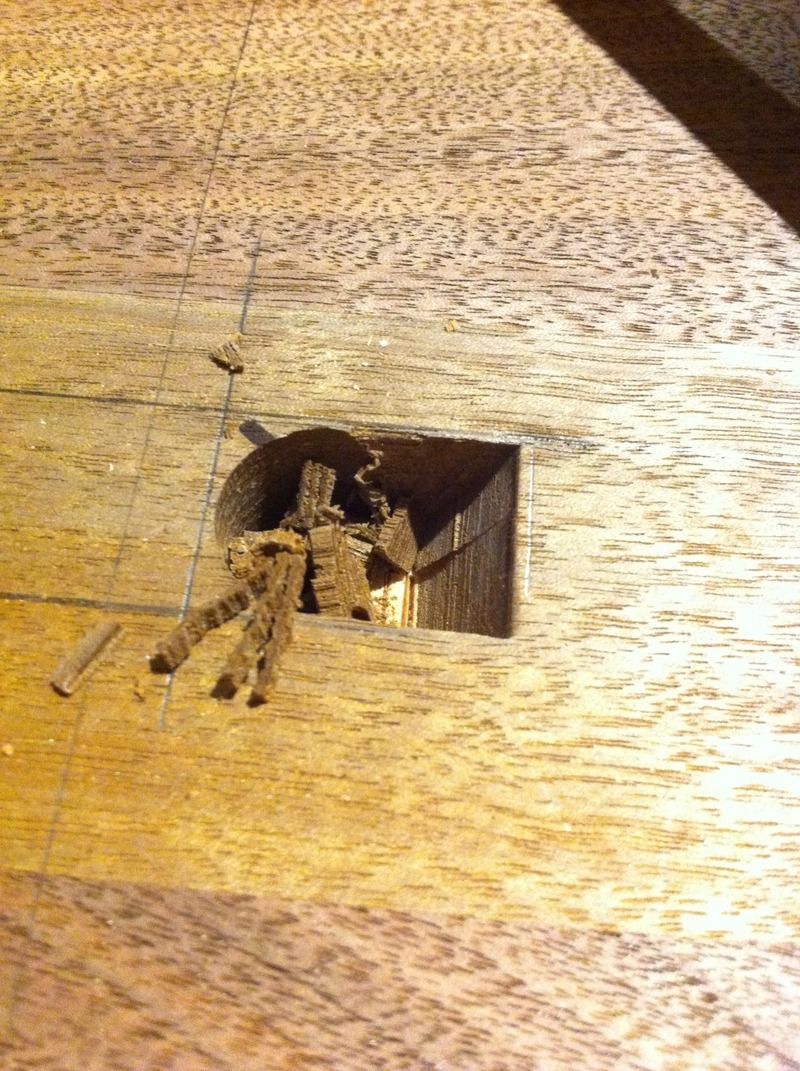
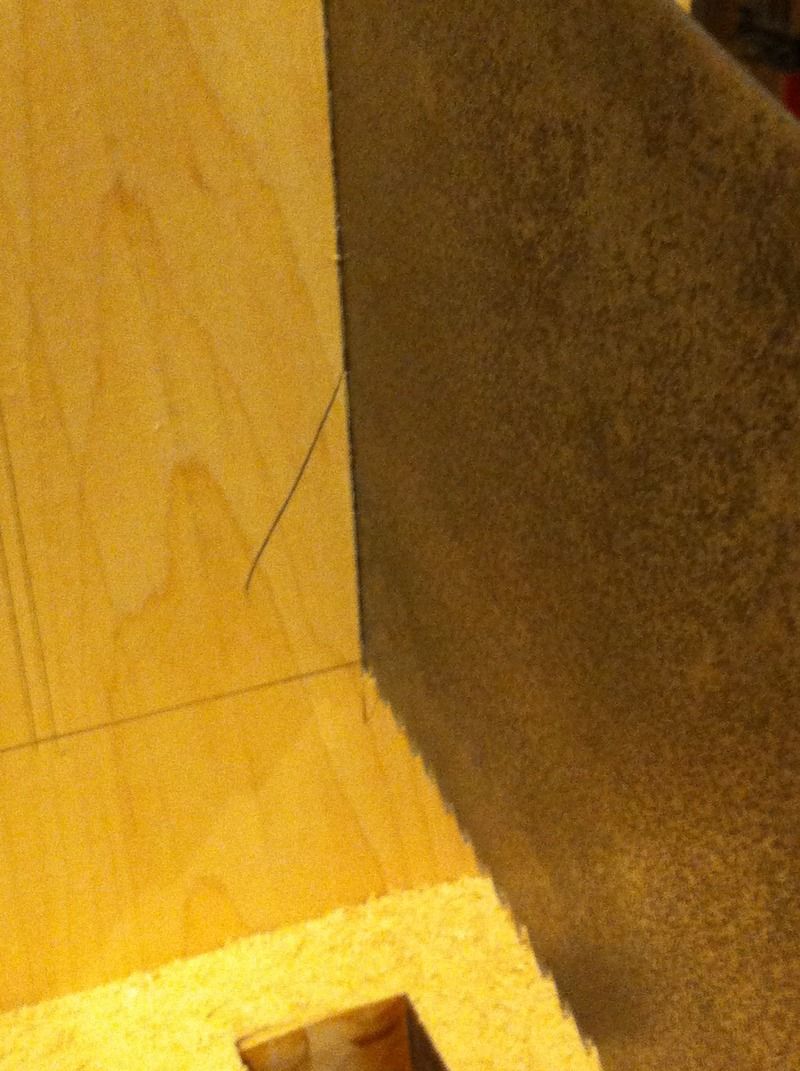
The shear toward the line


I cut the half blind dovetails and set in the panel;

The finished trimming the inside moldings and mitering them;

The dovetails have a minor gap between the baseline and are proud of the surface, both problems which will be solved when the cabinet is assembled;

A final inside molding was made and fit and here is the current state of the cabinet at this step

Making crossmembers for the bottom inside of the cabinet. I decided that rather than display these under the cabinet I could hide them inside and dovetail the ends and they would work in two functions and remove the base panel as the structural link between the legs and the sides of the cabinet;


I find a beauty in straight grained wood that I think goes unappreciated.

Cut the tapered dovetails and these will match positioning of the dovetails of the basepanel;


Back onto the base uprights;


Still some fine tuning to do on the halflaps


Layout and initial drilling of the holes for the mortises, these pass through the bottom panel and the crossmembers. I cut this hole and the other three with a brace and bit. I did so because it's very easy to maintain perpendicular when doing so, and so the exit is clean and on the money;


I chop wasting into the hole;

The shear toward the line


-
Brian
- Deshi
Post
Re: Cabinet Build (WIP)
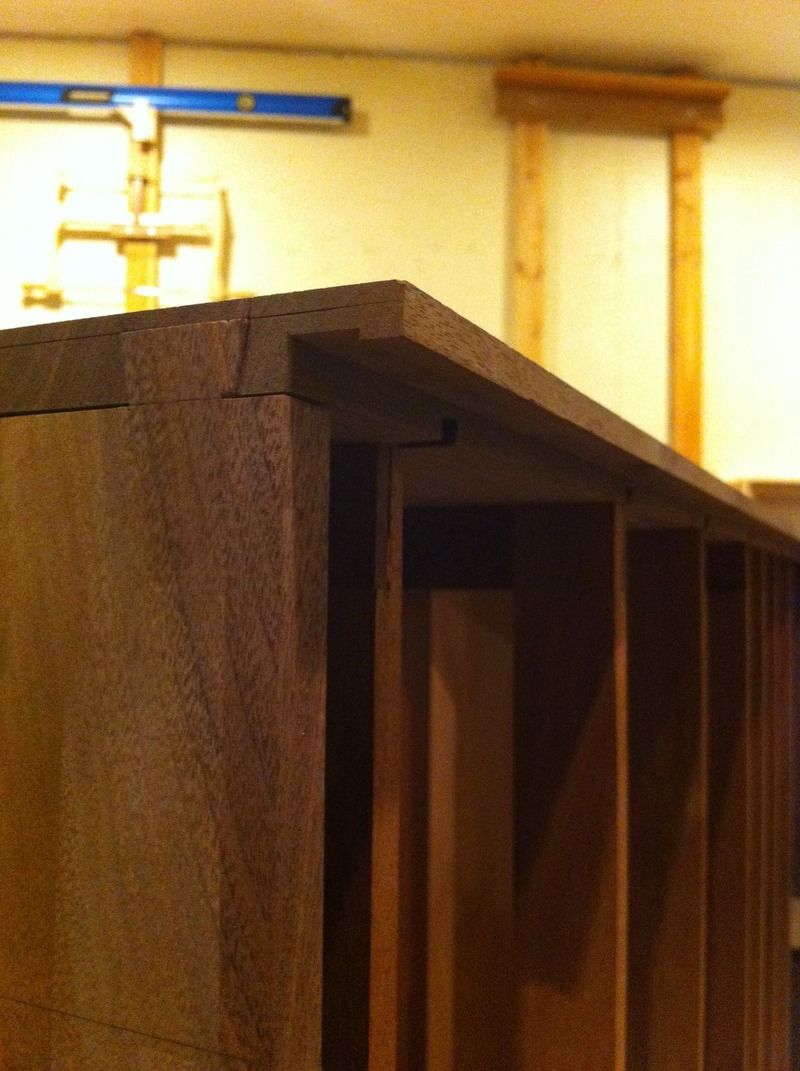
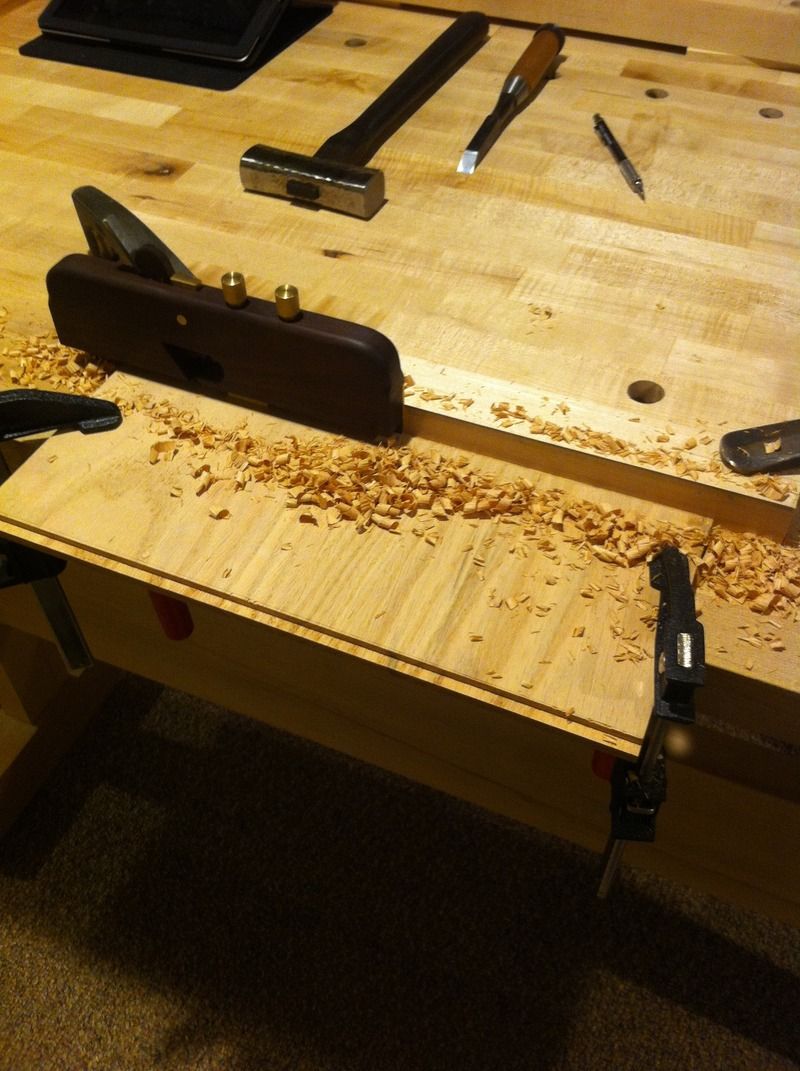
Took a moment from banging my hammer to finish rabbeting the inner panels and cutting their receiver grooves in the web framing;
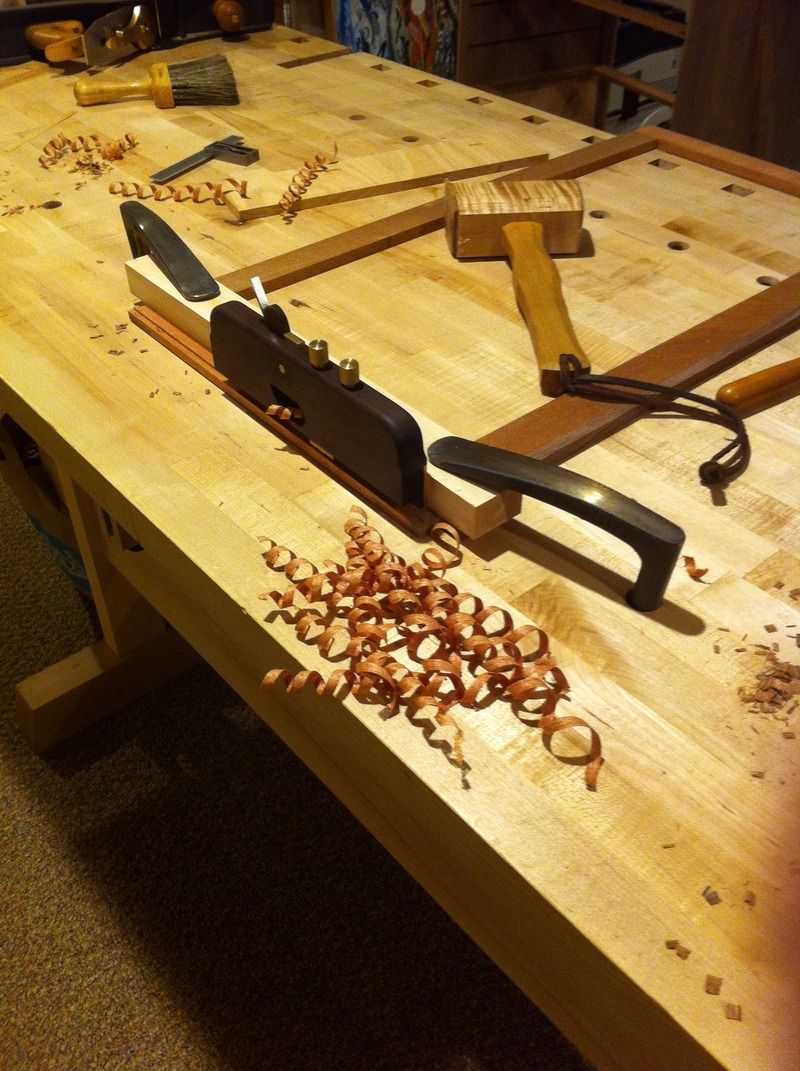
Then I returned to finish chopping my mortises, test fitting, trimming, final fitting and then installation. I was in the groove all day and did not take much in the way of photos until most of it was complete.
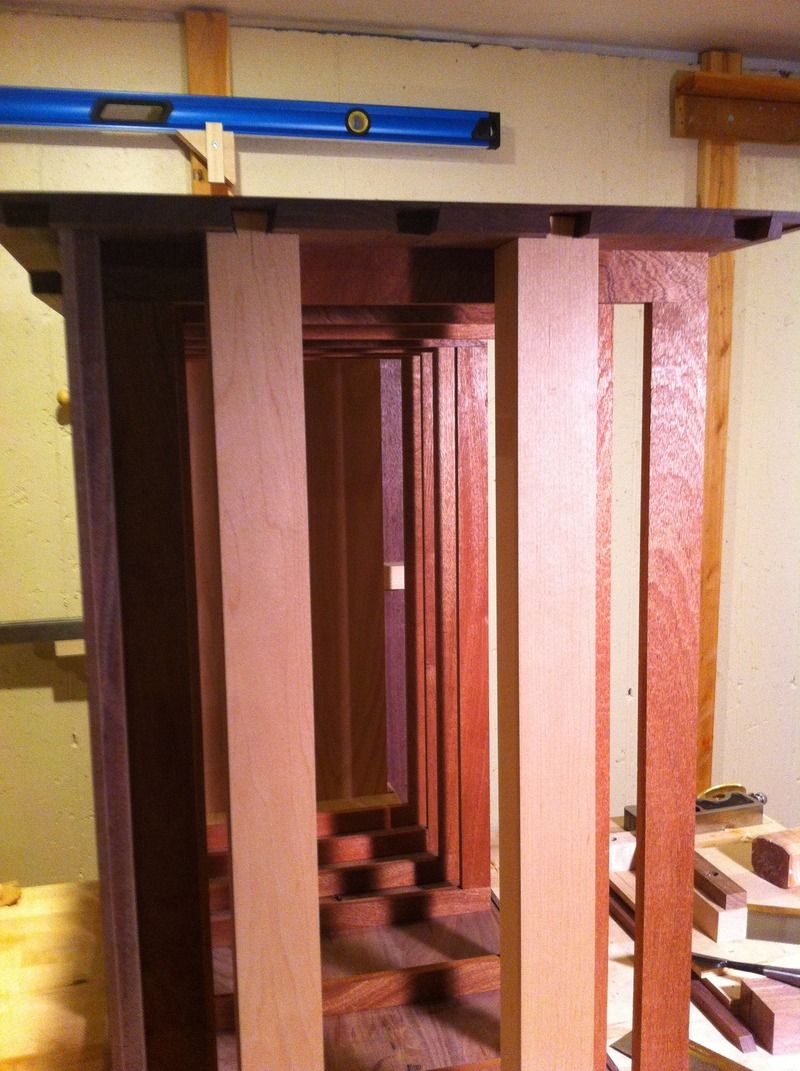
The cabinet is quite stiff now, the inner panels, base and crossmembers have added a lot of integrity to the structure.
Onto the lower stretcher;
Those few marks from an errant saw blade will be gone soon enough.
Then I returned to finish chopping my mortises, test fitting, trimming, final fitting and then installation. I was in the groove all day and did not take much in the way of photos until most of it was complete.
The cabinet is quite stiff now, the inner panels, base and crossmembers have added a lot of integrity to the structure.
Onto the lower stretcher;
Those few marks from an errant saw blade will be gone soon enough.
-
Yxoc
- 5
 alt.jpg "5")
Post
Re: Cabinet Build (WIP)
Looking good Brian, there's some fine hand work going on there!
How do you find the HNT Gordon dado plane?
How do you find the HNT Gordon dado plane?
Who is online
Users browsing this forum: No registered users and 6 guests